What you'll learn
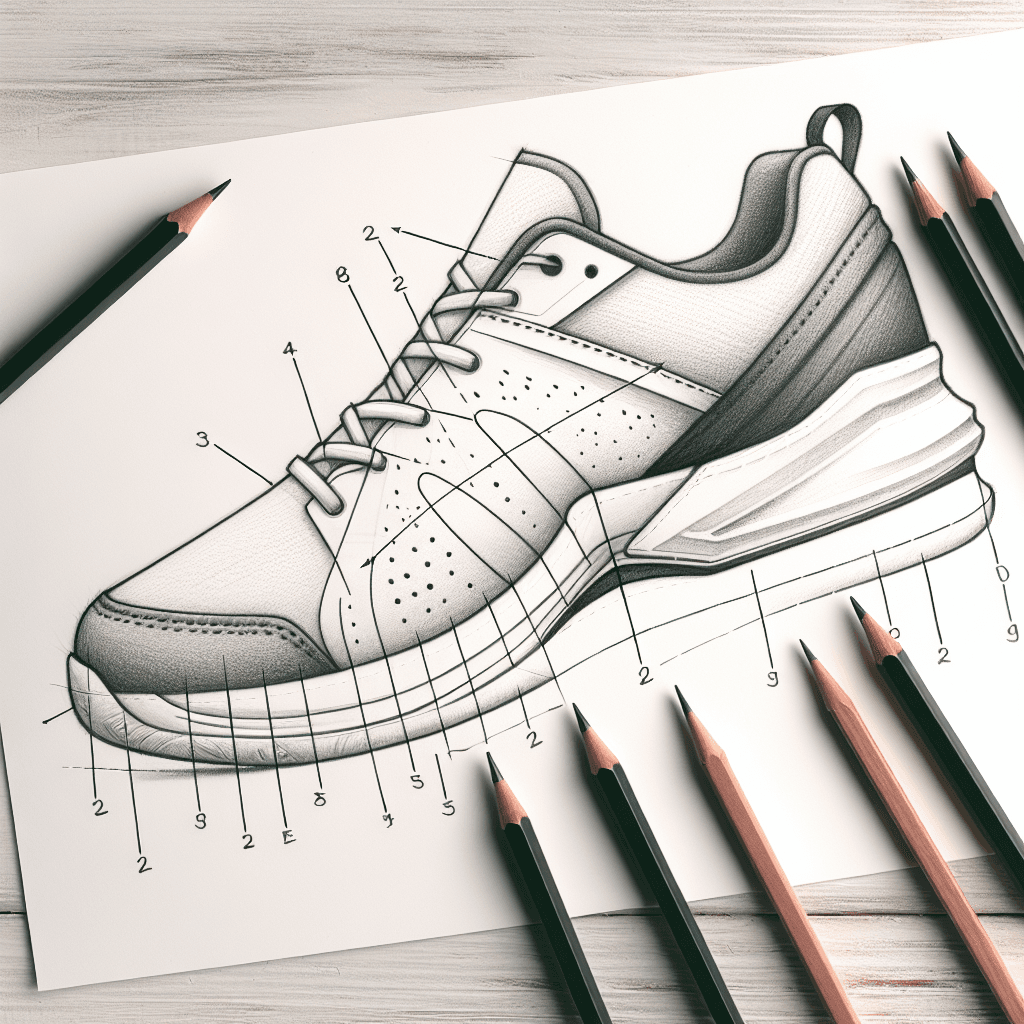
Drawing a tennis shoe helps practice breaking down a complex object into simple geometric shapes, which is essential for accurate construction in drawing. By focusing on the shoe's structure, beginners can develop their ability to visualize and render form in a step-by-step manner.
What you'll need
Step-by-step: how to draw tennis shoe
Start by sketching an elongated rectangle for the sole of the shoe, ensuring the perspective matches your desired view.
Add a larger oval on top of the rectangle to represent the main body of the shoe, aligning it with the angle of the sole.
Draw a smaller circle at the front of the shoe for the toe cap. Adjust the size and position to fit with the shoe's profile.
Use simple lines to connect these shapes, forming the basic outline of the shoe. Ensure proportions look balanced and realistic.
Refine the outline by adding details such as the laces, sole patterns, and any visible stitching, focusing on maintaining the shoe's structure.
Before you start: what to look at
Before drawing a line, observe how the sole curves upward slightly at the toe and heel. Notice where the light creates highlights along the shoe's upper edge and how shadows fall beneath the laces. Pay attention to the proportion between the shoe's body and the sole to ensure balanced construction.
Pro tips for drawing tennis shoe
Common mistakes drawing tennis shoe
Self-evaluation checklist
Ensure that the basic structure of the shoe is proportionate and that all elements align correctly within the shapes. Check for symmetry and proper perspective alignment, especially between the sole and the body of the shoe.
Frequently asked questions
How do I accurately capture the texture of the shoe?
Focus on the patterns created by stitching and surface texture, like mesh or leather grain. Use varied line weights to suggest different materials, and add shading to emphasize depth and texture variations.
What's the best way to draw the laces?
Start by sketching the eyelets on either side of the shoe's opening. Then, draw the laces as a series of overlapping curves, making sure to show how they loop and twist for a more realistic effect.
How can I ensure the perspective looks correct?
Keep the vanishing point in mind when aligning the shoe's elements. Make sure the lines of the sole and body converge towards this point, and double-check angles by comparing with reference images of shoes in similar perspectives.
More drawing lessons
Get a new drawing lesson delivered to your inbox every morning, free.
Subscribe to Draw Daily →