What you'll learn
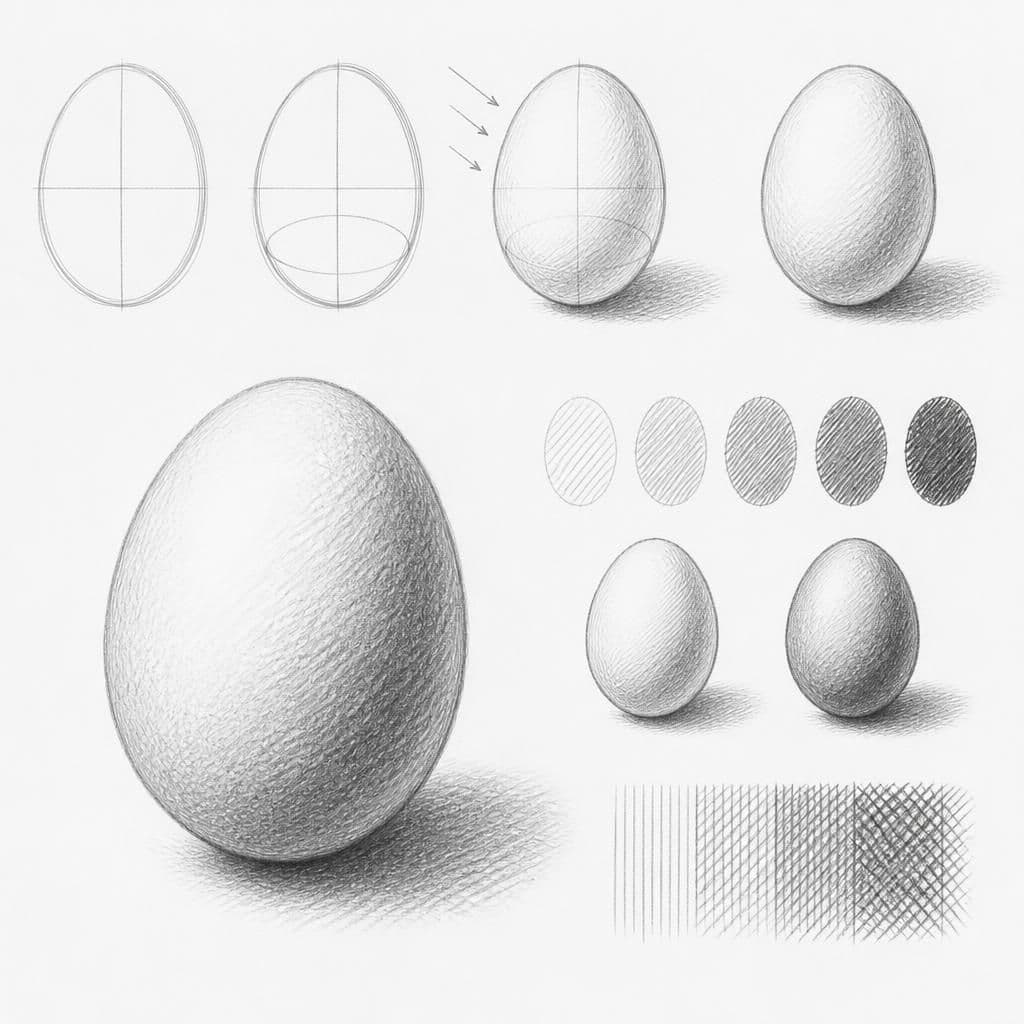
An egg provides a simple form to work on shading and creating value with light and shadow. Its smooth surface and gentle curves are great for beginners to practice hatching and see how light affects different parts of an object.
What you'll need
Step-by-step: how to draw egg
Place the egg on a flat surface with a single light source directed at it.
Lightly sketch the outline of the egg, noting its smooth, oval shape.
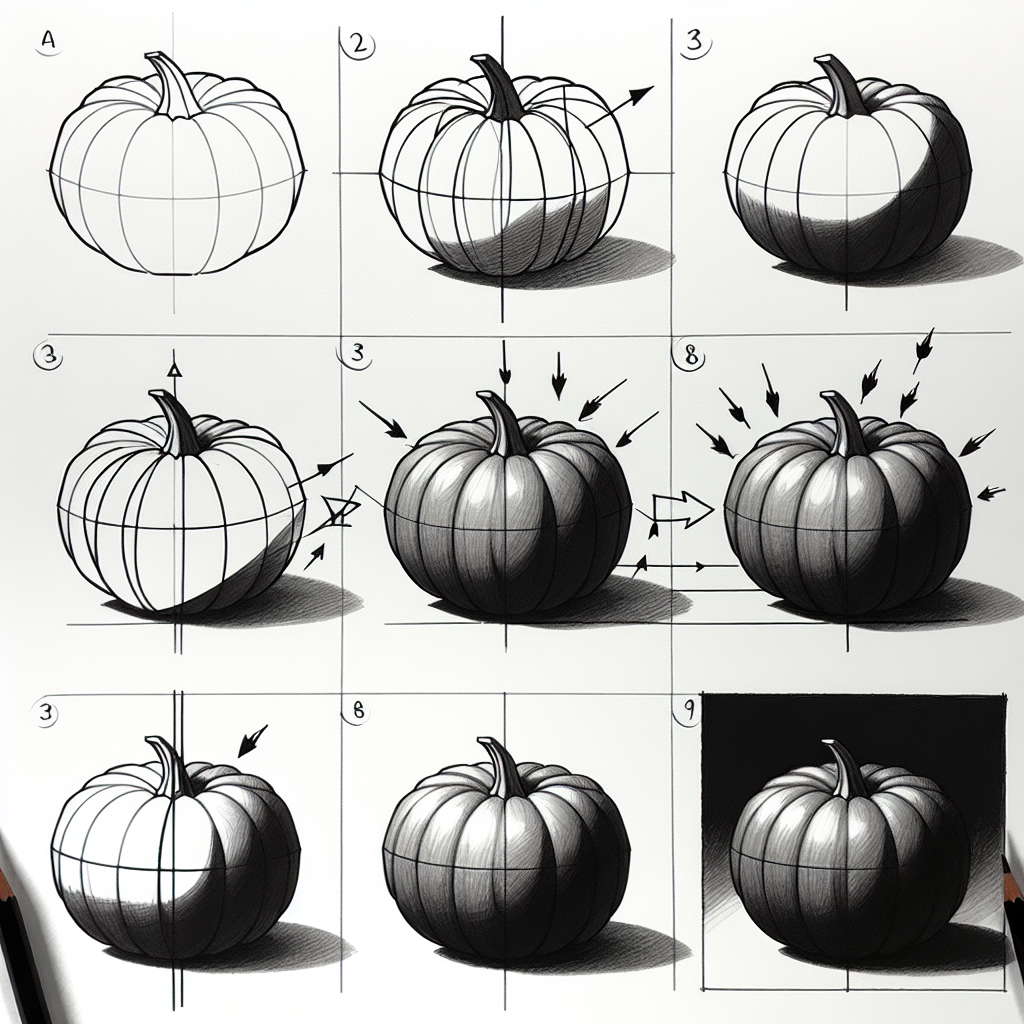
Identify the areas where light hits the egg directly and where shadows fall. Mark these areas lightly on your sketch.
Use hatching to fill in the shadows, gradually building up lines to create depth and value.
Add details in the darkest shadow areas and refine the mid-tones with lighter hatching to complete the drawing.
Before you start: what to look at
Examine how the light source creates a highlight on the egg's surface, often near the top or upper curve. Notice the gentle gradient of shadow that moves from light to dark as it wraps around the egg's form. Pay attention to the shadow the egg casts on the surface, noting its shape and size relative to the egg.
Pro tips for drawing egg
Common mistakes drawing egg
Self-evaluation checklist
Check if the egg's shape appears realistic by observing the gradient of shadows and highlights. Ensure the transitions between light and dark areas are smooth and that the hatching lines follow the egg's contour.
Frequently asked questions
Why does the egg sometimes look flat in my drawing?
If the egg looks flat, it might be because the shading lacks gradient. Ensure smooth transitions between light and shadow, and use curved hatching lines that follow the egg's contours.
How can I make the egg look more three-dimensional?
Focus on the contrast between light and shadow. Use darker hatching in the shadow areas and blend into lighter tones. Also, emphasize the highlight to enhance the egg's roundness.
What is the best way to represent the smooth surface of the egg?
Use consistent, gentle hatching techniques to mimic the egg's smooth texture. Avoid harsh lines and instead build up value gradually, paying attention to the light's effect on the surface.
More drawing lessons
Get a new drawing lesson delivered to your inbox every morning, free.
Subscribe to Draw Daily →