What you'll learn
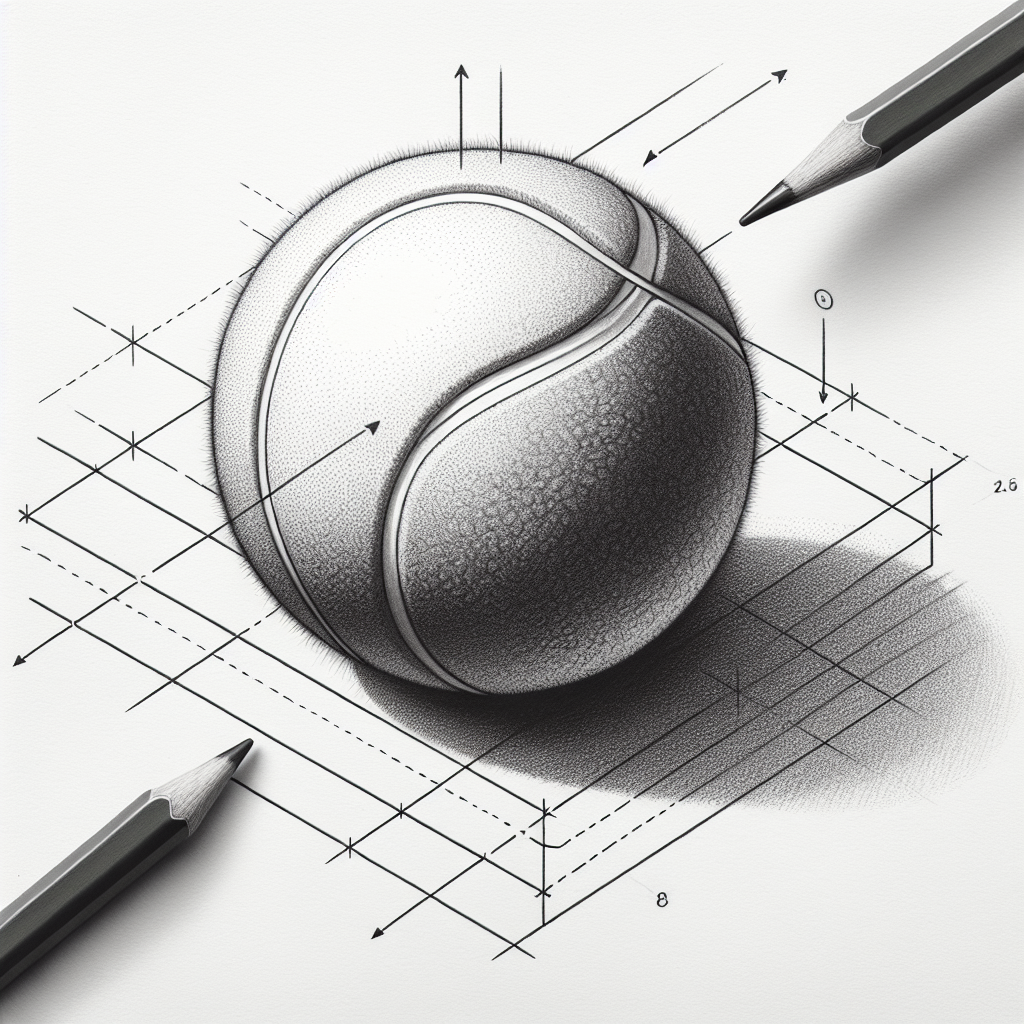
Drawing a tennis ball teaches shading and value by allowing beginners to explore light direction and texture. The object’s subtle curves and its fuzzy surface provide opportunities to practice applying various shading techniques such as hatching.
What you'll need
Step-by-step: how to draw tennis ball
Begin by sketching a simple circle to represent the basic shape of the tennis ball.
Identify the light source and lightly indicate where the highlight will be on the surface of the ball.
Use hatching to start shading the area opposite the highlight, gradually building up value to create the illusion of form.
Add texture to the surface by varying the direction and density of the hatching lines to mimic the fuzzy appearance of a tennis ball.
Refine the shading and texture, ensuring a smooth transition between light and dark areas, and emphasize the contrast along the seam lines of the tennis ball.
Pro tips for drawing tennis ball
Self-evaluation checklist
Evaluate the sketch by checking if the shading correctly suggests a three-dimensional form and if the texture effectively captures the fuzziness of a tennis ball. Ensure the light direction is consistent across the drawing.
Frequently asked questions
How long does this drawing exercise take?
The full tennis ball exercise is designed to fit in about 15 minutes of focused practice — one of the reasons it works as a daily habit.
Do I need any prior drawing experience?
No. This lesson is aimed at beginner artists and assumes only a pencil, paper, and willingness to observe.
What skill does this lesson target?
The focus is shading & value. Repeating similar exercises over time is how this skill becomes second nature.
More drawing lessons


Get a new drawing lesson delivered to your inbox every morning — free.
Subscribe to Draw Daily →