What you'll learn
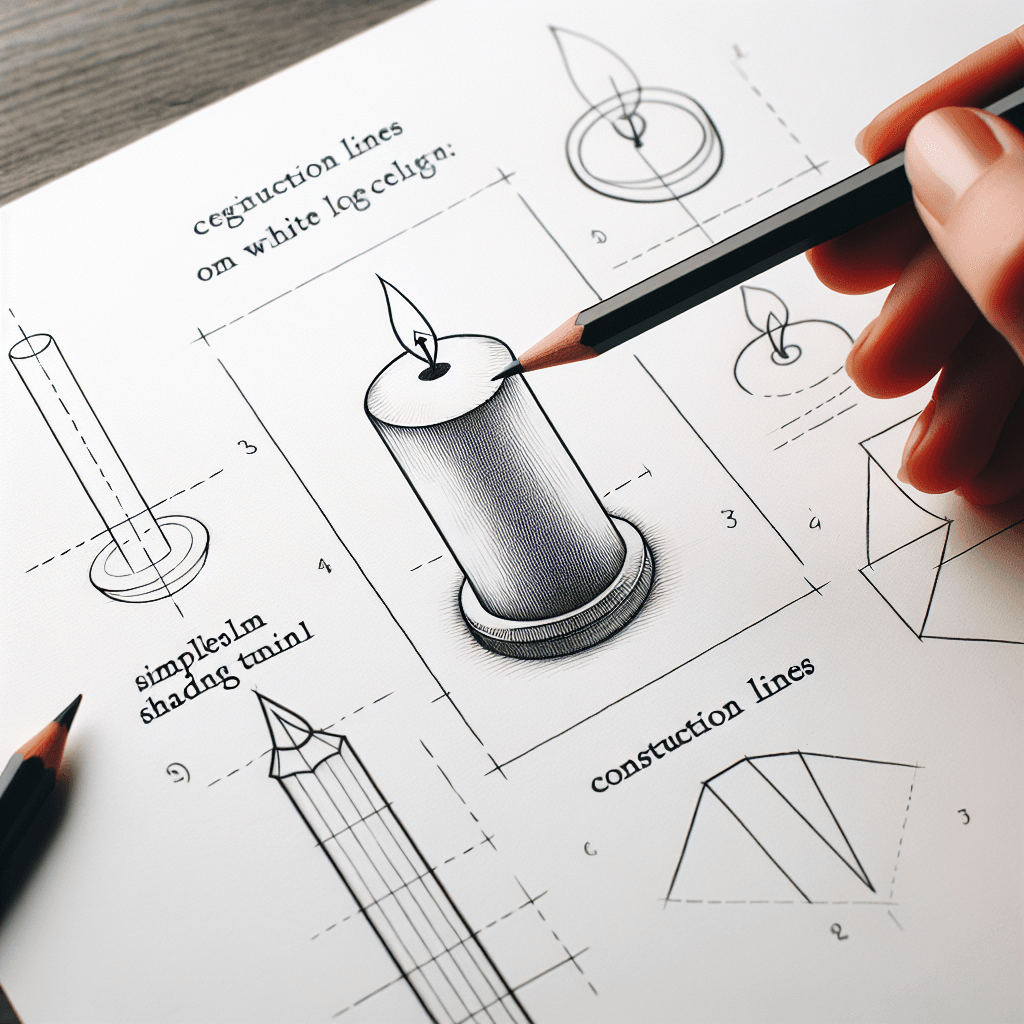
Drawing a candle helps practice shading due to its cylindrical shape and the light source from the flame. The rounded form and varying light intensities provide an opportunity to explore gradients and soft shadows.
What you'll need
Step-by-step: how to draw candle
Start by sketching the basic outline of the candle, focusing on its cylindrical shape.
Lightly outline the candle's wick and flame at the top.
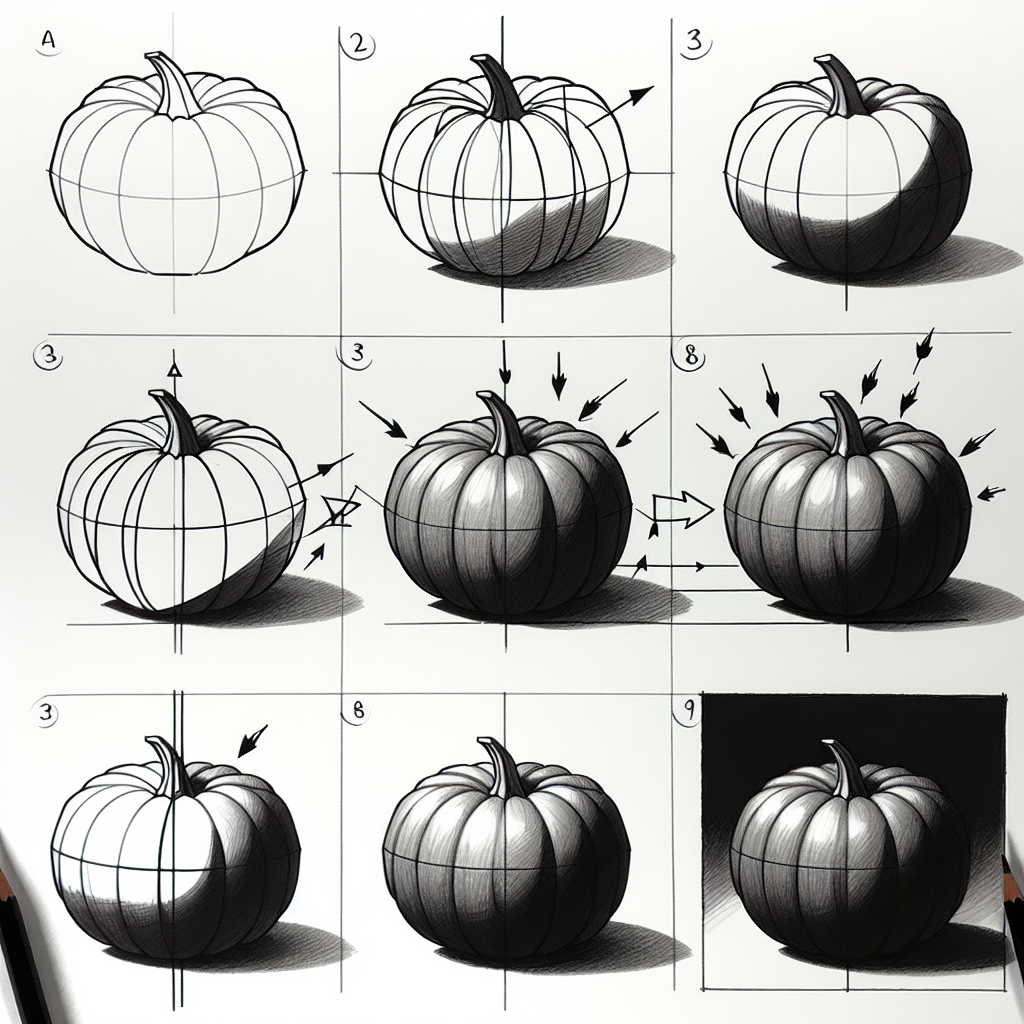
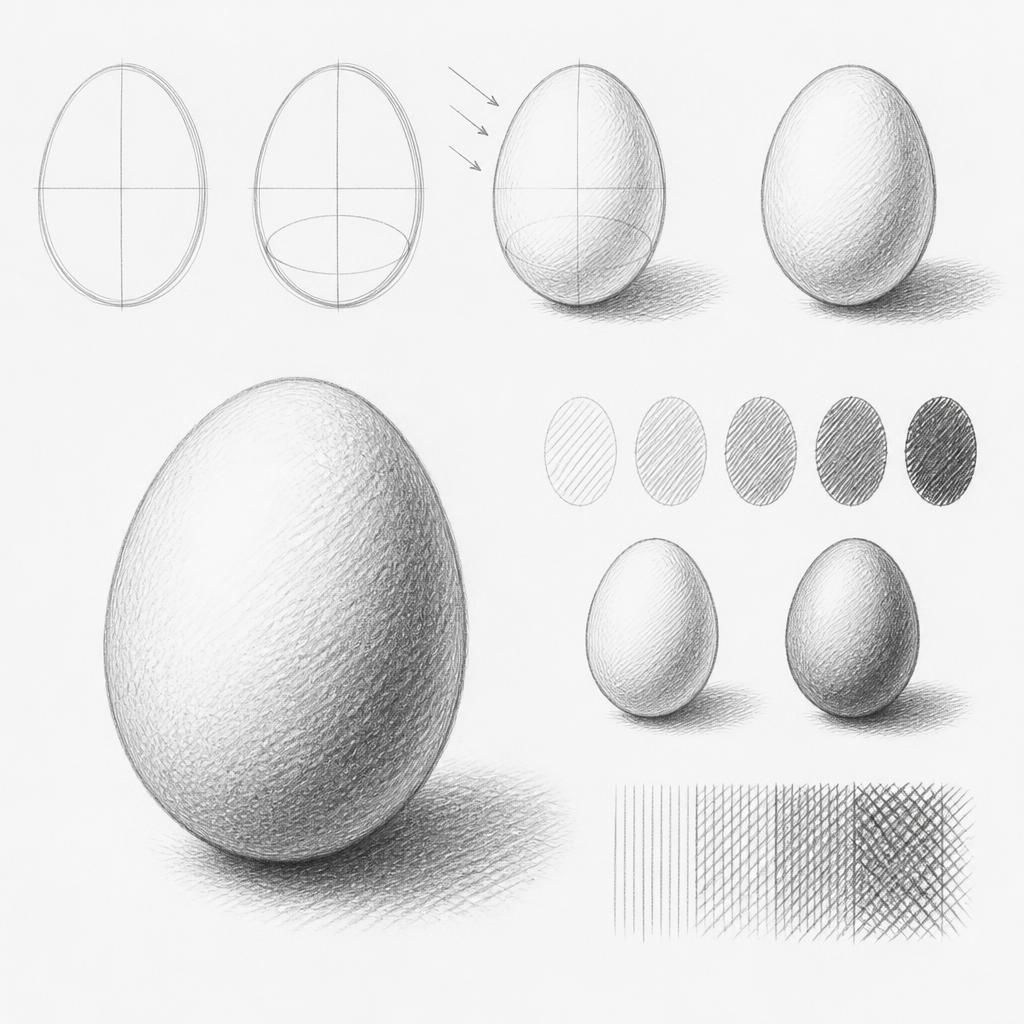
Identify the light source, which is the flame itself, and begin adding light shading to the candle's body.
Darken the areas farther from the light source to emphasize depth and contrast.
Add final touches by refining the edges and enhancing the shadows for a more realistic effect.
Before you start: what to look at
Observe how the flame creates a bright highlight along the edge facing it, and notice how the rest of the candle gently curves away into shadow. Pay attention to the subtle gradients on the candle's cylindrical surface, as they create a sense of volume and depth. Look at the way the wax base catches the light, forming a subtle reflection or sheen that adds realism to the drawing.
Pro tips for drawing candle
Common mistakes drawing candle
Self-evaluation checklist
Ensure the light source is convincingly represented by checking the contrast between light and shadow on the candle's surface.
Frequently asked questions
How do I draw the flame realistically?
Focus on the flame's shape, which is wider at the base and tapers towards the top. Use lighter pressure to show the gradation from the bright center to the softer, more translucent edges. Remember to add a slight glow around it to suggest light diffusion.
What should I consider about the candle's material?
Wax has a slight sheen, which you can depict by leaving small areas slightly lighter to indicate reflected light. This helps differentiate it from matte surfaces and adds to its realistic appearance.
How should I handle the perspective when drawing the candle?
Ensure the candle's elliptical top is drawn correctly, as this affects the overall perspective. The top ellipse should be wider than the base if viewed from above, and narrower if viewed from below. This guides the viewer's understanding of the candle's orientation.
More drawing lessons
Get a new drawing lesson delivered to your inbox every morning, free.
Subscribe to Draw Daily →