What you'll learn
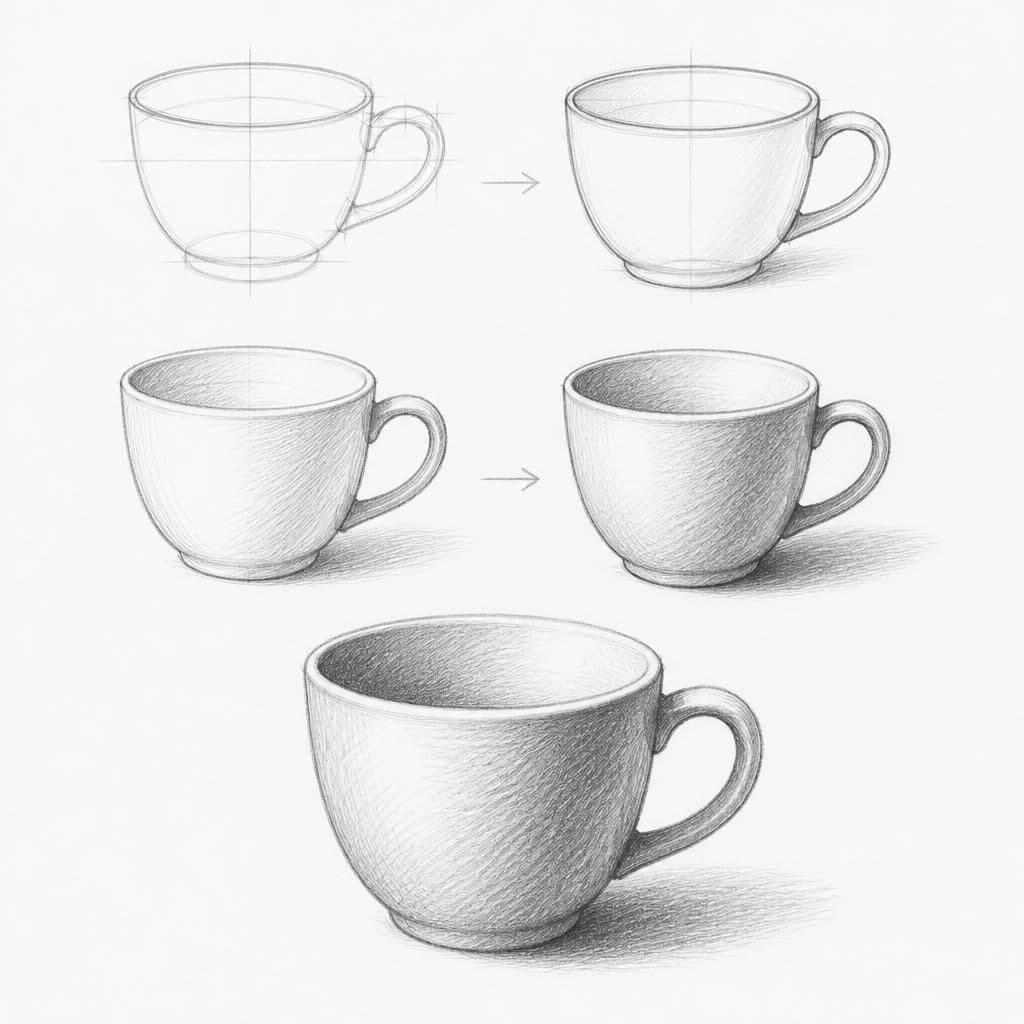
A ceramic cup provides a simple form with a clear light source and cast shadow, perfect for practicing shading and value. You can focus on recreating the subtle curves and the transitions between light and shadow.
What you'll need
Step-by-step: how to draw ceramic cup
Select a ceramic cup and place it under a direct light source.
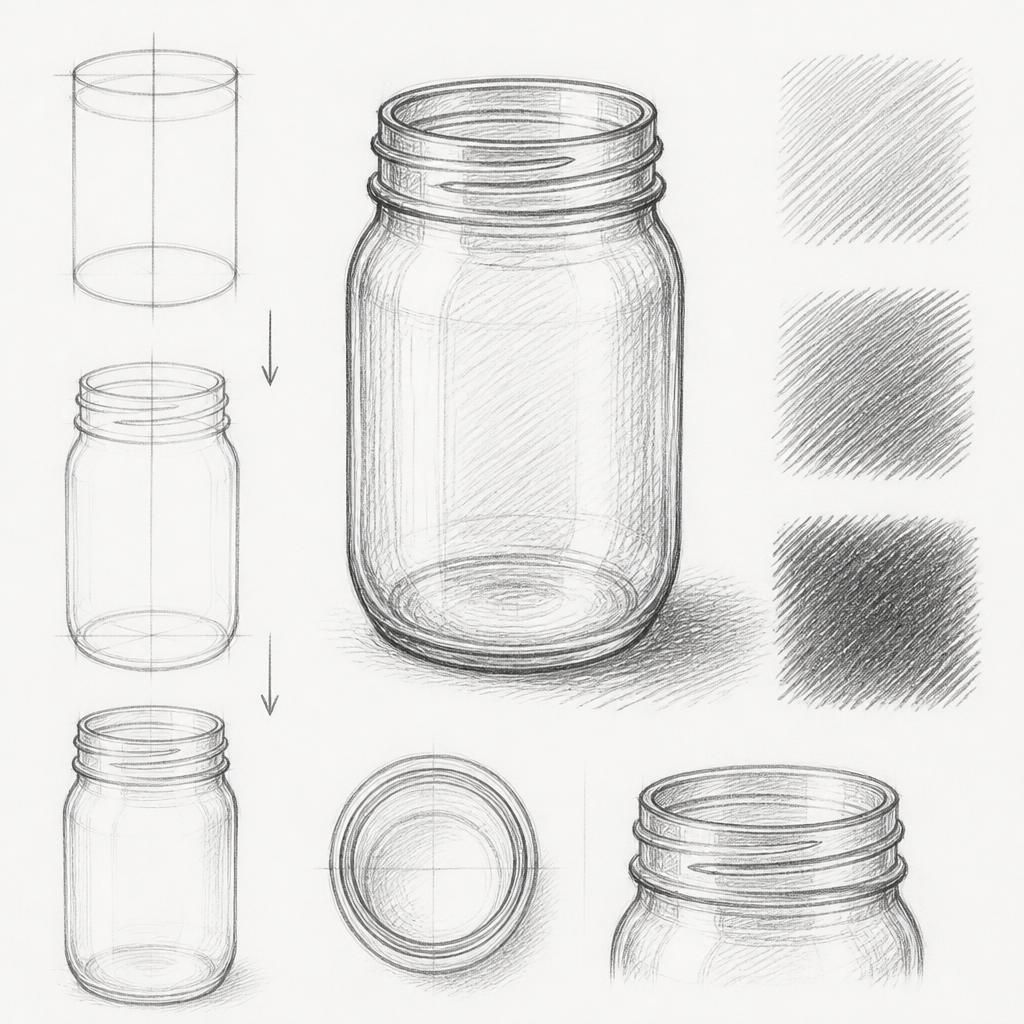
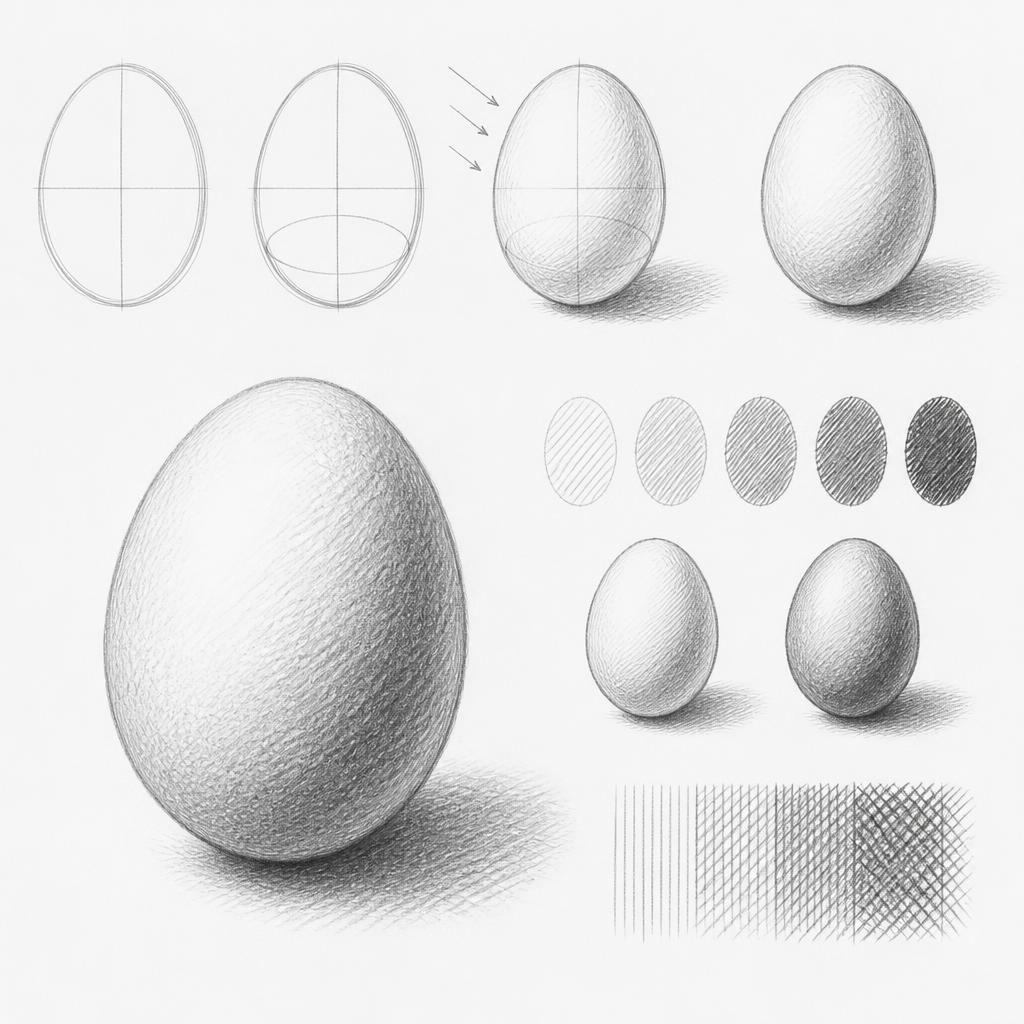
Lightly sketch the basic outline of the cup, focusing on its shape and proportions.
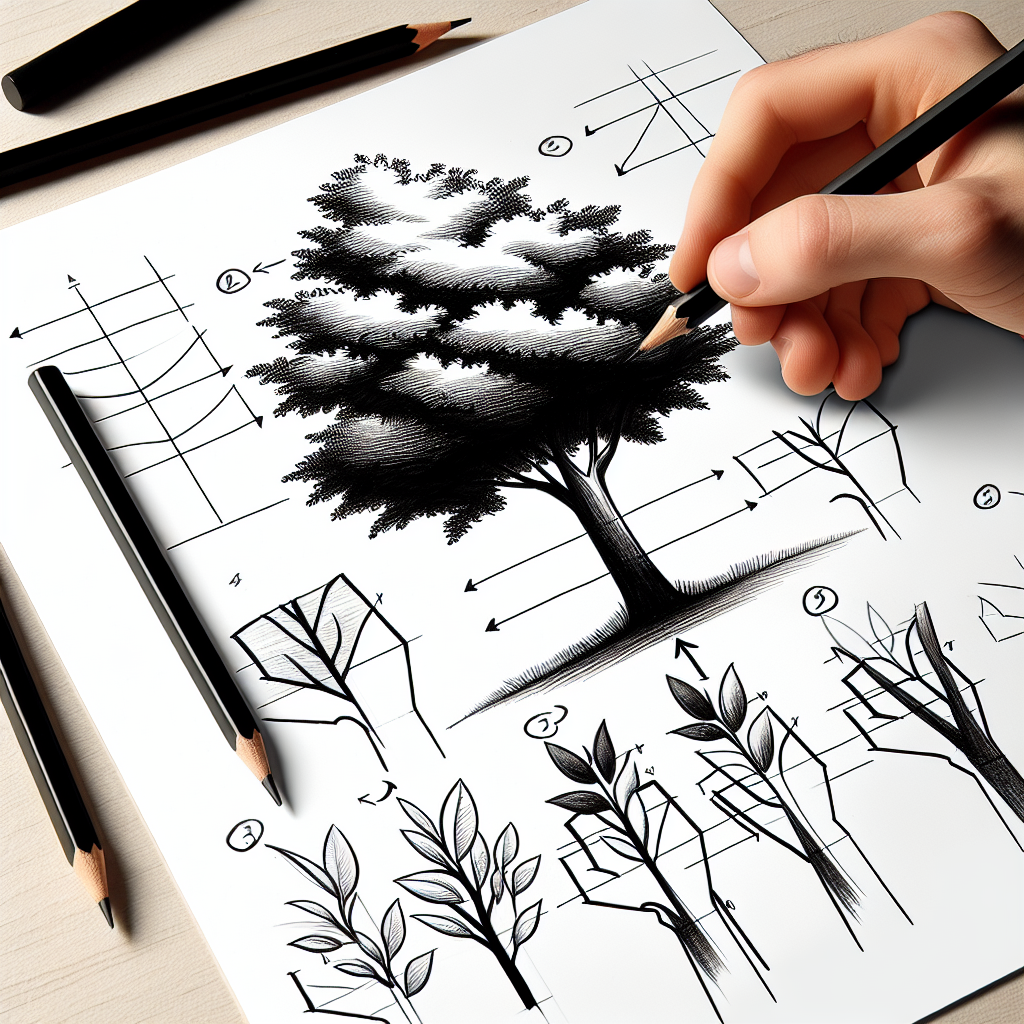
Identify the lightest and darkest areas on the cup and start shading using a hatching technique.
Add mid-tones to create a smooth gradient between light and dark areas, maintaining consistency in your hatching lines.
Refine your shading by adding more detail to the shadow areas, considering the direction and density of your hatching.
Before you start: what to look at
Notice how the light falls on the rim and body of the cup, creating a highlight. Look at the shadow cast by the cup on the surface. Pay attention to the subtle curves and how the value changes from light to dark around the cup.
Pro tips for drawing ceramic cup
Common mistakes drawing ceramic cup
Self-evaluation checklist
Compare your sketch to the real cup by checking if the light and shadow resemble the actual object. Ensure the transitions are smooth and the highlights pop out correctly.
Frequently asked questions
How can I accurately capture the cup's roundness?
Focus on the smoothness of your shading lines, and ensure that the gradient follows the contour of the cup, enhancing its round form.
What should I do if my shading looks too flat?
Increase the contrast by darkening the shadows and lightening the highlights. This will give your drawing more depth and volume.
How do I avoid smudging when shading?
Try using a piece of paper under your drawing hand to prevent smudges. You can also spray a fixative on finished areas to protect them.
More drawing lessons
Get a new drawing lesson delivered to your inbox every morning, free.
Subscribe to Draw Daily →