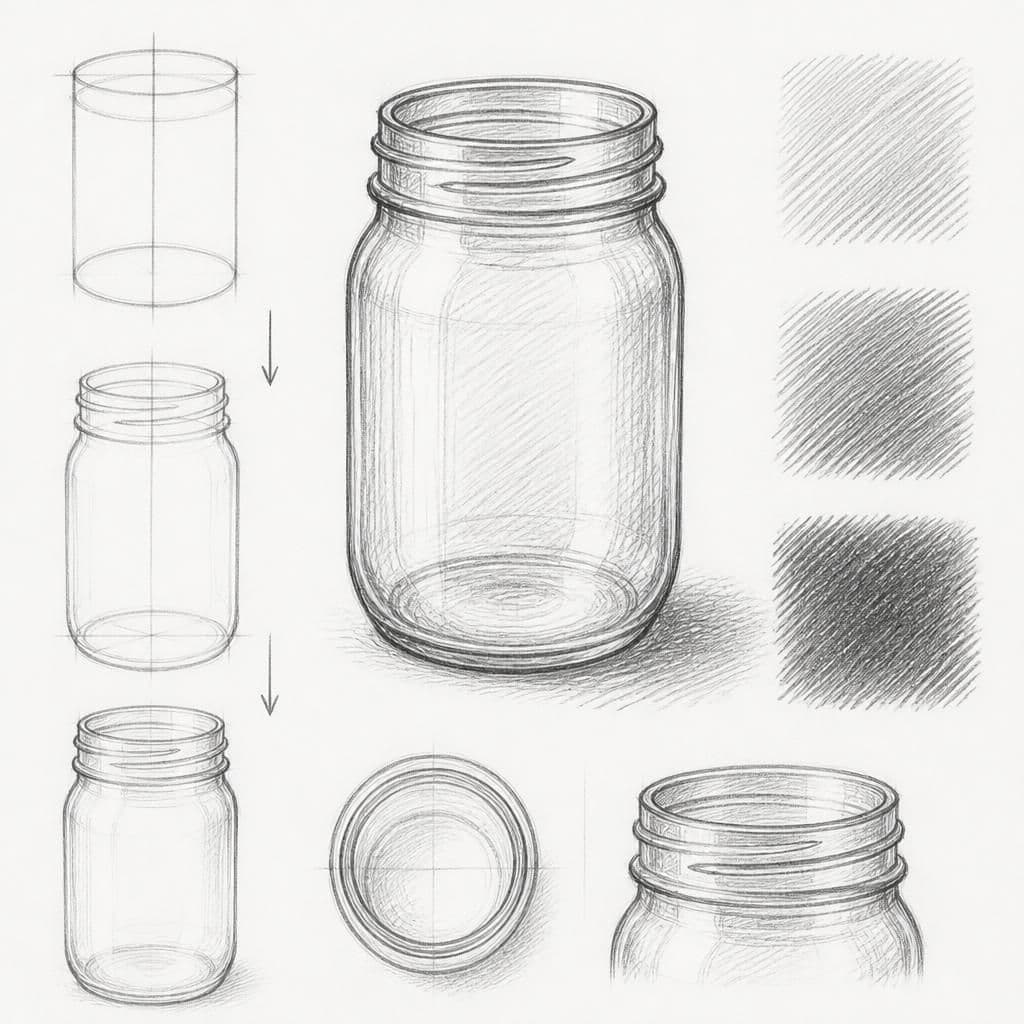
What you'll learn
A Mason jar offers a simple form with reflective surfaces and transparent elements, making it perfect for practicing value gradation and understanding light interaction with different materials. Beginners can focus on capturing the subtle transitions caused by light and shadow on the glass surface.
What you'll need
Step-by-step: how to draw mason jar
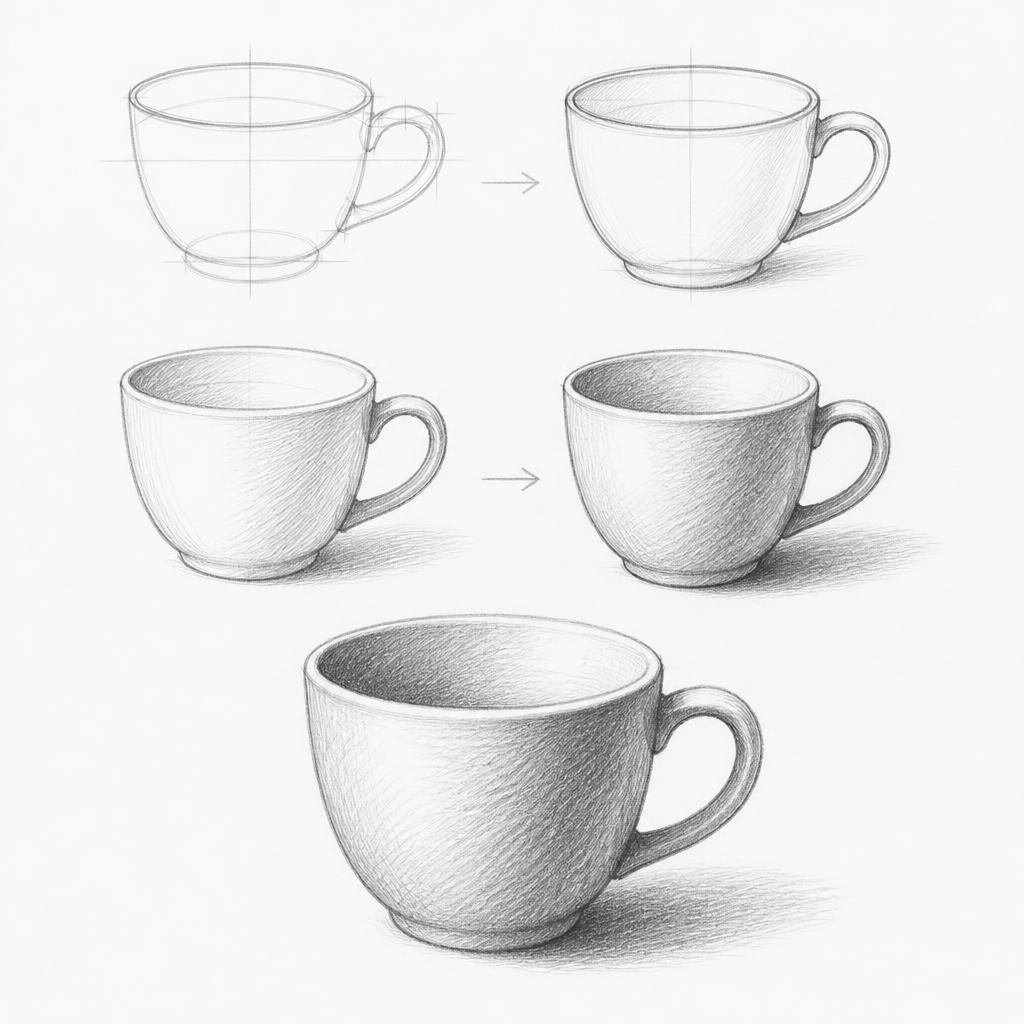
Start by lightly sketching the basic outline of the Mason jar, focusing on the overall shape and proportions.
Identify the light source and mark the brightest areas on the jar where light directly hits.
Use hatching to fill in the shadow areas, applying more strokes where the shadows are deeper.
Create a smooth transition between light and shadow by varying the density of your hatching.
Add details such as the jar rim and threads, using more precise, darker lines to emphasize the structure.
Before you start: what to look at
Before drawing, observe where the light creates highlights on the jar and how it affects the transparency of the glass. Notice the jar's edges where light refracts differently, creating unique shadow patterns. Pay attention to the jar's perspective and how the curved surface interacts with the light.
Pro tips for drawing mason jar
Common mistakes drawing mason jar
Self-evaluation checklist
Check if your drawing captures a believable light source and has a smooth gradient between highlights and shadows. The jar should have a sense of depth and roundness, with reflections clearly indicated.
Frequently asked questions
How do I make the glass look transparent?
Focus on subtle shading and use light, even strokes for transparency. Leave the highlights as untouched paper to represent the brightest areas.
What if my hatching looks too harsh?
Try using lighter strokes or a softer pencil. You can also blend with a tissue or blending stump for smoother gradation.
How do I get the proportions right?
Start with simple shapes and light guidelines. Measure proportions with your pencil by comparing lengths and angles within the object.
More drawing lessons

Get a new drawing lesson delivered to your inbox every morning, free.
Subscribe to Draw Daily →