What you'll learn
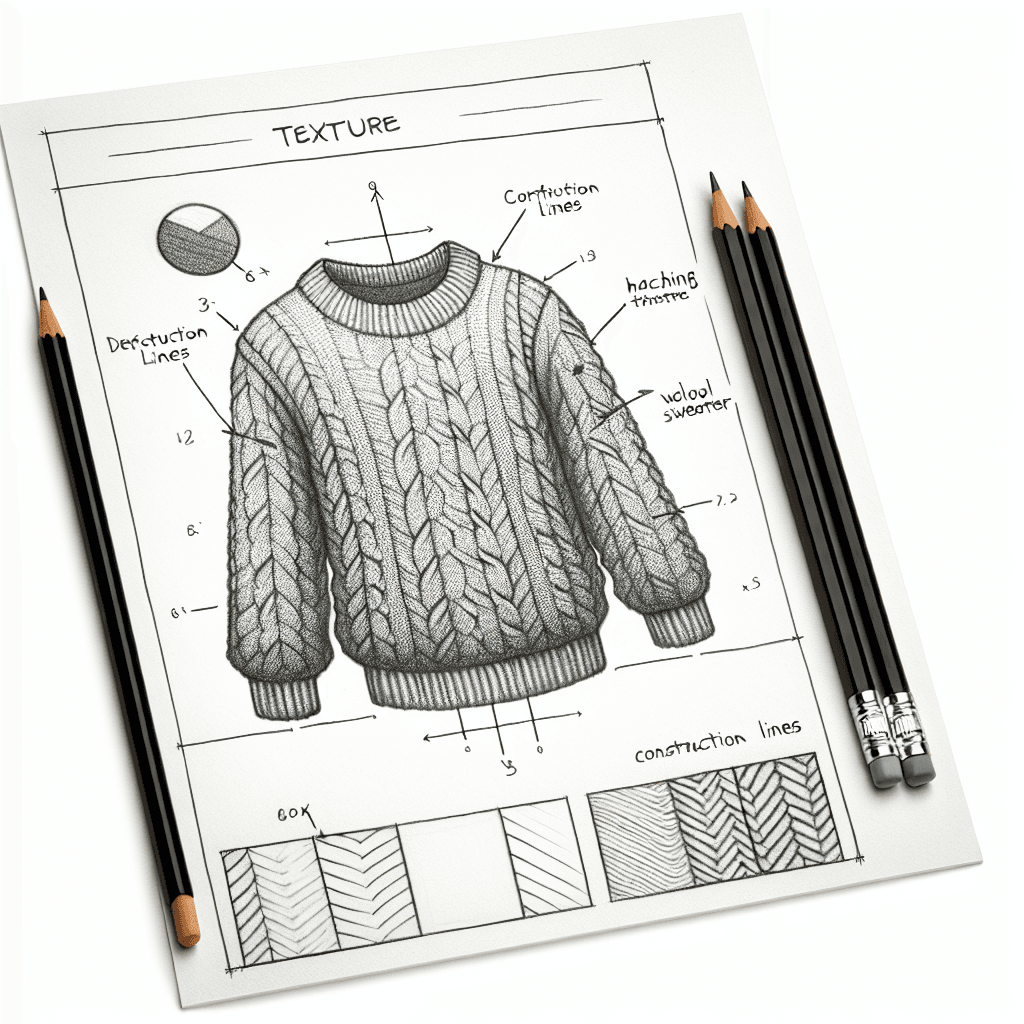
A wool sweater presents a great opportunity to practice texture as its surface varies with tiny knitted patterns. This exercise helps beginners understand how to depict the soft, cozy surface effectively through simple hatching techniques.
What you'll need
Step-by-step: how to draw wool sweater
Start by sketching the basic shape of the sweater using light lines to get proportions right.
Identify the areas where the fabric folds and bunches up, as this is where texture will be most prominent.
Use hatching to begin indicating the knitted texture by drawing small, repetitive patterns in the areas identified.
Vary the density of your hatching to show different levels of shadow and highlight across the surface.
Add finishing touches by emphasizing the depth in the fold areas with additional hatching to create a more realistic texture.
Before you start: what to look at
Observe how the light interacts with the sweater's surface, particularly at the peaks and valleys of its knitted texture. Notice the edge of the sweater where it curves around the body, as well as the way fabric naturally bunches and folds at the elbows or waist. Pay attention to the areas where shadows are cast by these folds, adding depth to your drawing.
Pro tips for drawing wool sweater
Common mistakes drawing wool sweater
Self-evaluation checklist
Check if the texture appears soft and realistic, and if the hatching successfully suggests the direction and flow of the sweater's knit pattern. Ensure the density of hatching creates the effect of light and shadow convincingly.
Frequently asked questions
How do I capture the knitted texture without making it too detailed?
Focus on the overall pattern and direction rather than each individual stitch. Use simple hatching to suggest the texture, concentrating on areas where light and shadow naturally fall.
What is the best way to show the sweater's folds realistically?
Identify where the fabric naturally bends and sags, like at the elbows or waist. Use tighter hatching in these areas to emphasize depth and shadow, which gives a realistic folded appearance.
How do I indicate the light source in my drawing?
Determine where the light hits the sweater most directly and use lighter hatching in those spots. Conversely, increase the density of your hatching where shadows form, such as under folds or away from the light source.
More drawing lessons
Get a new drawing lesson delivered to your inbox every morning, free.
Subscribe to Draw Daily →