What you'll learn
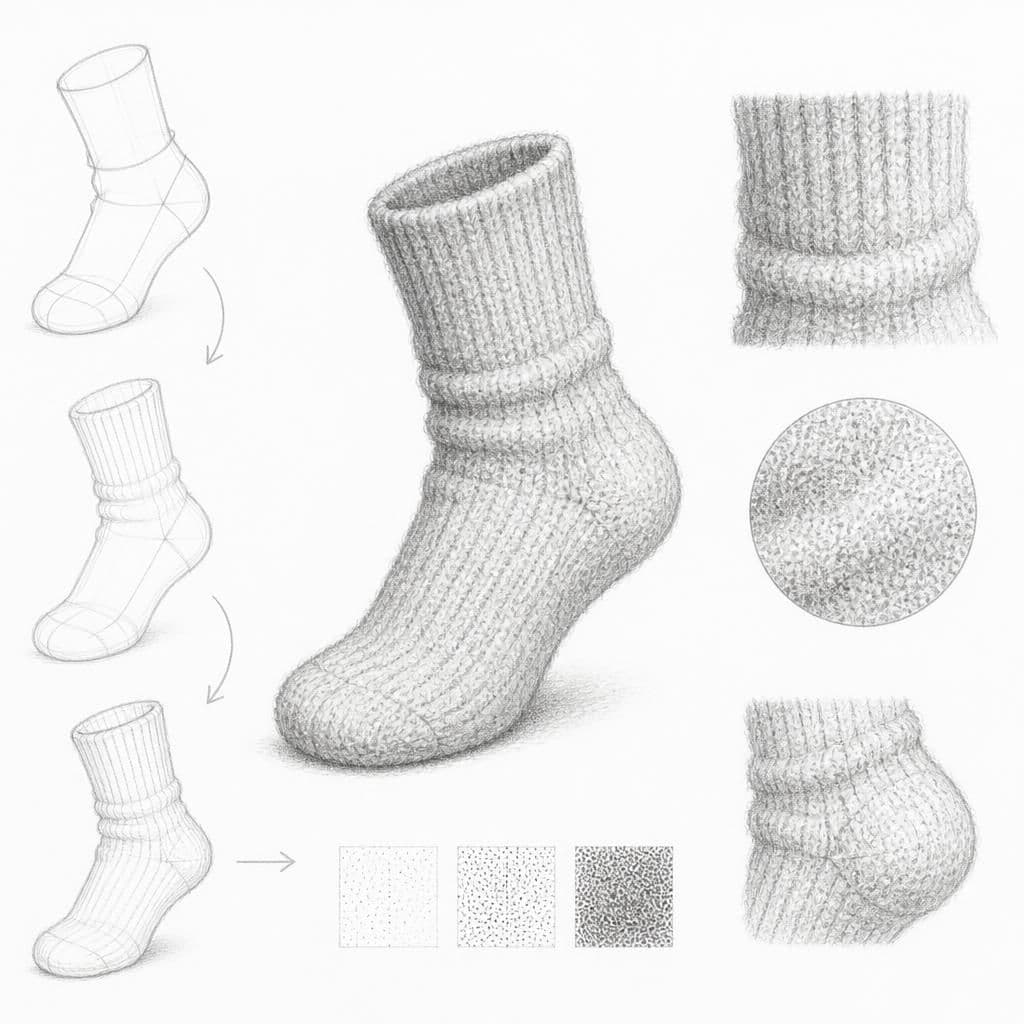
Drawing a wool sock helps you focus on the irregular texture created by the weave of the wool. This exercise will allow you to explore stippling to mimic the softness and warmth of the fabric.
What you'll need
Step-by-step: how to draw wool sock
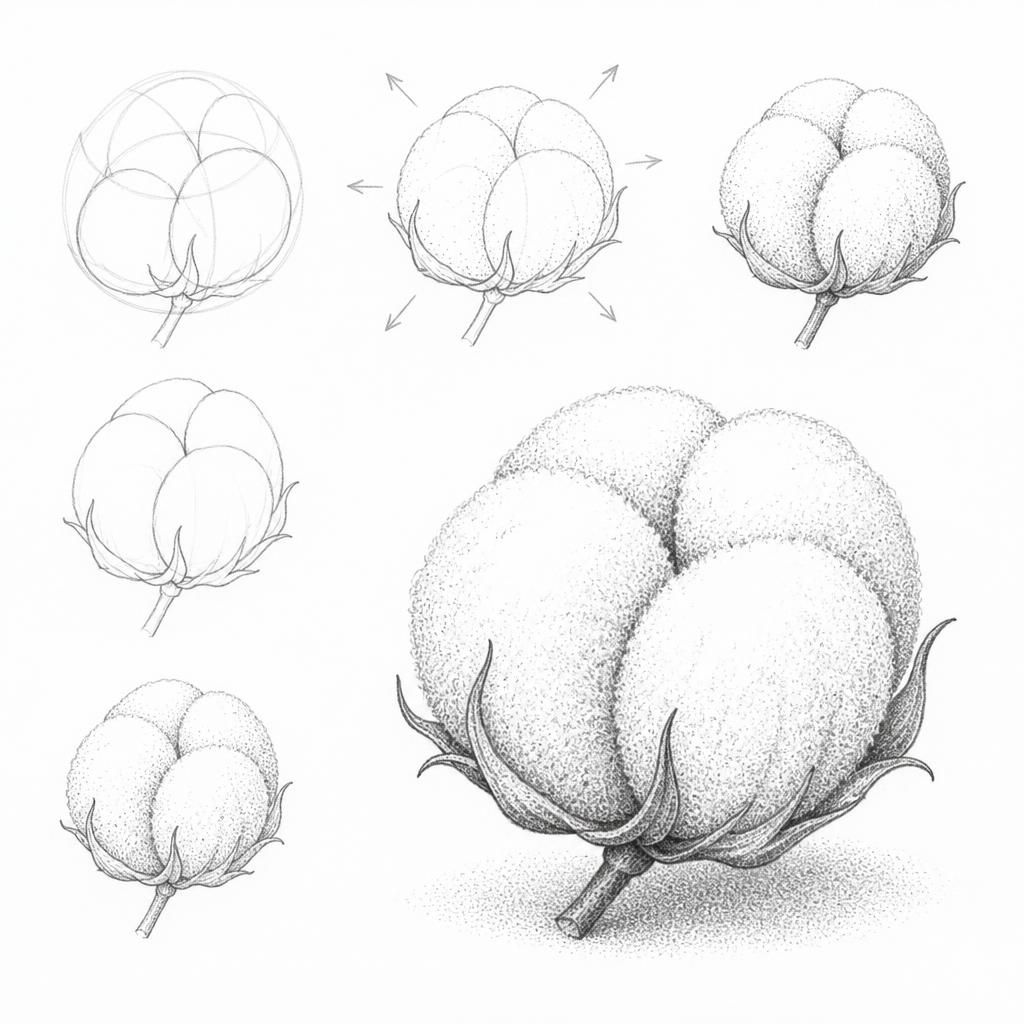
Start by lightly sketching the sock's outline using simple shapes to capture its form.
Observe the weave pattern on the sock. Begin stippling by adding small dot marks to create the wool texture.
Focus on where the fabric bunches and folds to add depth using clusters of stippling.
Use shading to emphasize the areas where light hits the sock, using lighter stippling to indicate highlights.
Add more concentrated stippling in shadowed areas to create contrast.
Review your drawing and add any final touches to enhance the texture and depth of the wool sock.
Before you start: what to look at
Look at the direction of the weave, the way the sock drapes, and where the light creates highlights on the fabric. Notice the subtle shadows and folds.
Pro tips for drawing wool sock
Common mistakes drawing wool sock
Self-evaluation checklist
Check if the stippling convincingly suggests the woven wool texture. The dots should feel natural, and transitions between light and shadow should be smooth.
Frequently asked questions
How can I make the wool texture look realistic?
Focus on varying the density of stippling to mimic the weave of wool. Pay attention to light and shadow to give it a three-dimensional feel.
What should I do if my stippling looks too harsh?
Try lightening your hand pressure and increase spacing between the dots in highlighted areas to soften the texture.
How do I capture the sock's folds effectively?
Observe the way light creates shadows in the folds. Use denser stippling in these areas and lighter, more spaced-out dots on raised surfaces.
More drawing lessons


Get a new drawing lesson delivered to your inbox every morning, free.
Subscribe to Draw Daily →