What you'll learn
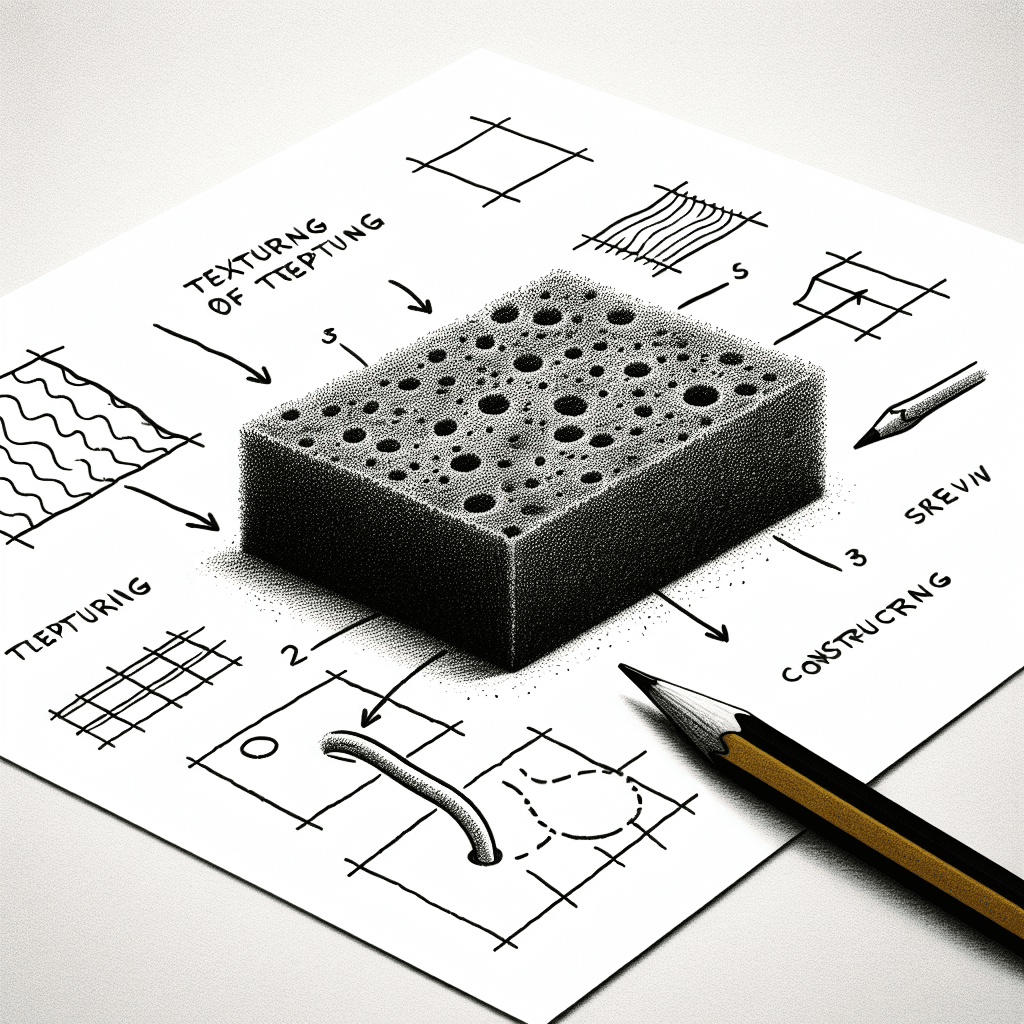
A sponge is perfect for practicing texture because its porous surface can be easily depicted with stippling, a technique accessible to beginners. This exercise helps artists capture the distinct pattern and texture of a sponge using simple dots.
What you'll need
Step-by-step: how to draw sponge
Start by lightly sketching the basic outline of the sponge, keeping its rectangular shape in mind.
Observe the sponge's surface closely and identify areas of shadow and light.
Begin adding texture using stippling: apply small dots more densely in shadowed areas and more sparsely in lighter sections to mimic the sponge's porous texture.
Refine your texture by adjusting the density and size of the dots to create a realistic surface appearance.
Before you start: what to look at
Pay attention to the uneven edges of the sponge, as they add character to its shape. Notice how certain areas catch more light, creating highlights on the surface. Observe the size and distribution of the pores, which vary across the sponge, affecting how light and shadow play on it.
Pro tips for drawing sponge
Common mistakes drawing sponge
Self-evaluation checklist
Evaluate your sketch by comparing the density and size of the dots you used to the sponge's actual texture. Look for areas where light, shadow, and texture are effectively conveyed, and ensure they reflect the natural appearance of a sponge.
Frequently asked questions
How do I make the sponge look three-dimensional?
Focus on the variation in the density of your stippling to create depth. Densely packed dots in shadowed areas and more open stippling where light hits will give the illusion of volume.
What is the best way to draw the sponge's edges?
Observe the sponge's edges closely, noticing any irregularities. Lightly sketch these uneven outlines first, as they help convey the sponge's natural look.
How can I depict the porous texture realistically?
Start by identifying clusters of pores and their sizes. Use varying dot sizes and densities to replicate these clusters, ensuring that the sponge's characteristic texture is represented accurately.
More drawing lessons
Get a new drawing lesson delivered to your inbox every morning, free.
Subscribe to Draw Daily →