What you'll learn
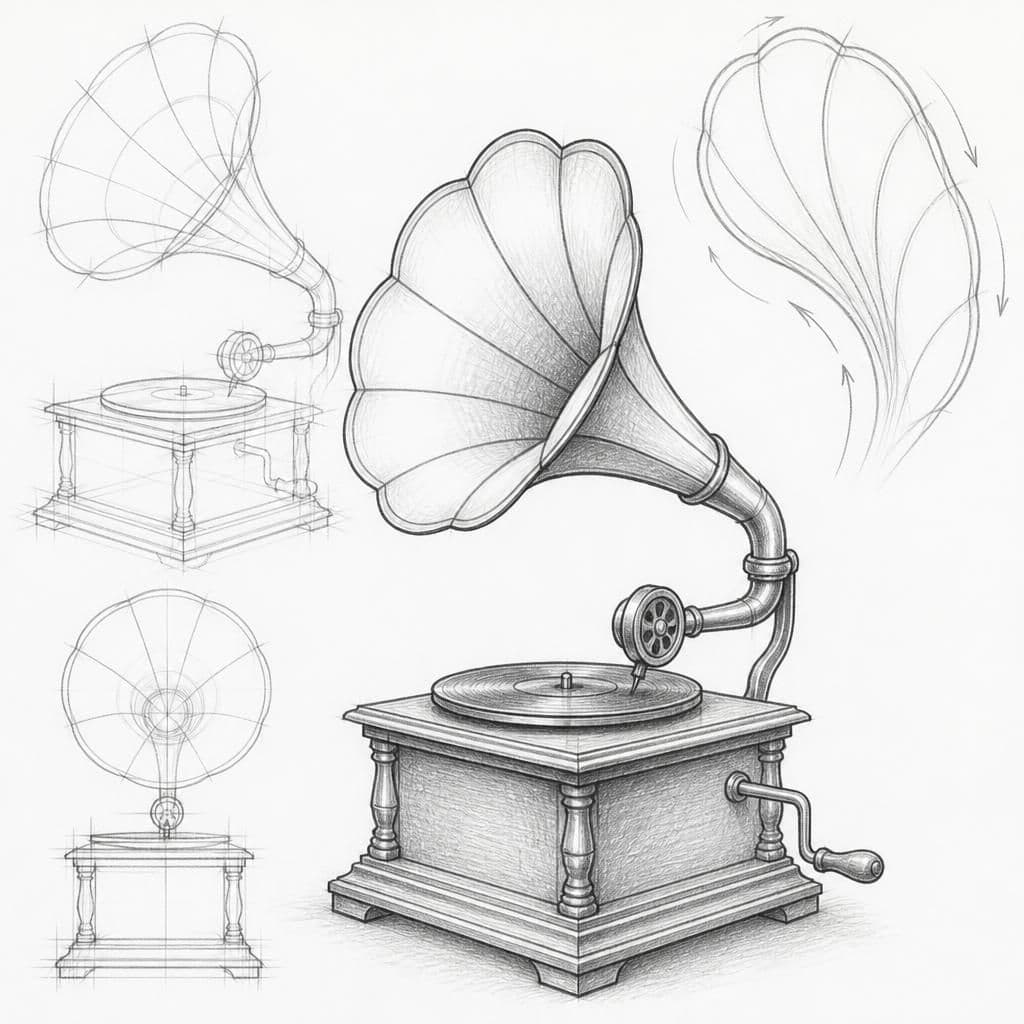
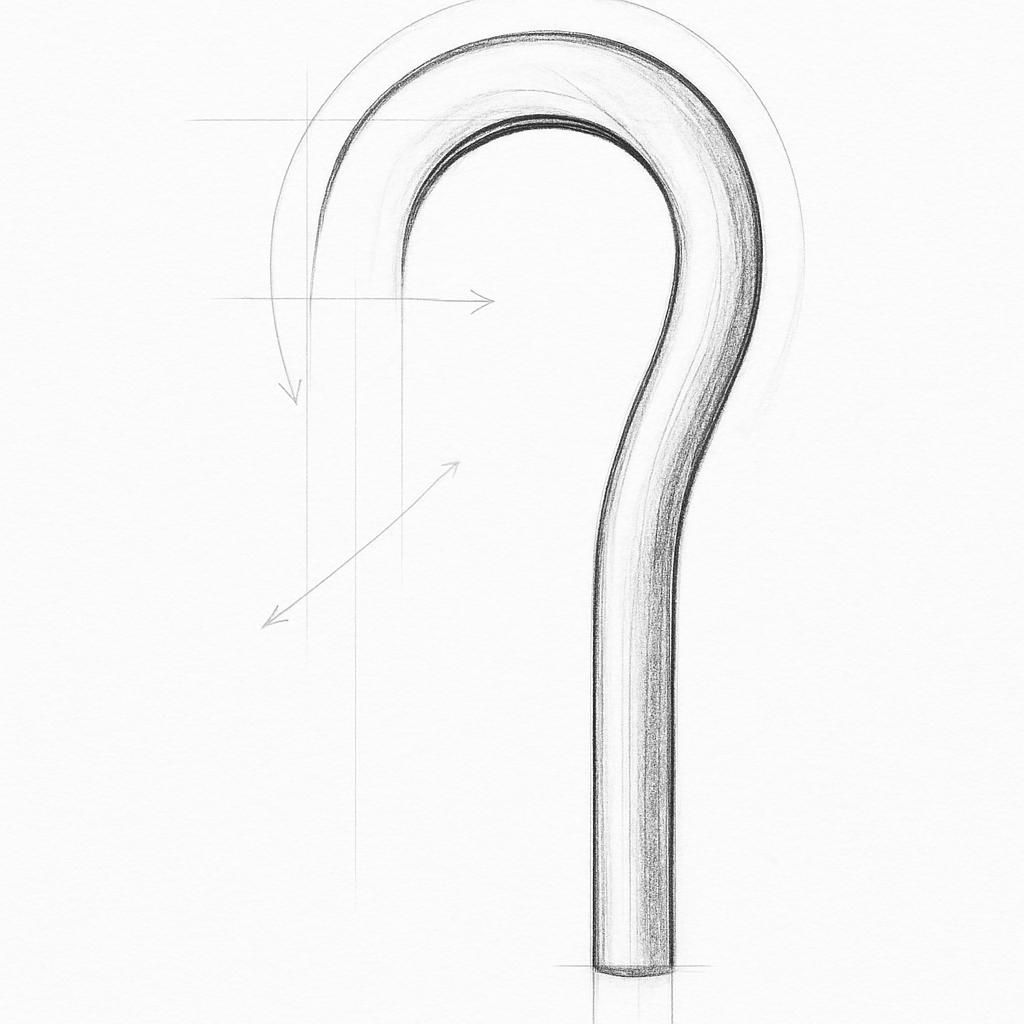
The vintage gramophone is an intricate object that offers advanced artists the opportunity to practice line work through its complex forms and varied surfaces. Its combination of curved and straight lines allows for focused practice on line weight variation, enhancing the expressiveness and depth of your drawing.
What you'll need
Step-by-step: how to draw vintage gramophone
Start by sketching the basic outline of the gramophone. Focus on capturing the overall shape using light, consistent lines.
Refine the outline by adding details like the curved horn and base. Begin to introduce varying line weights to differentiate between parts.
Add interior details such as the grooves on the horn and the texture of the base. Use heavier lines for shadows and lighter lines for highlights.
Enhance the drawing by incorporating subtle cross-hatching inside the horn to suggest depth and curvature.
Finalize the piece by cleaning up any unnecessary lines and ensuring the line weights emphasize the three-dimensionality of the object.
Before you start: what to look at
Before drawing, look closely at the curvature of the horn and how it tapers towards its opening. Notice the precise alignment where the horn meets the base and how the light catches the edges, especially on the metallic surface of the horn which will create highlights and shadows. Pay attention to the grooves around the horn as they wrap around and recede from view.
Pro tips for drawing vintage gramophone
Common mistakes drawing vintage gramophone
Self-evaluation checklist
Examine your sketch for consistent line weight distribution. Ensure that the drawing effectively conveys depth and dimension, and that your lines emphasize the intricate details of the gramophone.
Frequently asked questions
How do I accurately capture the horn's complex shape?
Focus on breaking down the horn into simpler, manageable curves. Sketch lightly at first to build up the shape and then refine with more defined lines. Observing reference images can help understand the transition of curves from the base to the opening.
What material details should I emphasize in the drawing?
Highlight the metallic surface of the horn by using varied line weights to capture shine and reflection. The base may have a wooden texture, so incorporate lines that suggest grain without overpowering the overall drawing.
How do I handle the perspective of the gramophone effectively?
Begin with a central vanishing point to ensure the angles of the base and horn align correctly. Use guidelines to maintain consistency across the drawing, especially where circular parts, like the turntable, meet the rectangular base.
More drawing lessons


Get a new drawing lesson delivered to your inbox every morning, free.
Subscribe to Draw Daily →