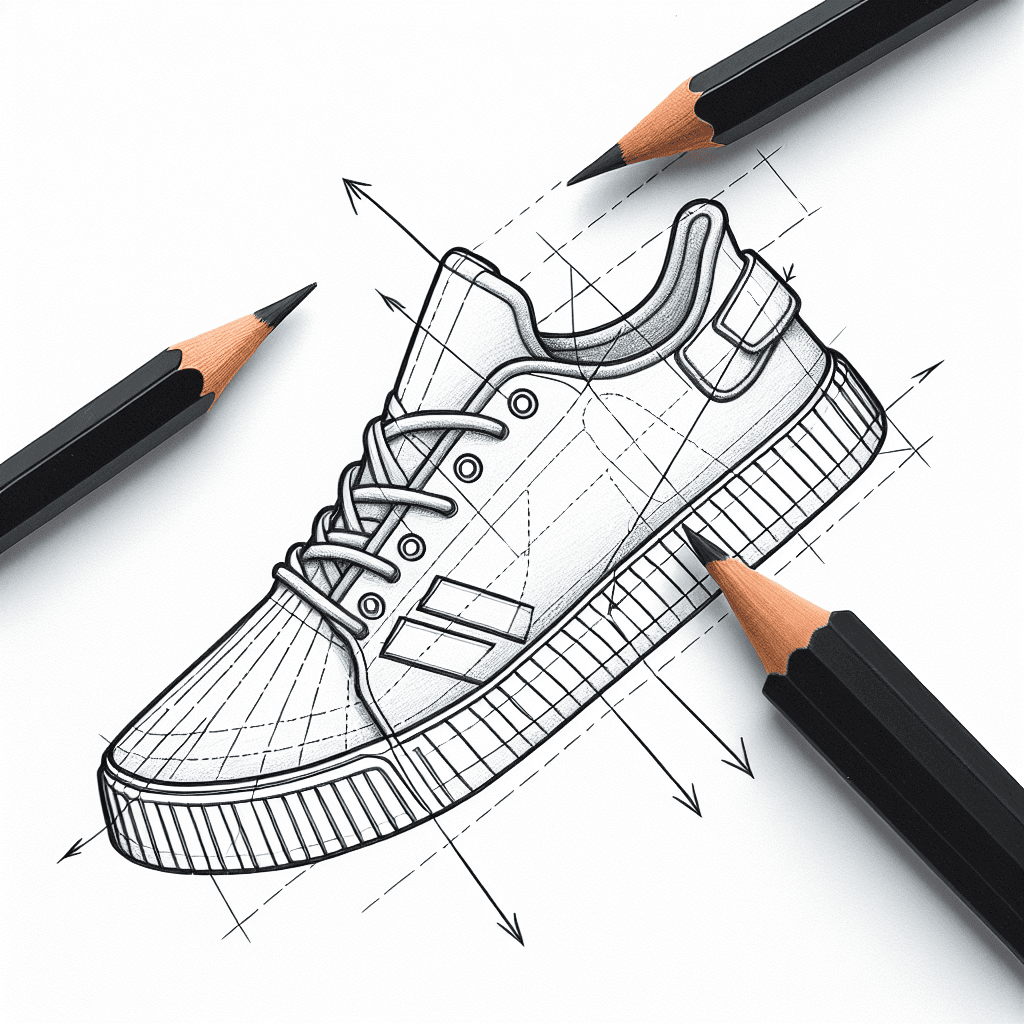
What you'll learn
Drawing a sneaker allows you to practice defining complex shapes with simple lines. Its numerous curves and varying textures make it an excellent subject to enhance your ability to capture outlines accurately.
What you'll need
Step-by-step: how to draw sneaker
Start by sketching a basic outline of the sneaker to capture its overall shape.
Focus on the contours and define the sole with simple lines.
Add details to the upper part, including laces and any visible stitching.
Refine the outlines, paying attention to any curves and creases.
Draw any logo or design elements, maintaining proper proportions.
Before you start: what to look at
Before drawing, observe the curve where the sole meets the upper part of the sneaker. Notice how light catches the stitching and how the tongue of the sneaker overlaps with the laces. Pay attention to the way shadows define the contours around the heel and toe box.
Pro tips for drawing sneaker
Common mistakes drawing sneaker
Self-evaluation checklist
Check that your sneaker maintains realistic proportions and that contours flow smoothly without unnecessary breaks.
Frequently asked questions
How do I accurately capture the texture of the sneaker material?
Start by closely observing the grain or pattern on the sneaker's surface. Use light, varied line strokes to suggest texture without overwhelming the contour lines. Focus on how the texture interacts with light and shadow.
What is the best way to draw the laces so they look realistic?
Begin by sketching the laces' path over the tongue as simple, overlapping lines. Add small loops where they cross each other. Vary line weight to suggest depth and tension in the laces, and ensure they follow the sneaker's contour.
How do I handle drawing the sneaker from an angled perspective?
First, establish the vanishing points to guide the overall shape. Notice how the sneaker's proportions change with the angle, especially around the sole and heel. Use light guidelines to maintain symmetry and perspective in your drawing.
More drawing lessons



Get a new drawing lesson delivered to your inbox every morning, free.
Subscribe to Draw Daily →