What you'll learn
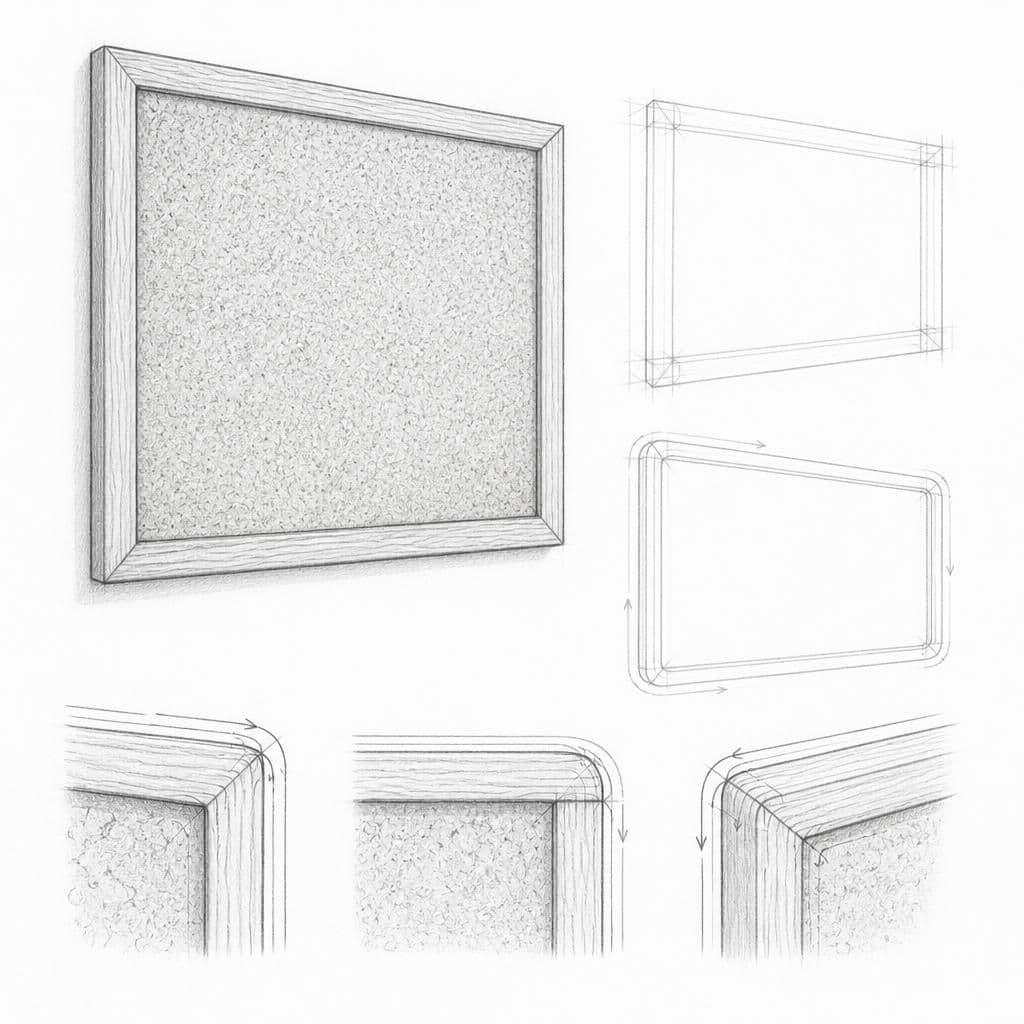
Drawing a corkboard helps beginners practice line work by focusing on the straight, clean lines of the frame and the detailed texture of the cork surface. This exercise aids in improving precision and hand control.
What you'll need
Step-by-step: how to draw corkboard
Start by drawing a large rectangle to outline the corkboard's frame.
Within the rectangle, draw a slightly smaller rectangle to represent the corkboard area.
Add contour lines along the edges to define the frame's thickness and depth.
Sketch the texture of the cork surface using light, random strokes to mimic its natural pattern.
Check over your lines, ensuring they are straight and consistent, and make adjustments if necessary.
Before you start: what to look at
Look closely at the frame's edges and corners; note how the light highlights the edges. Observe the cork surface's texture and any pushpin holes or marks.
Pro tips for drawing corkboard
Common mistakes drawing corkboard
Self-evaluation checklist
Evaluate the evenness and straightness of the frame lines, and check the texture representation of the cork surface for a natural appearance.
Frequently asked questions
How do I draw the texture of the cork without making it look messy?
Use light and short strokes to suggest texture. Avoid over-layering lines in one area, which can make it look cluttered.
Should I shade the frame?
Basic contours and lines should suffice for this exercise, but you can add subtle shading to indicate depth if time allows.
How do I keep my lines straight without a ruler?
Practice keeping your hand steady and use the edge of your paper as a visual guide. Lightly sketch lines first, then reinforce them.
More drawing lessons





Get a new drawing lesson delivered to your inbox every morning, free.
Subscribe to Draw Daily →