What you'll learn
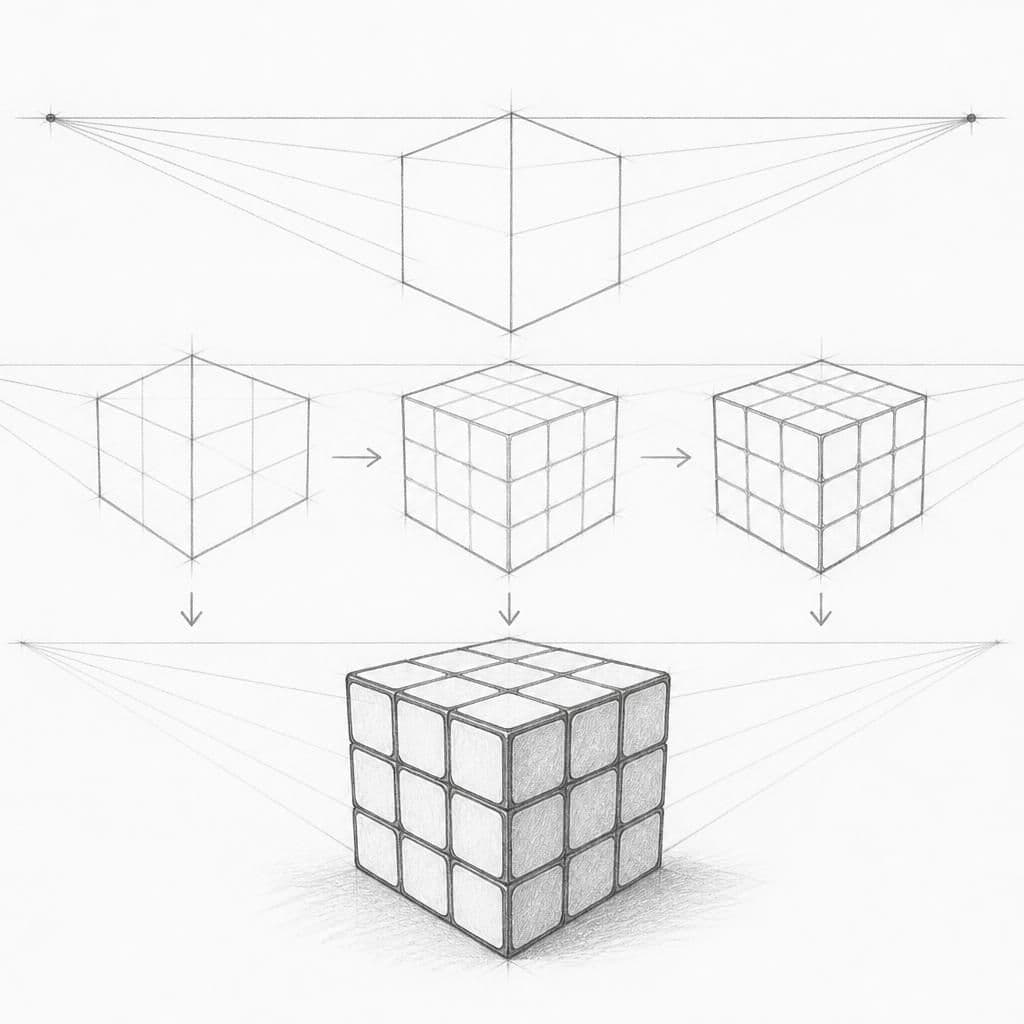
Drawing a Rubik's Cube helps beginners understand two-point perspective due to its cubic shape. This exercise will aid in grasping how to position vanishing points and draw parallel lines for a 3D effect.
What you'll need
Step-by-step: how to draw rubik's cube
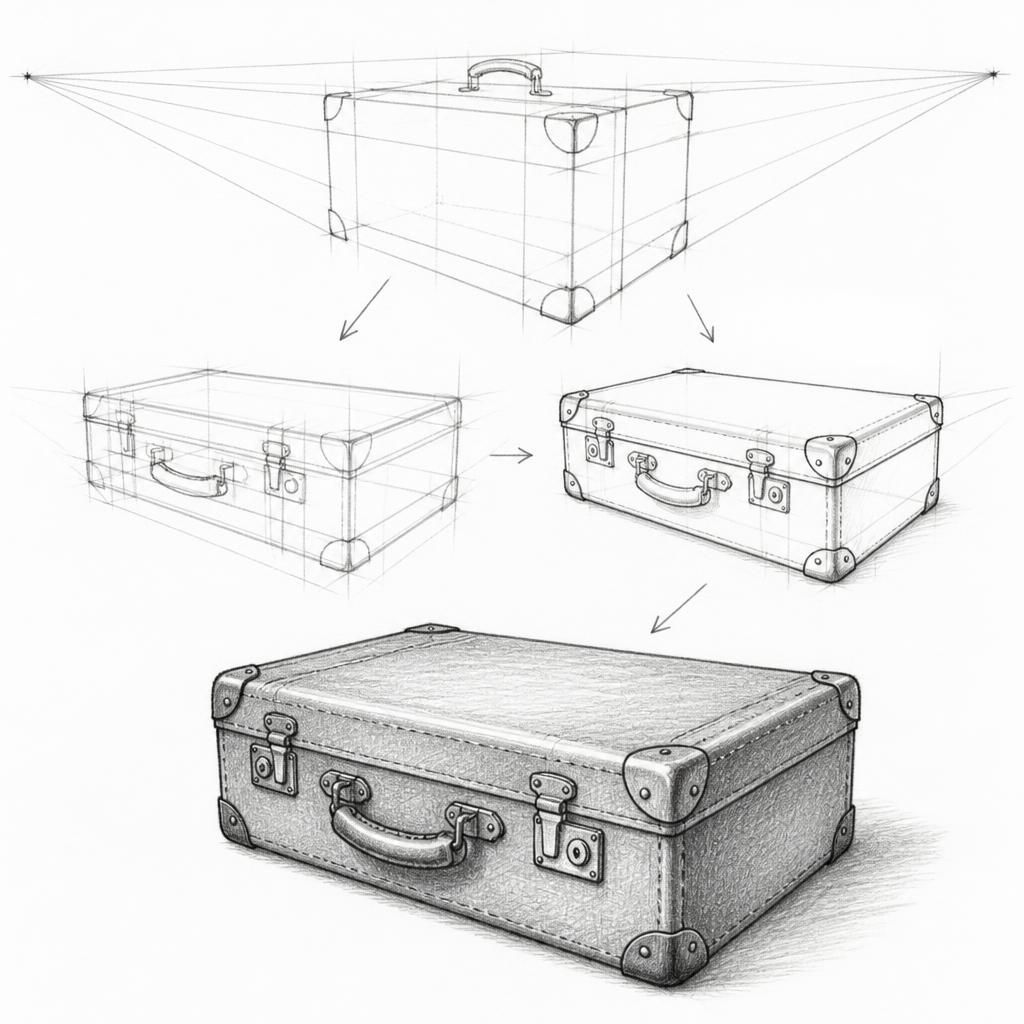
Start by sketching a horizon line across your paper. Decide on the placement of two vanishing points towards the edges of the horizon.
Draw a vertical line where you want the front edge of the cube to be. This line represents the closest corner of the cube.
Connect the top and bottom of this line to both vanishing points, forming a 'V' shape on each side which represents the front two faces.
Draw vertical lines on both sides, keeping the lines parallel to the initial vertical line. These will form the front edges of the cube.
Complete the cube by sketching the back edges and adjust the perspective by refining the lines to make sure they converge precisely to the corresponding vanishing points.
Before you start: what to look at
Observe the edges of the Rubik's Cube and how they recede towards the vanishing points. Notice the size of the stickers on each face; they should appear smaller as they recede into space. Pay attention to the alignment of the squares on the cube's surface to maintain symmetry.
Pro tips for drawing rubik's cube
Common mistakes drawing rubik's cube
Self-evaluation checklist
Check if all the lines meant to converge at the two vanishing points actually do. Ensure the faces of the cube appear to be proportional and represent a 3D object.
Frequently asked questions
How can I ensure I'm placing the vanishing points correctly?
Place them towards the edges of your paper, ensuring enough space between them to create the desired angle of the cube. Adjust them based on how wide or narrow you want the cube's perspective.
What should I do if I can't make the lines converge perfectly?
Practice using a ruler to help guide your initial lines. Over time, your hand-eye coordination will improve, allowing you to draw more precise lines.
How do I maintain the cube's proportions when drawing freehand?
Start by marking key points lightly and constantly compare distances and angles. Use reference points on your drawing to ensure consistency in size and angles.
More drawing lessons
Get a new drawing lesson delivered to your inbox every morning, free.
Subscribe to Draw Daily →