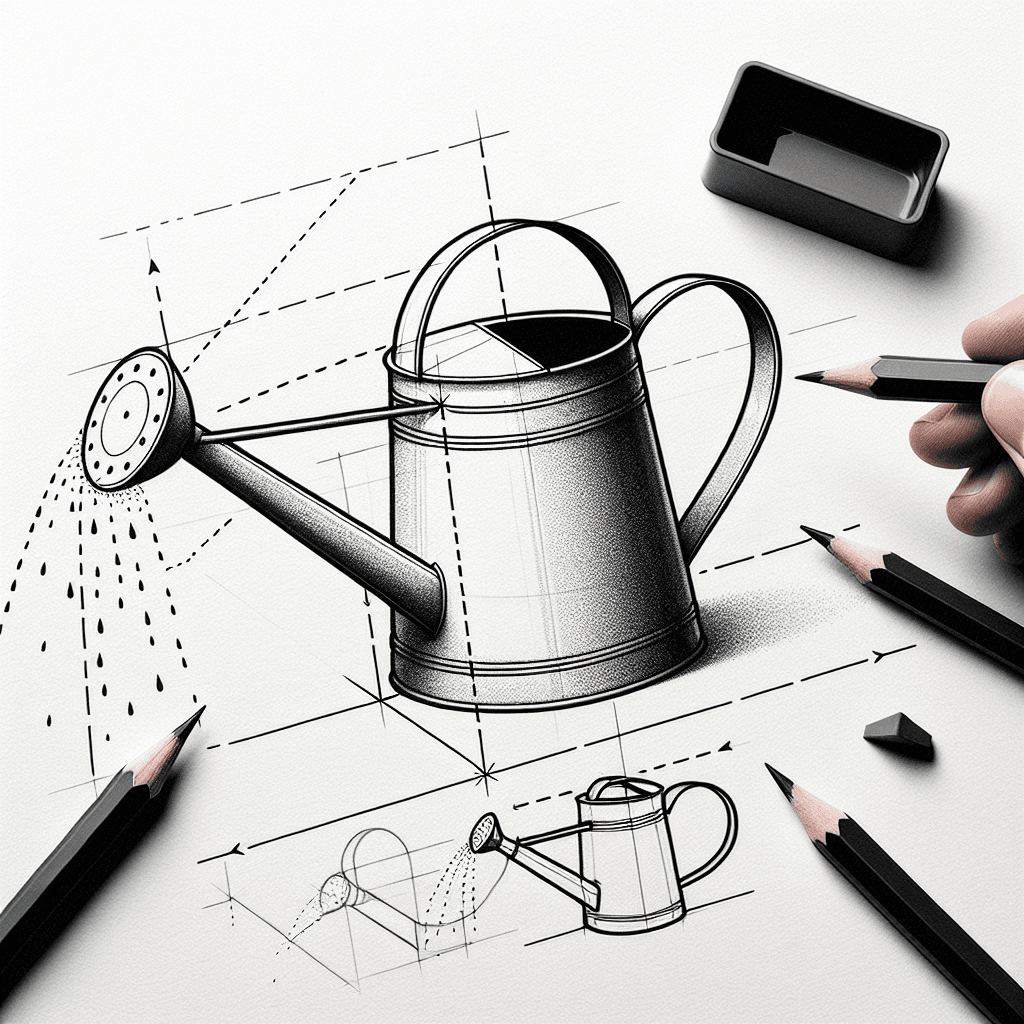
What you'll learn
Drawing a watering can helps develop an understanding of proportion and perspective due to its unique shape and spout. This exercise will improve your ability to capture 3D objects on a 2D plane accurately.
What you'll need
Step-by-step: how to draw watering can
Start by sketching a basic outline of the can's main body, focusing on its oval shape.
Add the spout and handle, ensuring they are proportionate to the main body.
Refine the shapes, paying attention to the curves and angles of the spout and handle.
Add details such as the lid, any indentations, and the nozzle holes.
Shade the drawing to give it a three-dimensional appearance, emphasizing light and shadow.
Before you start: what to look at
Observe how the spout connects to the main body, noting its angle and curvature. Check where light naturally hits the top and sides of the can, creating highlights. Pay attention to the proportion of the handle: how it arches and where it meets the body.
Pro tips for drawing watering can
Common mistakes drawing watering can
Self-evaluation checklist
Check if the watering can looks balanced and three-dimensional, with realistic proportions and perspective. Ensure the spout and handle are accurately positioned and the shading creates a sense of depth.
Frequently asked questions
How do I accurately draw the spout of the watering can?
Start by sketching the spout's basic shape, ensuring it aligns correctly with the can's body. Note the curve and tapering width as it extends outward. Use light lines to adjust the angle until satisfied.
What is the best way to add details like the nozzle holes?
First, lightly sketch out the position of the holes, keeping them evenly spaced. Observe if they form a straight line or curve with the spout's shape. Shade around them to emphasize depth.
How can I achieve realistic shading on the watering can?
Identify the light source and shade the opposite side of the can more heavily. Use gradual shading to transition from light to dark areas. Highlight the top edges and any protruding parts like the spout and handle.
More drawing lessons
Get a new drawing lesson delivered to your inbox every morning, free.
Subscribe to Draw Daily →