What you'll learn
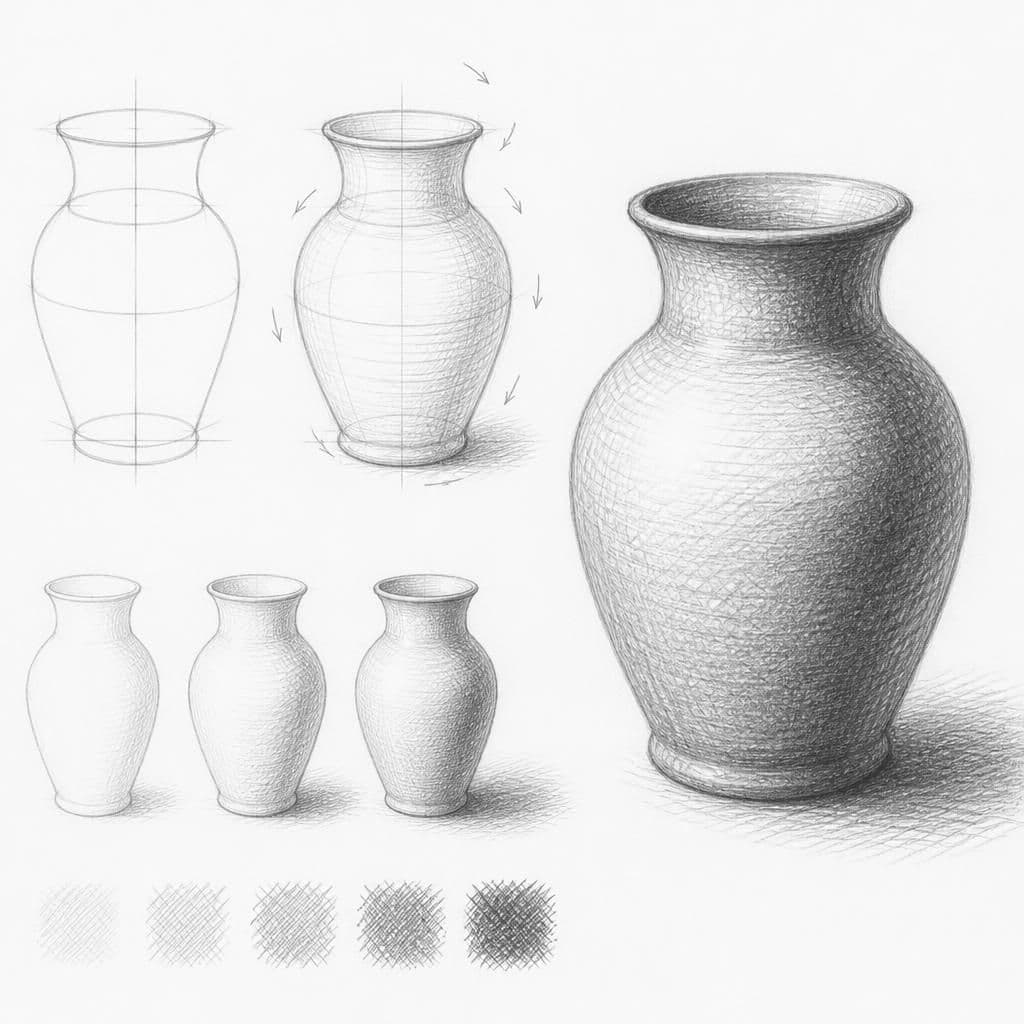
The ceramic vase offers a smooth surface with subtle curves, requiring attention to light direction and subtle changes in value. This exercise focuses on creating depth through shading and highlights.
What you'll need
Step-by-step: how to draw ceramic vase
Set up your light source to the side of the vase to create clear light and shadow areas.
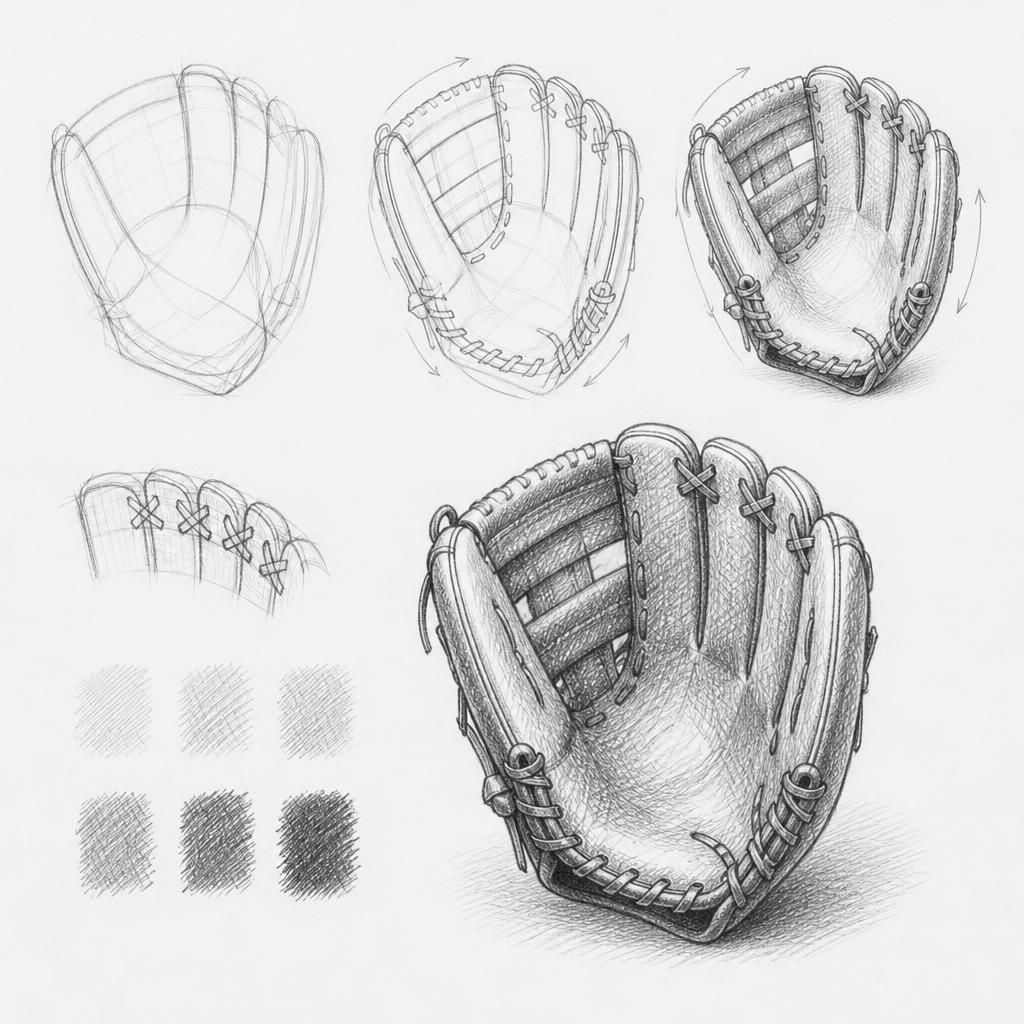
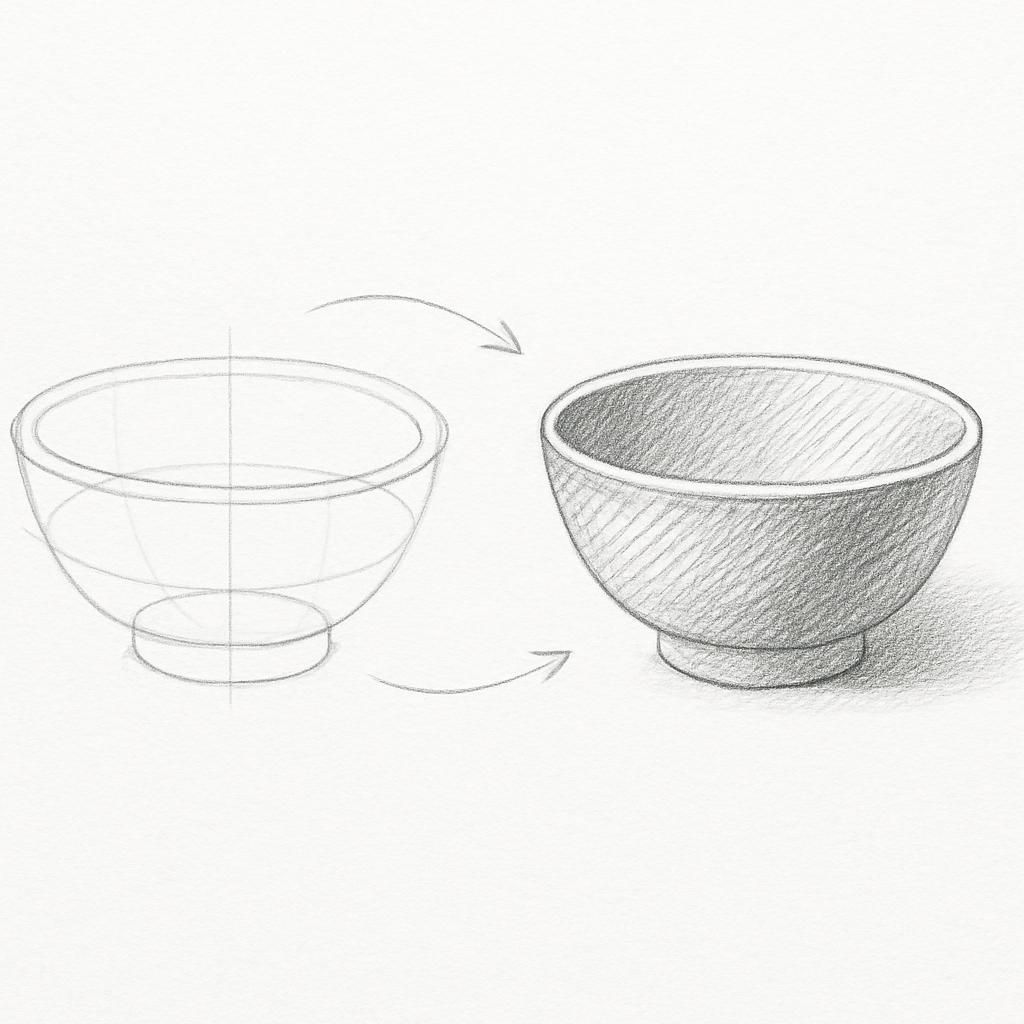
Begin by sketching the outline of the vase, focusing on its symmetrical shape.
Use light cross-hatching to establish the mid-tones, following the curvature of the vase.
Increase the density of your hatching in the shadowed areas for greater contrast, leaving highlights with less or no shading.
Before you start: what to look at
Look closely at where the light falls on the vase, creating highlights. Notice the gentle curve at the top and base as it affects shadowing. Pay attention to the vase's lip and how it creates a shadow beneath it.
Pro tips for drawing ceramic vase
Common mistakes drawing ceramic vase
Self-evaluation checklist
Check if the sketch accurately represents the light source's effect on the vase. Evaluate your use of cross-hatching to capture the subtle transitions in value around the vase's curves.
Frequently asked questions
How do I make the vase look three-dimensional?
Focus on the gradual transition between light and dark areas. Use cross-hatching to enhance the curvature and depth, keeping highlights minimal and sharp.
How can I prevent the vase from looking too flat?
Ensure your shading follows the form of the vase and varies in intensity. Lightly shade areas of transition and deepen the darkest shadows for contrast.
What if I am unsure of where the highlights should be?
Position a light source and observe where the strongest light hits the vase. These are your highlights, which should be left untouched or lightly shaded.
More drawing lessons
Get a new drawing lesson delivered to your inbox every morning, free.
Subscribe to Draw Daily →