What you'll learn
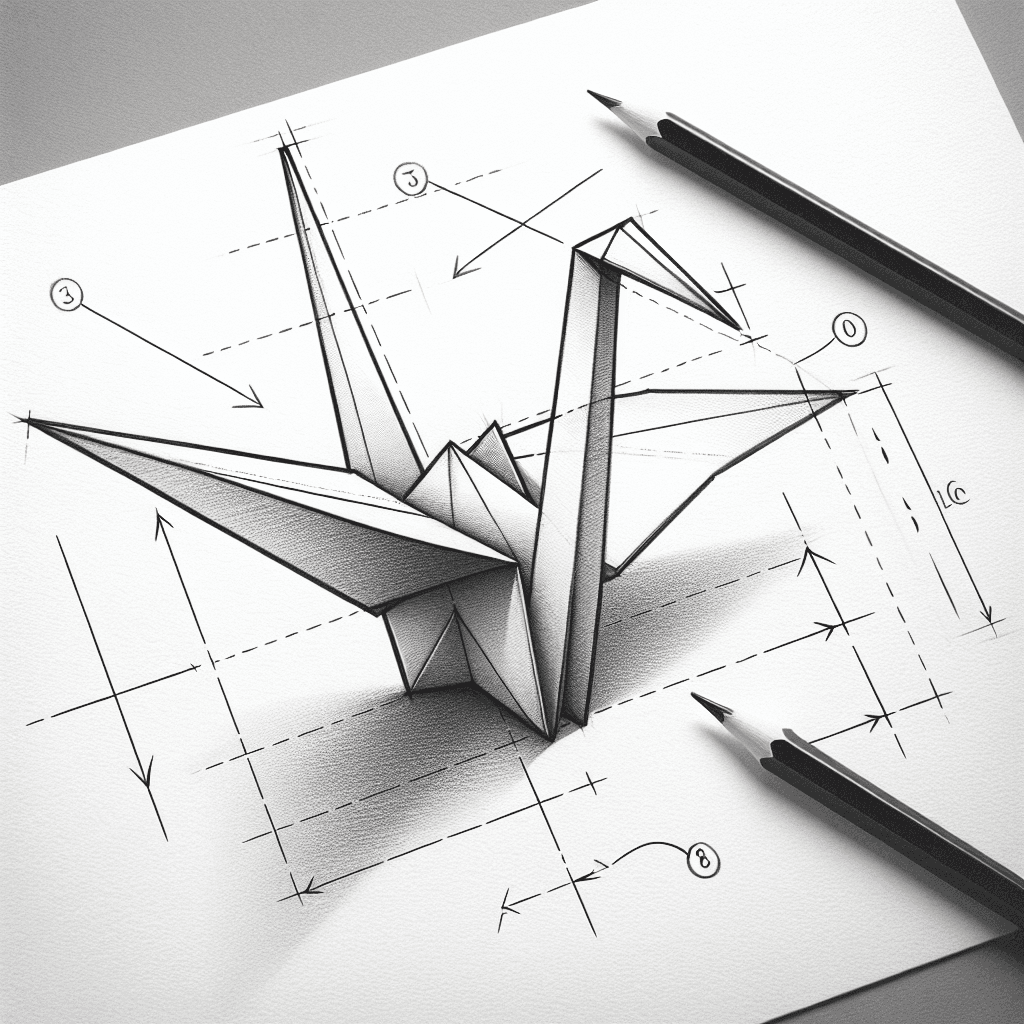
The origami crane's angular surfaces and multiple folds provide an excellent opportunity for beginners to practice hatching techniques. By observing how light interacts with the folded paper, artists can develop their understanding of light direction and cast shadows.
What you'll need
Step-by-step: how to draw origami crane
Begin by sketching the basic outline of the origami crane to establish its shape.
Observe the light source and use light pencil strokes to mark where the light hits the crane and where the shadows fall.
Apply hatching to the shaded areas, varying the density to create a gradient effect from light to dark.
Refine the shading with additional layers of hatching to enhance depth and dimension, ensuring a clear distinction between light and shadow.
Before you start: what to look at
Before drawing, pay attention to the sharp edges of the wings and how they intersect with the body. Observe the contrast between the lightest areas on the tops of the wings and the darkest shadows along the folds. Notice where the light source creates a highlight on the crane's head and how shadows fall away from this point.
Pro tips for drawing origami crane
Common mistakes drawing origami crane
Self-evaluation checklist
Evaluate the sketch by checking the contrast between light and dark areas to ensure the light source is clear. Assess whether the hatching effectively creates depth and volume on the crane.
Frequently asked questions
How do I draw the crane's wings to make them look realistic?
Focus on the angles and symmetry: both wings should mirror each other in shape and size. Use light lines to ensure the top edges are sharp and well-defined.
What material should I use to draw the origami crane?
A standard graphite pencil (HB or 2B) works well for shading and hatching techniques. Use a softer pencil like 4B for deeper shadows and a harder pencil like 2H for light areas.
How can I make the folds look three-dimensional?
Start by observing where the light hits and shadows form around each fold. Use hatching to build up shadow density gradually, ensuring the lines follow the direction of the paper folds.
More drawing lessons



Get a new drawing lesson delivered to your inbox every morning, free.
Subscribe to Draw Daily →