What you'll learn
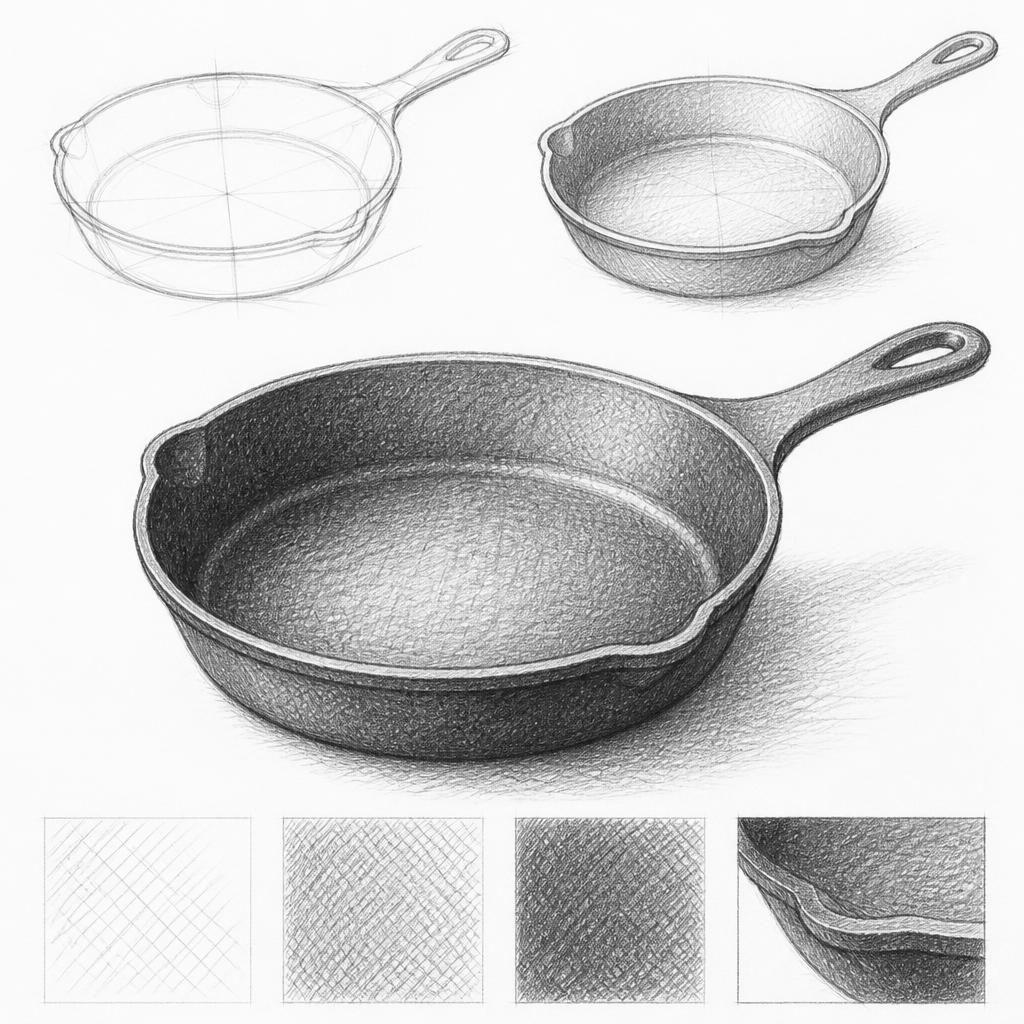
Drawing a cast iron pan provides an opportunity to practice shading and value because of its complex interplay between highlights and deep shadows. The metallic surface and curved underside require careful observation of how light reflects and diffuses.
What you'll need
Step-by-step: how to draw cast iron pan
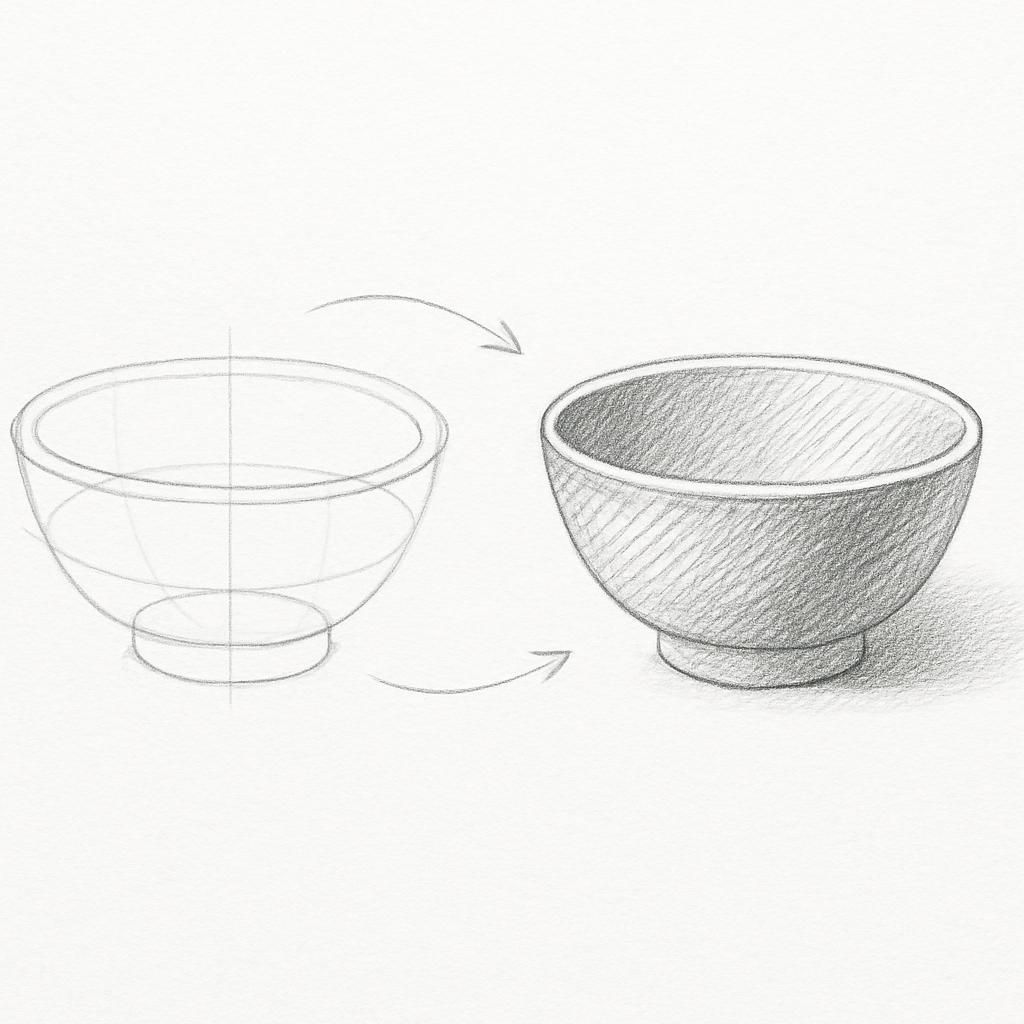
Outline the basic shape of the pan focusing on the symmetry of the edges.
Identify the light source and lightly indicate where the main highlights and shadows fall.
Use cross-hatching to build up the darker areas, concentrating on the pan's interior and around the handle.
Refine your shading by adding more layers of cross-hatching, paying attention to achieving a smooth transition between light and shadow.
Before you start: what to look at
Look at how the light glints off the pan's rim and how shadows nestle in the handle's crevices. Notice the subtle differences in value between the pan's interior and its exterior.
Pro tips for drawing cast iron pan
Common mistakes drawing cast iron pan
Self-evaluation checklist
Check your sketch for consistent light direction, effective use of value gradients, and clarity of the pan's shape and handle.
Frequently asked questions
How do I make the pan look metallic?
Use a range of values to capture the pan's high contrast. Bright highlights and deep shadows will help suggest a metallic surface.
How can I maintain symmetry in the pan's shape?
Double-check your initial outline with horizontal and vertical guide lines to ensure both sides of the pan are equal.
Why does my shading look uneven?
Uneven shading can stem from inconsistent line pressure. Practice maintaining an even hand while still allowing for variation in gradient.
More drawing lessons
Earlier lessons come with Pro.
Get a new drawing exercise every morning, free that day. We email you when it is up.
Subscribe to Draw Daily →