What you'll learn
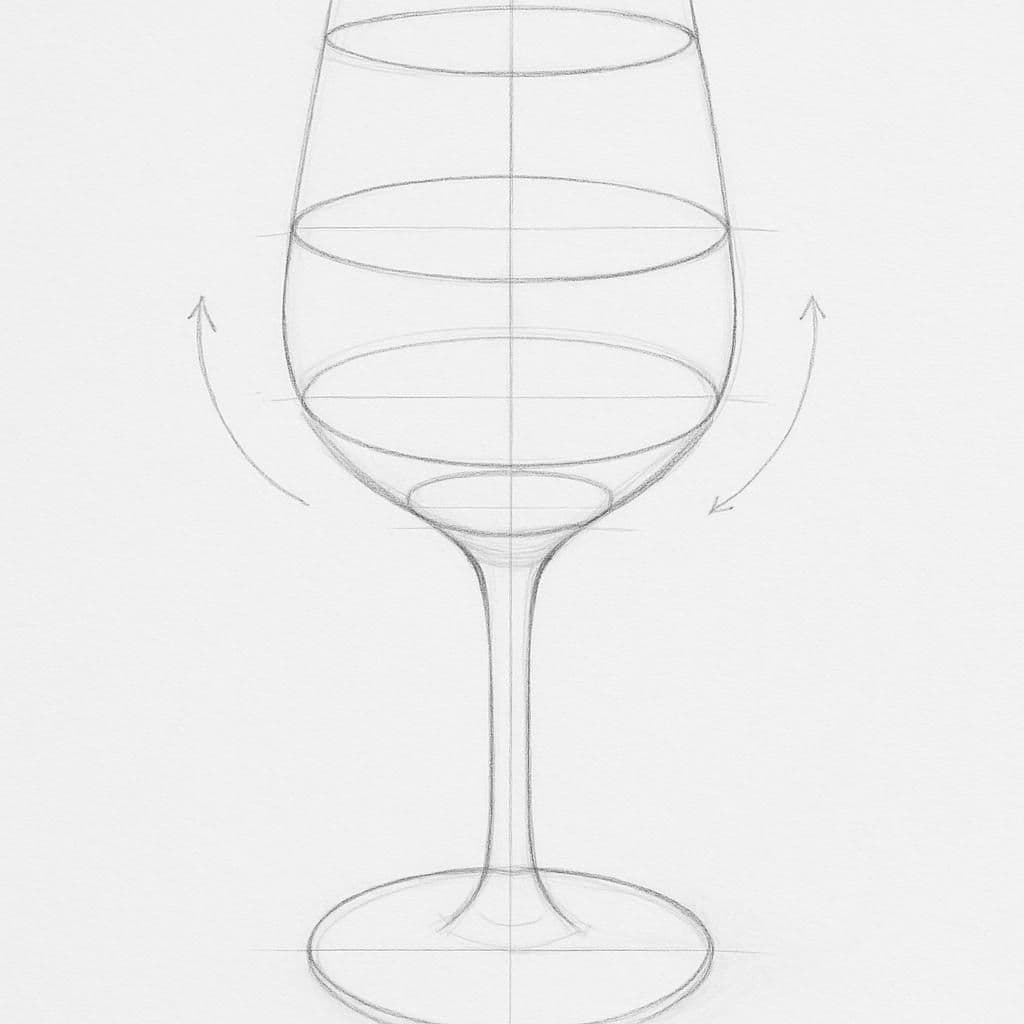
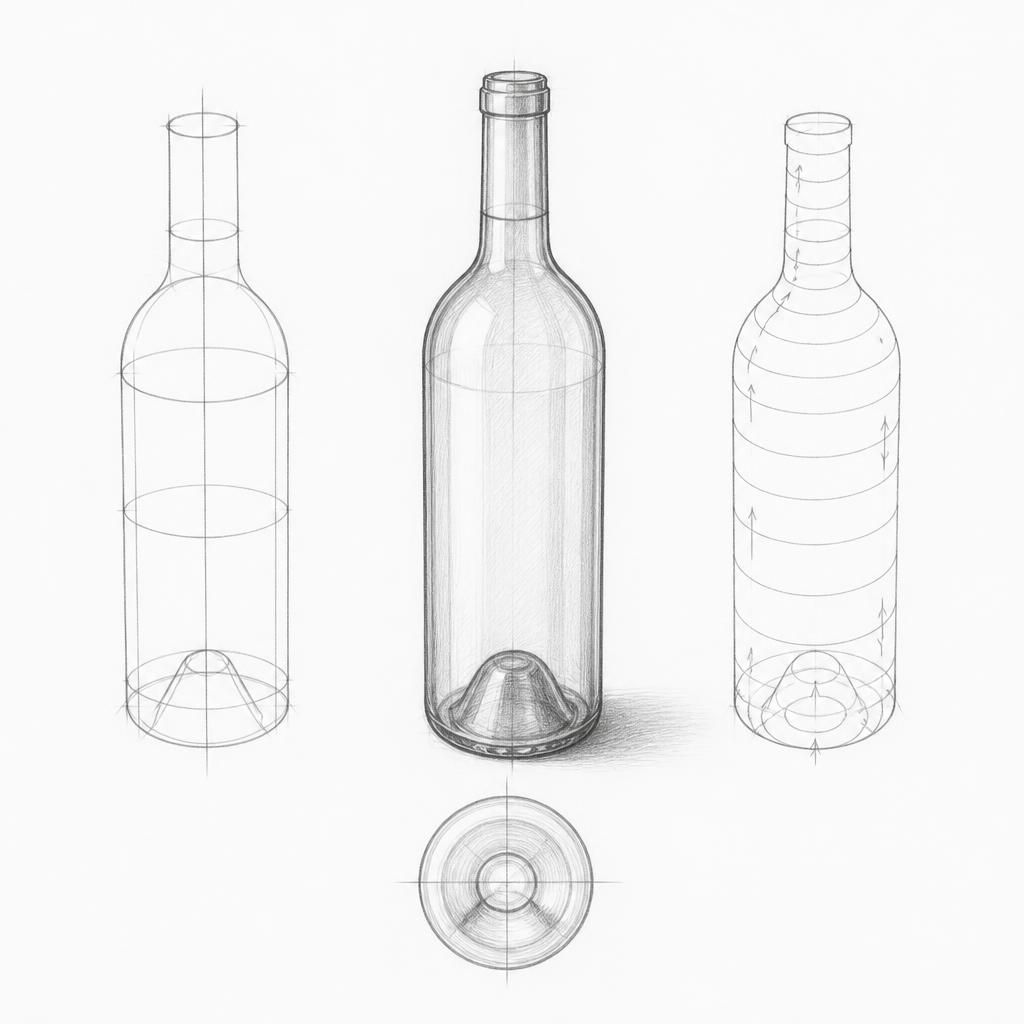
Drawing a wine glass helps in understanding how to measure and replicate the proportions of both symmetrical and asymmetrical forms. The challenge lies in capturing the volume through elliptical shapes and curves, which are essential for representing the roundness and depth of the glass.
What you'll need
Step-by-step: how to draw wine glass
Begin by lightly sketching the vertical axis to establish symmetry.
Draw the top ellipse of the wine glass, focusing on its width and height.
Sketch the main body of the glass, maintaining proportion by relating its height to the top ellipse.
Add the stem and base, ensuring the stem's length and thickness are proportional to the glass's body.
Refine the outlines, paying attention to the smoothness of curves and ellipses to suggest volume.
Add shading to indicate transparency and depth, using cross-hatching to highlight the three-dimensional form.
Before you start: what to look at
Examine the top edge of the glass to note how the ellipse changes with your viewing angle. Pay attention to the subtle curve where the bowl meets the stem, as it affects the overall balance. Observe how light reflects off the curved surfaces and where shadows are cast inside the glass, especially near the base.
Pro tips for drawing wine glass
Common mistakes drawing wine glass
Self-evaluation checklist
Check if the ellipses for the top and base are symmetrical and if their sizes are proportionally related to the height and width of the glass. Ensure the shading correctly suggests the transparent quality and volume of the glass.
Frequently asked questions
How do I draw the top ellipse accurately?
Start with a light, rough sketch to block in the overall shape. Adjust the width and height by comparing it to the glass's body. Make sure both sides are symmetrical from the vertical axis.
What's the best way to depict the transparency and reflections on the glass?
Use light, controlled cross-hatching to build up areas of transparency. Highlight reflections using well-defined light spots and consider the environment around the glass, as reflections will mirror these surroundings.
How can I ensure the proportions of the stem and base are correct?
Measure the stem length relative to the glass's body. Its width should also be consistent with the bowl's proportions. For the base, ensure it is a stable, symmetrical ellipse slightly larger than the top.
More drawing lessons
Get a new drawing lesson delivered to your inbox every morning, free.
Subscribe to Draw Daily →