What you'll learn
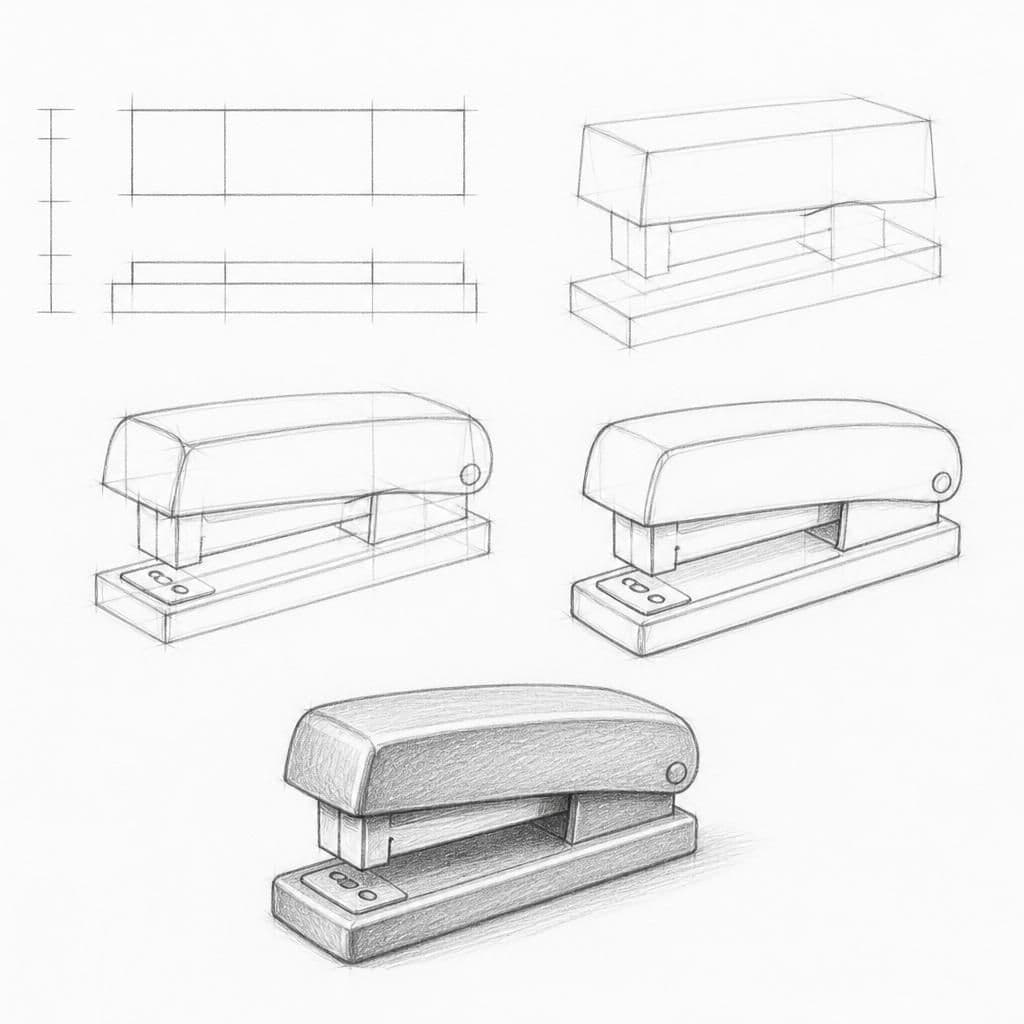
A stapler, with its combination of straight lines and curves, helps practice capturing both proportion and volume. The task involves measuring relative sizes and understanding how its parts fit together in three-dimensional space.
What you'll need
Step-by-step: how to draw stapler
Begin by observing the stapler closely, noting the proportions between the top and bottom parts as well as the handle.
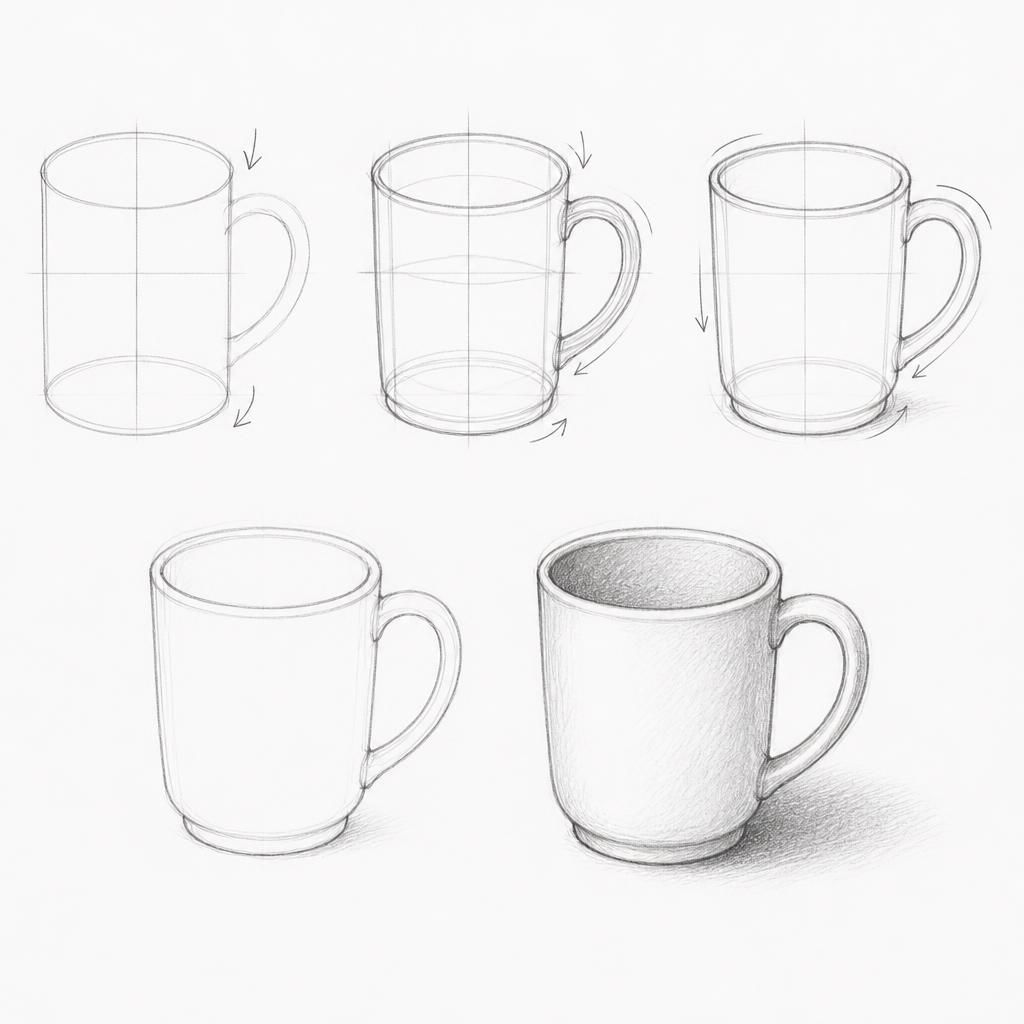
Lightly sketch the overall shape of the stapler using basic geometric forms, focusing on its dimensions.
Using a pencil as a measuring tool, compare lengths and angles to ensure accurate proportions between different segments.
Add volume by shading areas to represent light and shadow, enhancing the three-dimensionality.
Refine the sketch by detailing edges and highlights to enhance the realistic appearance of the stapler.
Pro tips for drawing stapler
Self-evaluation checklist
Check if the stapler's proportions match those of the real object. Look for consistency in the angles and curvature that define its volume.
Frequently asked questions
How long does this drawing exercise take?
The full stapler exercise is designed to fit in about 15 minutes of focused practice, which is one of the reasons it works as a daily habit.
Do I need any prior drawing experience?
No. This lesson is aimed at intermediate artists and assumes only a pencil, paper, and willingness to observe.
What skill does this lesson target?
The focus is proportion & volume. Repeating similar exercises over time is how this skill becomes second nature.
More drawing lessons
Get a new drawing lesson delivered to your inbox every morning, free.
Subscribe to Draw Daily →