What you'll learn
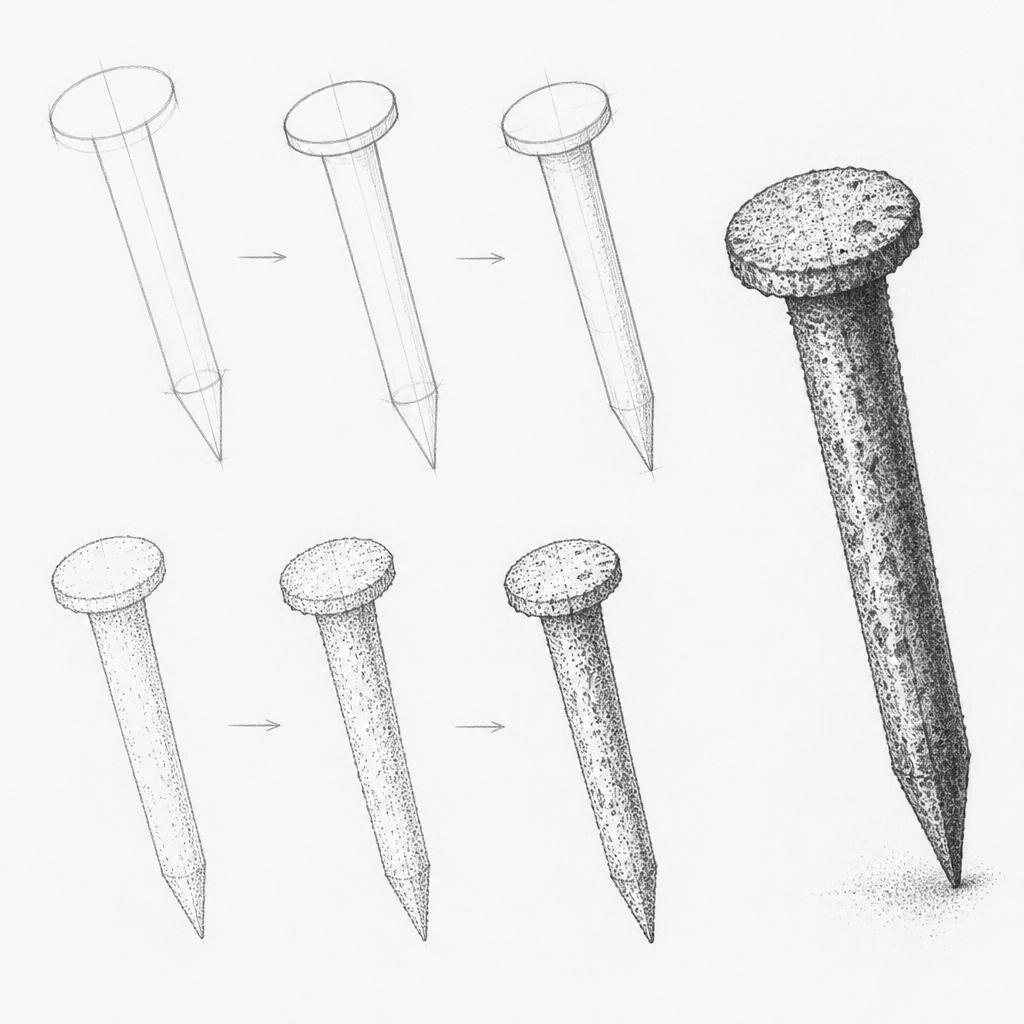
A rusty nail offers complex textures with its corroded surface. Capturing the roughness and unevenness challenges your ability to depict age and material decay.
What you'll need
Step-by-step: how to draw rusty nail
Observe the nail from different angles to understand how light and shadow interact with its surface.
4 more steps, the pro tips and the checklist
Today's exercise is free to everyone, in full. The archive is part of Pro, along with AI feedback on your drawings.
Try 7 days free →Already a member? Sign in
Frequently asked questions
How do I make the rust look realistic?
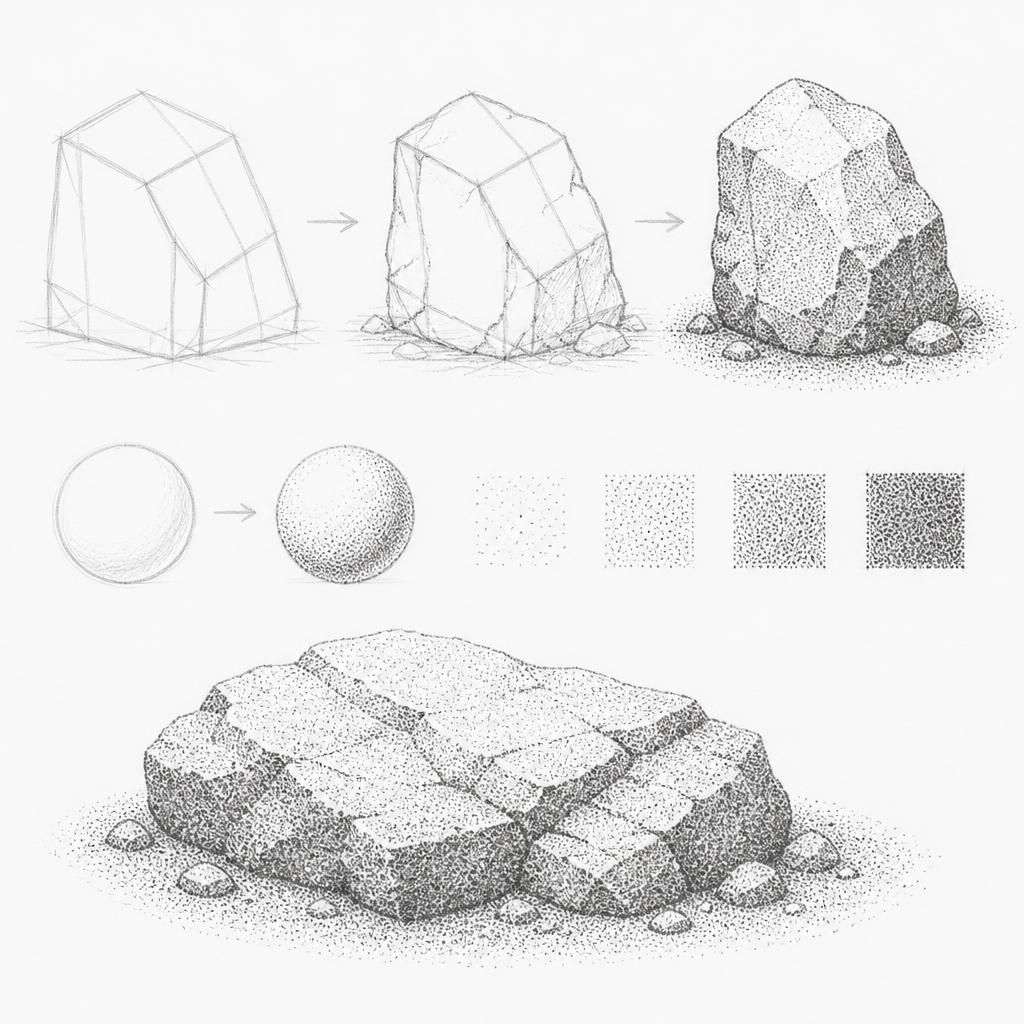
Focus on randomness in your stippling to mimic natural corrosion. Vary dot size and density to match the rust's irregularity.
What should I do if my stippling looks too uniform?
Introduce more variety by changing the pressure of your pen and the spacing between dots. Look closely at areas of real rust for inspiration.
How can I avoid making the nail look flat?
Emphasize light and shadow, and use stippling to create texture depth. Ensure highlights and lowlights are in the correct place according to your light source.
More drawing lessons
Earlier lessons come with Pro.
Get a new drawing exercise every morning, free that day. We email you when it is up.
Subscribe to Draw Daily →