What you'll learn
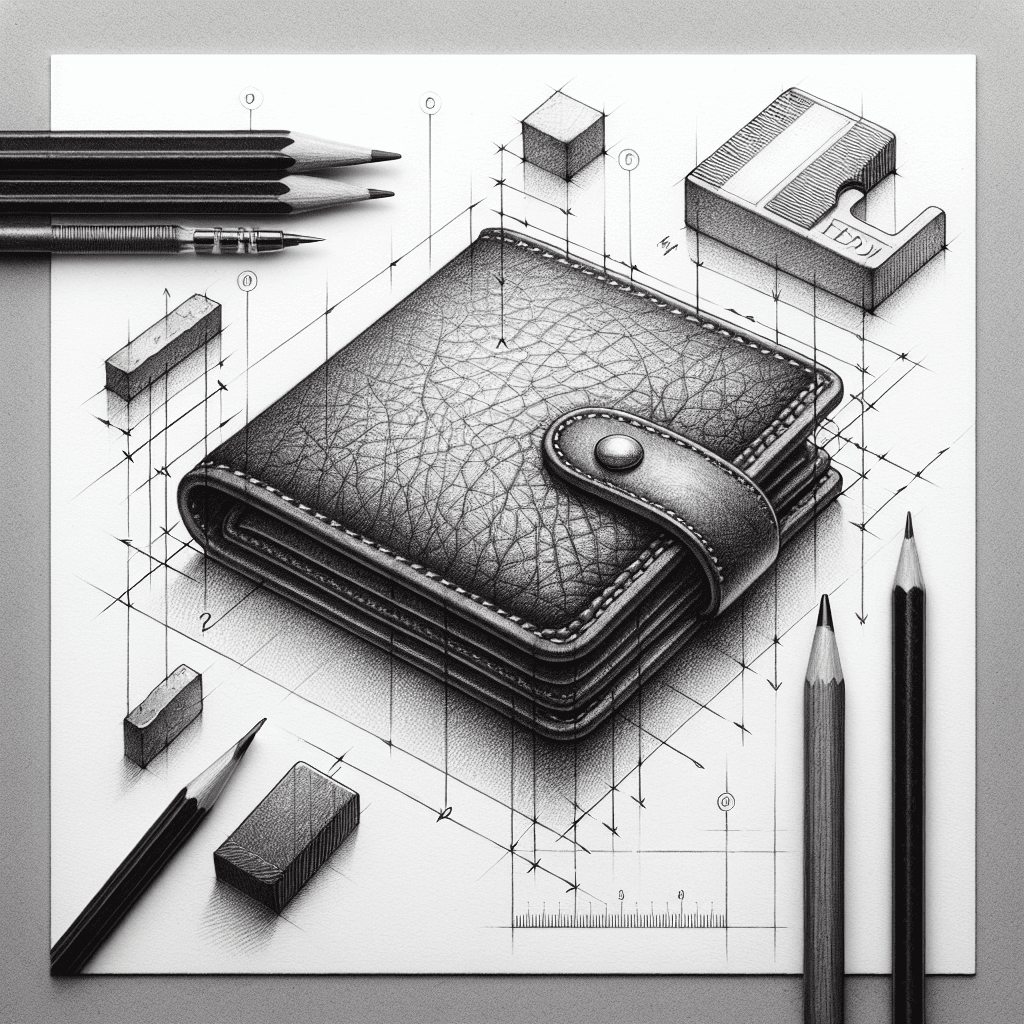
A leather wallet provides a great opportunity to practice rendering texture due to its distinctive grain and surface irregularities. This exercise will help you capture the smooth yet varied texture patterns of leather using cross-hatching.
What you'll need
Step-by-step: how to draw leather wallet
Begin by sketching the basic outline of the wallet, focusing on its shape and proportions.
Identify the light source and lightly shade areas where the leather surface will have shadows.
Use cross-hatching to start adding texture to the wallet, focusing on the natural grain and small imperfections.
Increase the density of cross-hatching in darker areas to enhance the perception of depth and texture.
Review your work and add final touches to ensure the texture looks cohesive and natural across the entire wallet surface.
Before you start: what to look at
Before drawing, examine where the light naturally reflects off the wallet's surface to identify its smoothest areas. Look closely at the edges, noting any wear or curvature that gives the wallet character. Pay attention to the stitching and how it subtly impacts the wallet's overall form and texture.
Pro tips for drawing leather wallet
Common mistakes drawing leather wallet
Self-evaluation checklist
Check if the wallet's texture is convincingly represented through varied line work and depth, ensuring it captures the characteristic surface of leather.
Frequently asked questions
How do I accurately capture the leather grain?
Observe the grain closely under good lighting to understand its direction and variation. Use light, varied cross-hatching to mimic these subtle differences, adjusting pressure to reflect smooth and rough areas.
What is the best way to draw the wallet's folds?
Focus on the light and shadows around the folds. These areas often have deeper shadows and more pronounced highlights, which you can emphasize with denser hatching and lighter highlights.
How should I handle the stitching details?
Lightly outline the stitching first to ensure accuracy. Use short, parallel lines to represent the stitches, and add small shadows beneath them to give a realistic three-dimensional effect.
More drawing lessons
Get a new drawing lesson delivered to your inbox every morning, free.
Subscribe to Draw Daily →