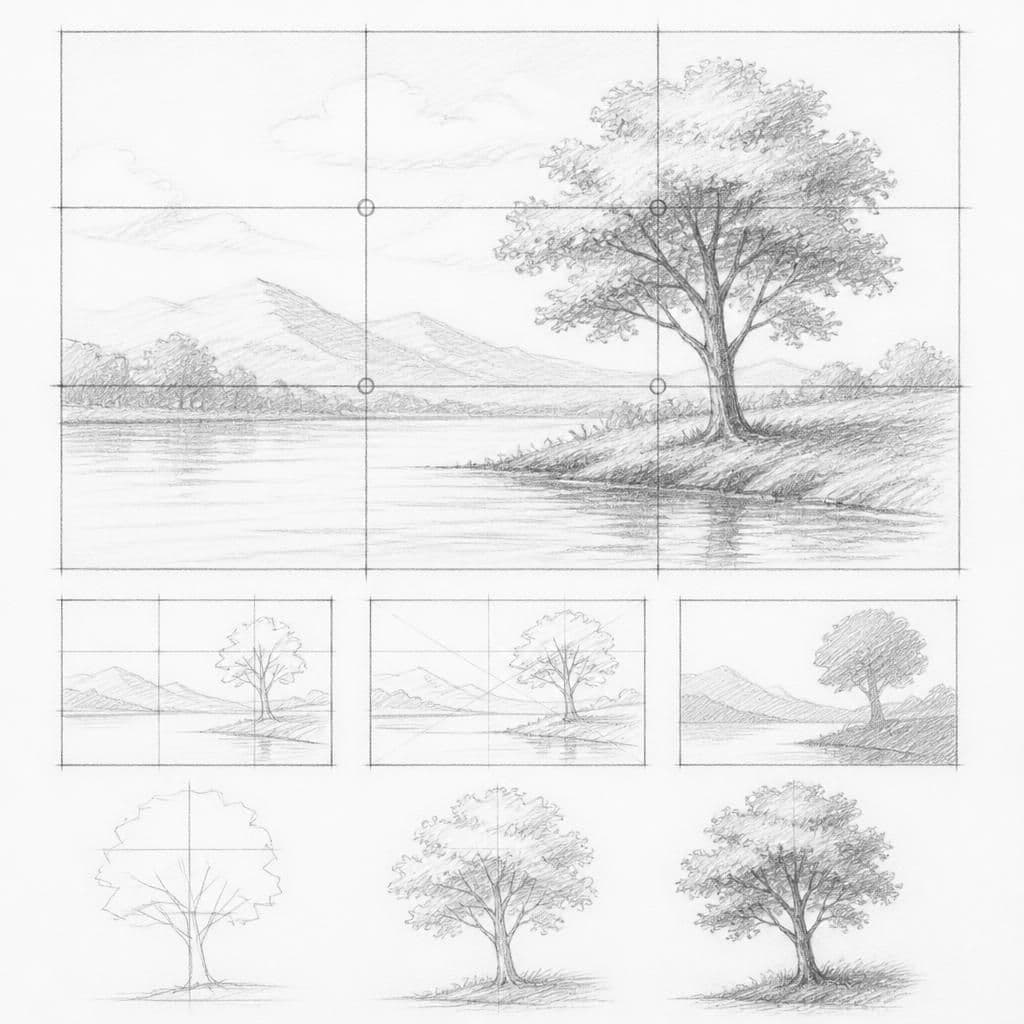
What you'll learn
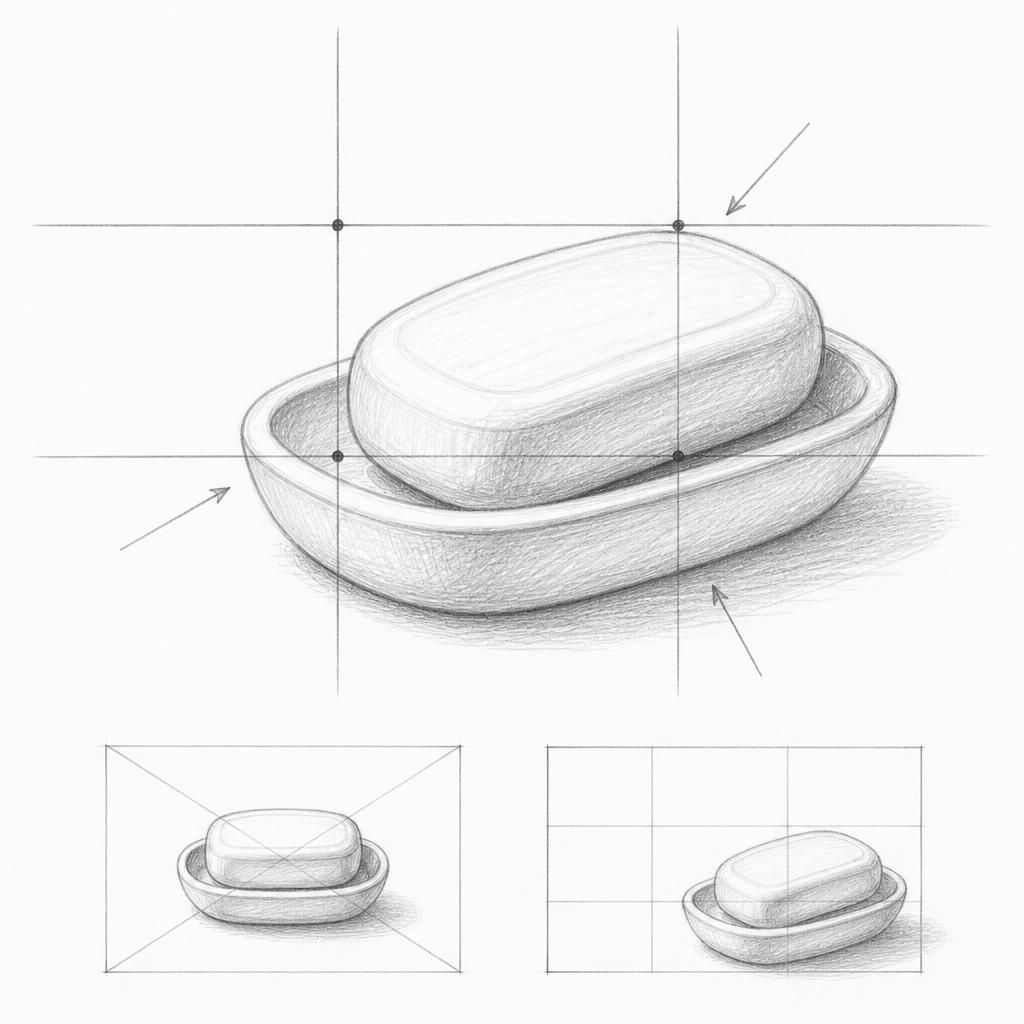
Drawing a pencil helps beginners practice the Rule of Thirds, ensuring the object is placed interestingly on the page. This exercise encourages thoughtful placement and balance within the composition.
What you'll need
Step-by-step: how to draw pencil
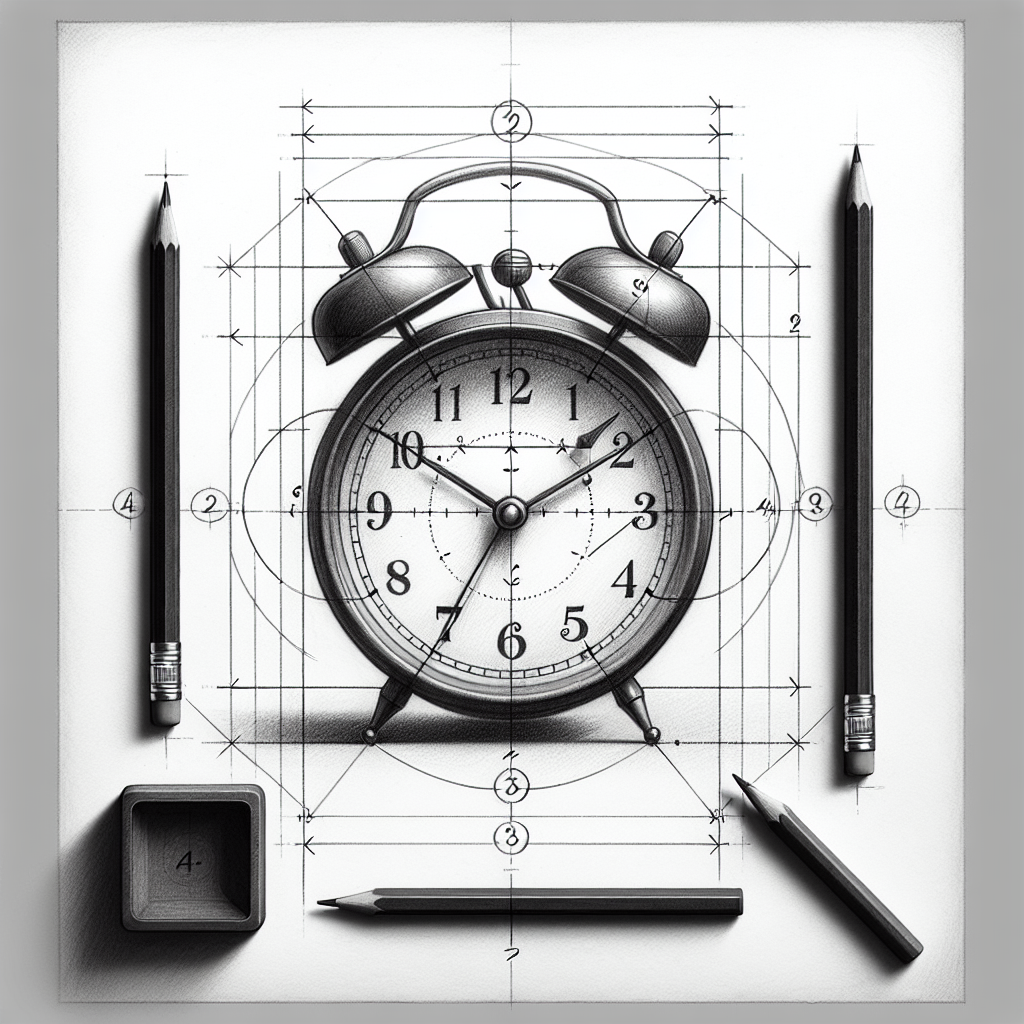
Start by lightly sketching a rectangle that represents the drawing area on your paper.
Divide the rectangle into thirds both horizontally and vertically using light guidelines.
Position the pencil where two of the lines intersect, either horizontally or vertically.
Sketch the pencil lightly, adjusting its angle for visual interest.
Add simple details like the eraser and tip, maintaining focus on its placement within the grid.
Before you start: what to look at
Before drawing, observe the pencil's length in relation to its thickness. Notice how the light creates highlights along the shaft, especially on any shiny surfaces. Pay attention to the subtle curve where the pencil tip meets the wood casing.
Pro tips for drawing pencil
Common mistakes drawing pencil
Self-evaluation checklist
Check if the pencil aligns with two intersecting grid lines. Ensure the composition feels balanced and visually interesting.
Frequently asked questions
How do I capture the reflective quality of the pencil's surface?
Observe where the light hits the pencil and reflect on it. Use a light touch with your pencil to sketch the highlights, leaving some areas white to represent the sheen.
What is the best way to draw the pencil tip realistically?
Start by sketching the transition from the wood casing to the graphite point. Focus on the subtle gradation of tone, keeping the lines sharp to mimic the pointed tip.
How can I make the eraser look distinct from the pencil body?
Notice the texture difference between the rubber and the wood or paint. Use slightly softer shading for the eraser, and pay attention to any small details like a beveled edge or markings.
More drawing lessons


Get a new drawing lesson delivered to your inbox every morning, free.
Subscribe to Draw Daily →