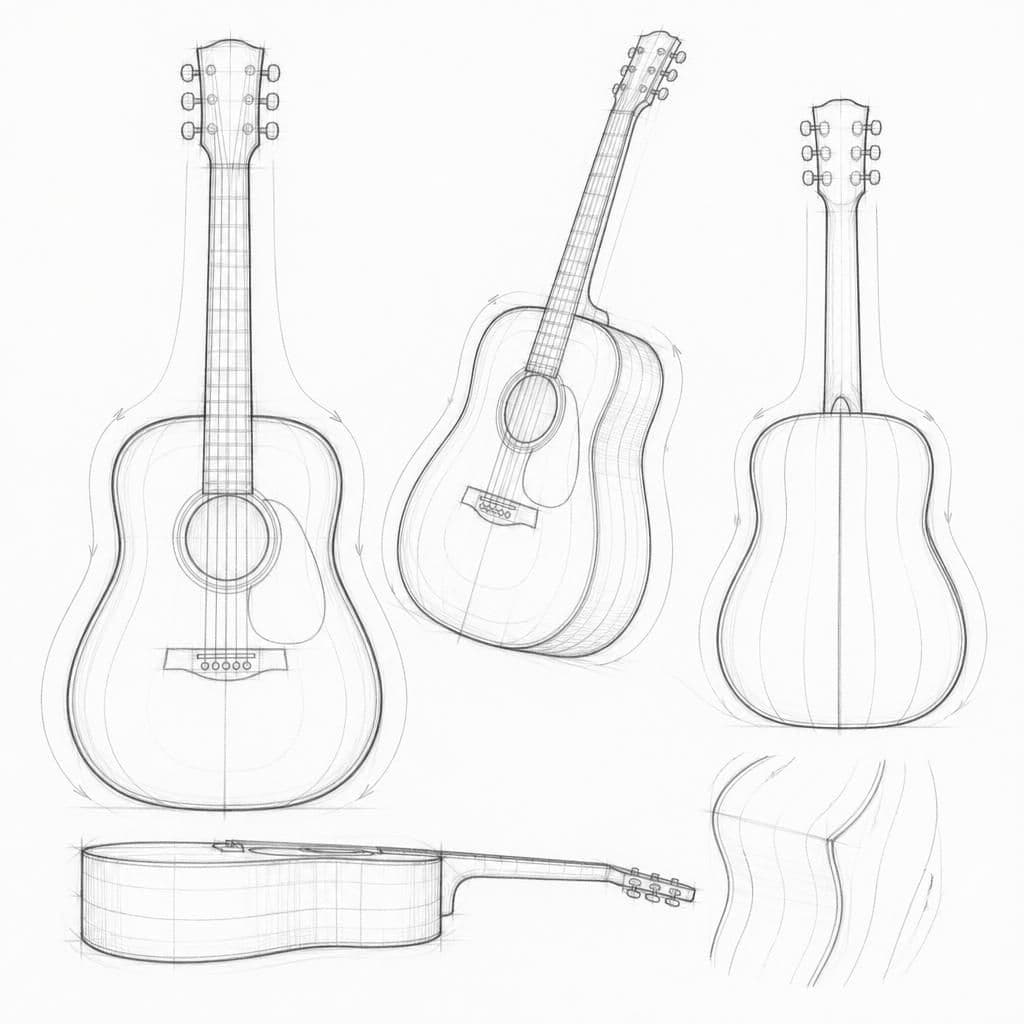
What you'll learn
Drawing a guitar helps artists focus on the finesse of contour lines. The curvature and details of the guitar provide a dynamic range of line weights and expressive flow, enhancing line sensitivity.
What you'll need
Step-by-step: how to draw guitar
Start by lightly sketching the basic shape of the guitar body, focusing on capturing the overall proportions.
Refine the body by adding contour lines that define the edges and suggest volume, varying line weight for subtle emphasis.
Add details such as the neck, headstock, and strings using clean, confident lines. Pay attention to parallelism and alignment.
Finally, enhance the drawing with expressive lines to indicate texture on the wood grain and other surface details.
Before you start: what to look at
Before drawing, examine the curvature of the guitar body, how light interacts with its surface, and the alignment of strings and frets. Note where shadows and highlights create contrast along the edges.
Pro tips for drawing guitar
Common mistakes drawing guitar
Self-evaluation checklist
Evaluate the sketch by checking the balance of line weights and how effectively the contours define the guitar's form. The lines should guide the viewer's eye smoothly over the drawing.
Frequently asked questions
How can I effectively capture the guitar's wood grain texture?
Use fine, slightly curved lines to mimic the natural flow of the wood grain. Vary your line pressure slightly to create a more realistic texture.
What’s the best way to ensure symmetry in my drawing?
Start with a light guideline down the center of the guitar. This will help maintain symmetry as you draw the body and neck.
How do I accurately render the strings?
Use a ruler or a steady hand to ensure even spacing. Keep the lines for the strings parallel and consistent in weight for a clean appearance.
More drawing lessons


Get a new drawing lesson delivered to your inbox every morning, free.
Subscribe to Draw Daily →