What you'll learn
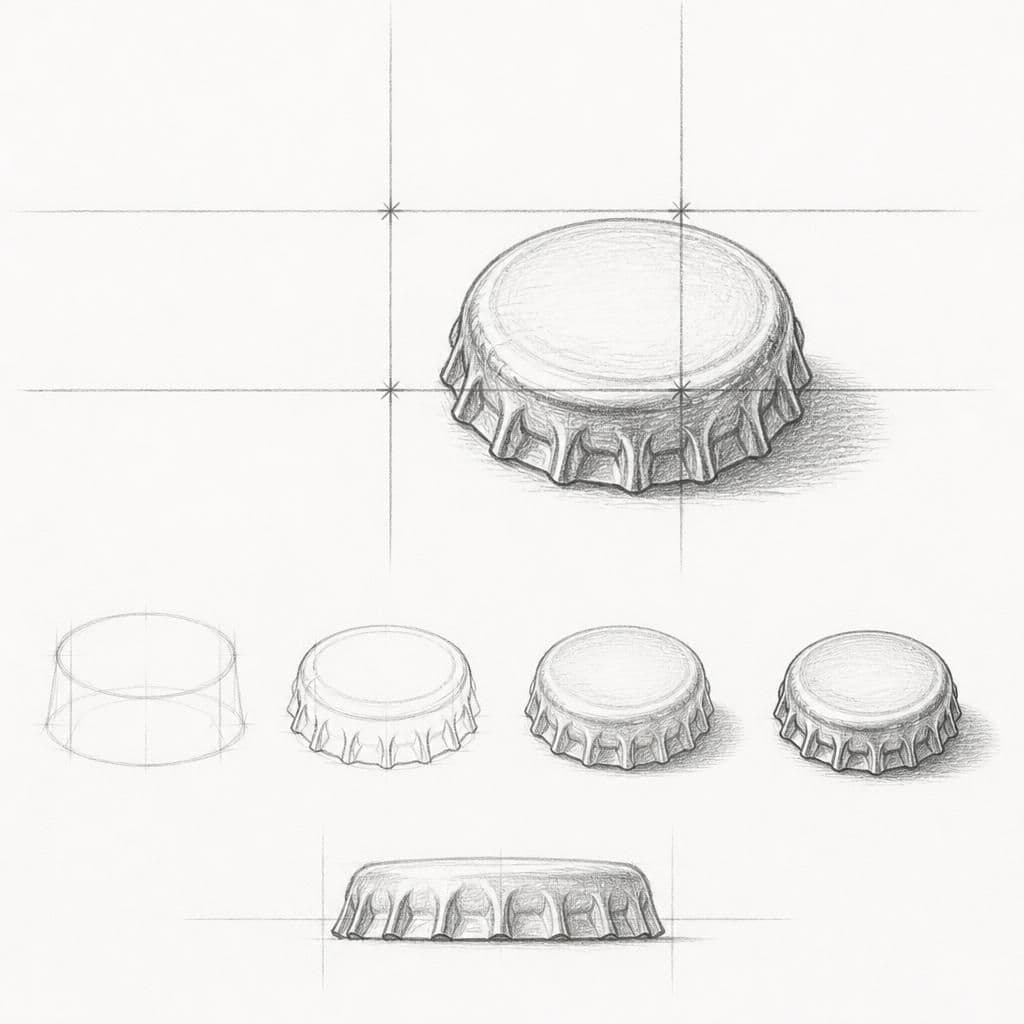
Drawing a glass bottle cap will help you explore how to place an object within a frame using the rule of thirds. Its simple shape allows you to focus on positioning rather than complex details.
What you'll need
Step-by-step: how to draw glass bottle cap
Choose a position where the bottle cap is well-lit and place it on a simple background.
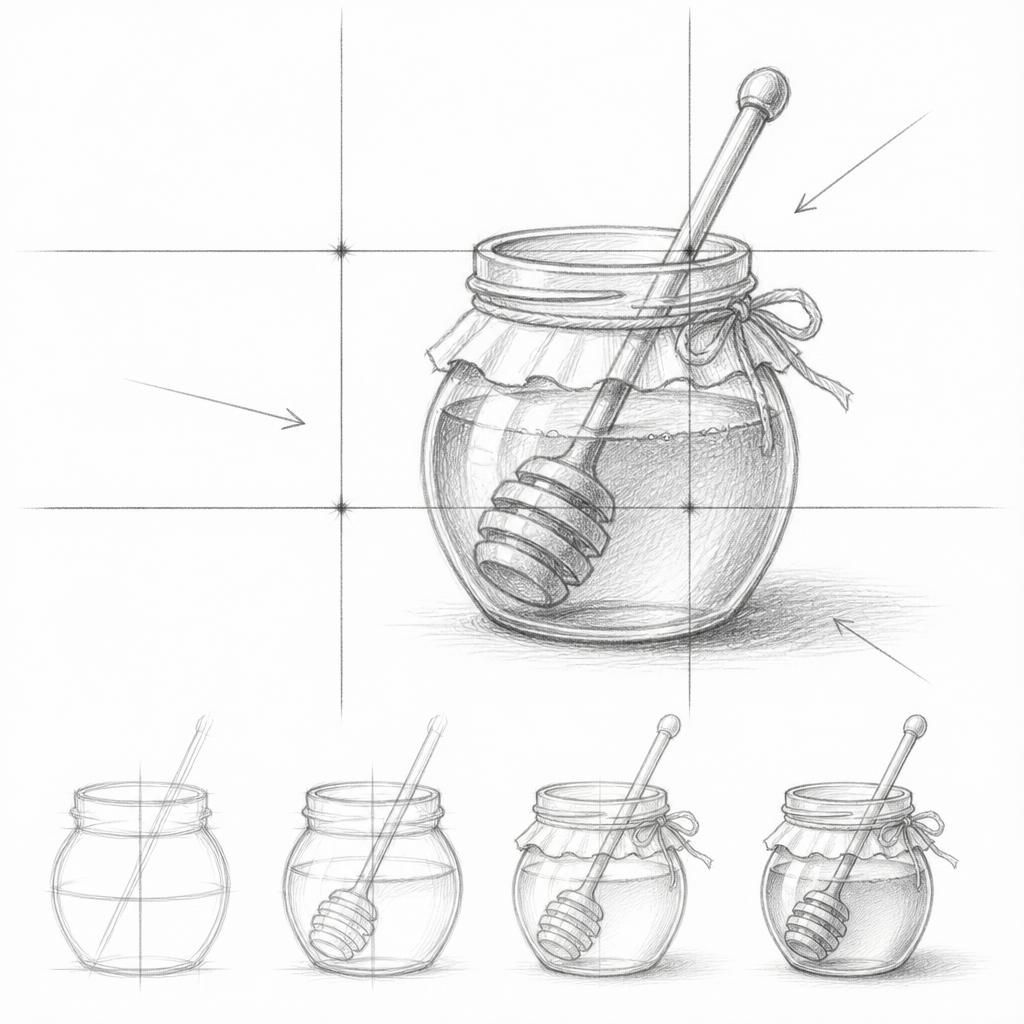
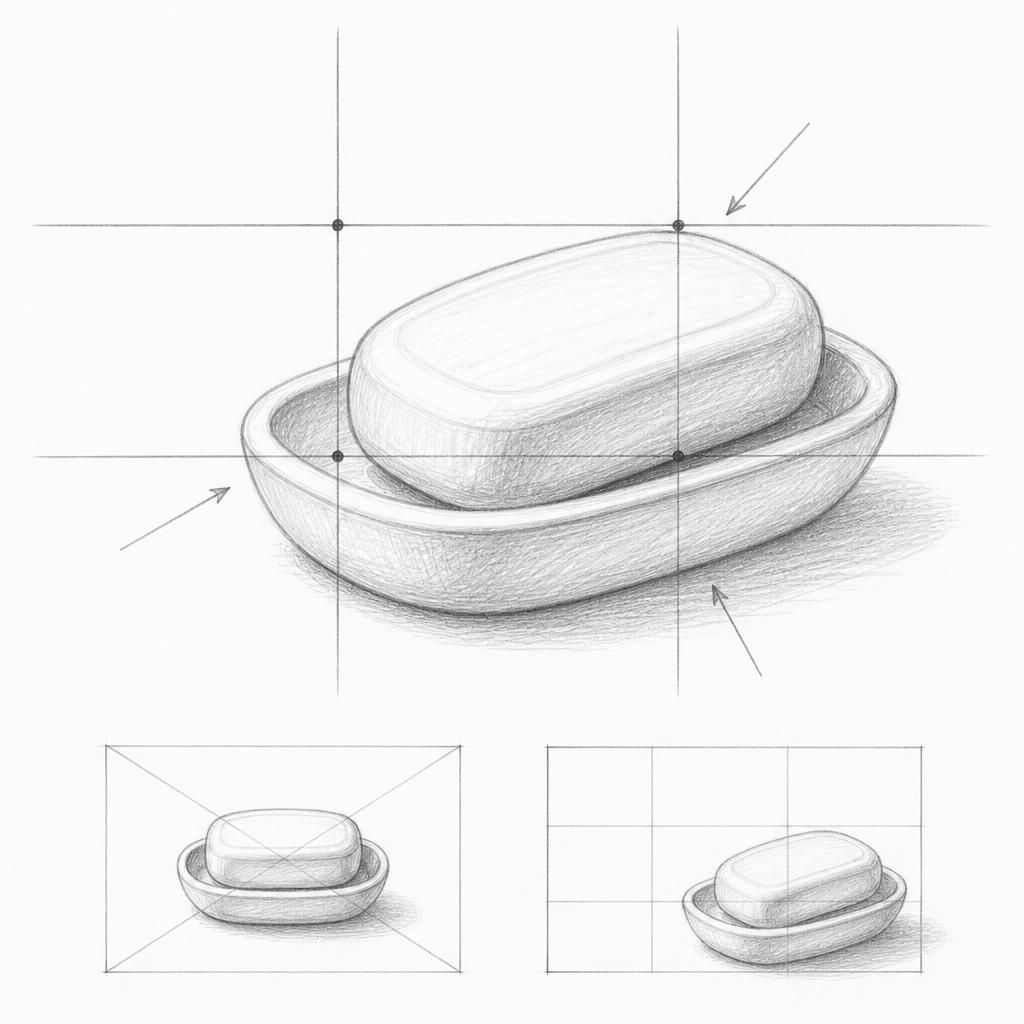
Lightly sketch a grid dividing your page into thirds, both horizontally and vertically.
Position the cap at one of the intersections of the grid lines to apply the rule of thirds.
Begin sketching the cap, paying attention to how its shape aligns with the grid.
Refine your sketch focusing on the details of the edges and the highlights on the cap.
Before you start: what to look at
Look at how the light reflects off the curved surface of the cap. Notice the smooth edge and where shadows start to form.
Pro tips for drawing glass bottle cap
Common mistakes drawing glass bottle cap
Self-evaluation checklist
Check if the cap is placed near an intersection of the grid lines. This should create a balanced and interesting composition.
Frequently asked questions
Why use the rule of thirds for a small object like a cap?
The rule of thirds helps create a dynamic composition even for small objects, drawing attention and balancing the space effectively.
How do I avoid making the background overpower the cap?
Use a simple background with minimal textures and colors that contrast gently with the cap to keep the focus on the subject.
What if my cap looks too flat in the drawing?
Examine the highlights and shadows on the cap. Adding these will help convey a sense of volume and three-dimensionality.
More drawing lessons

Get a new drawing lesson delivered to your inbox every morning, free.
Subscribe to Draw Daily →