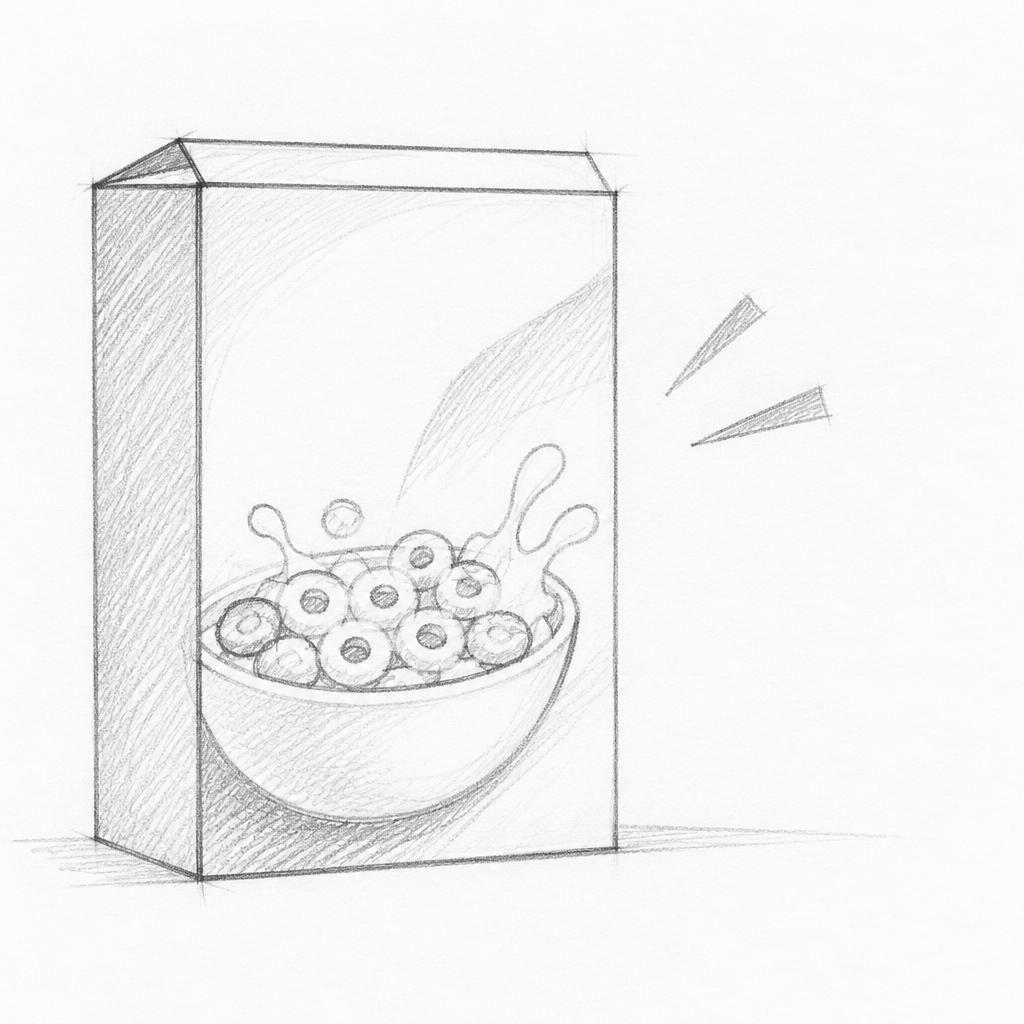
What you'll learn
A cereal box has a clear, blocky outline that is easy to place on the page. Shifting it off-center lets you practise balancing its tall shape with the open space around it.
What you'll need
Step-by-step: how to draw cereal box
Spend 1 minute looking at the box and choosing a portrait or landscape page orientation.
Spend 2 minutes lightly sketching a small box outline off-center, leaving more open space on one side than the other.
Spend 4 minutes refining the visible front and side edges, keeping the box fully inside the page.
Spend 3 minutes checking the margins and adjusting the outline so the box and surrounding empty space feel balanced.
Before you start: what to look at
Look at the long vertical edges, the top edge, and how much of the narrow side panel is visible. Notice whether the top corners sit level or angle slightly, and where light falls across the front panel.
Pro tips for drawing cereal box
Common mistakes drawing cereal box
Self-evaluation checklist
Check whether the box sits away from the page center while still feeling balanced by the surrounding empty space. Make sure no edge is accidentally too close to or cut off by the paper boundary.
Frequently asked questions
Should I draw the cereal box front-on or show its side?
Show a little of the side panel if the box is turned toward you. Keep that panel narrow so the front remains the main shape and the placement stays easy to read.
How much empty space should I leave beside the box?
There is no fixed measurement. Leave a noticeably larger gap on one side, then check that the box still feels balanced within the page rather than pushed out of it.
What if the box nearly touches the top of my page?
Reduce the whole outline slightly or shift it down before refining the edges. A small, deliberate margin helps the box feel placed rather than accidentally cropped.
More drawing lessons
Earlier lessons come with Pro.

Get a new drawing exercise every morning, free that day. We email you when it is up.
Subscribe to Draw Daily →