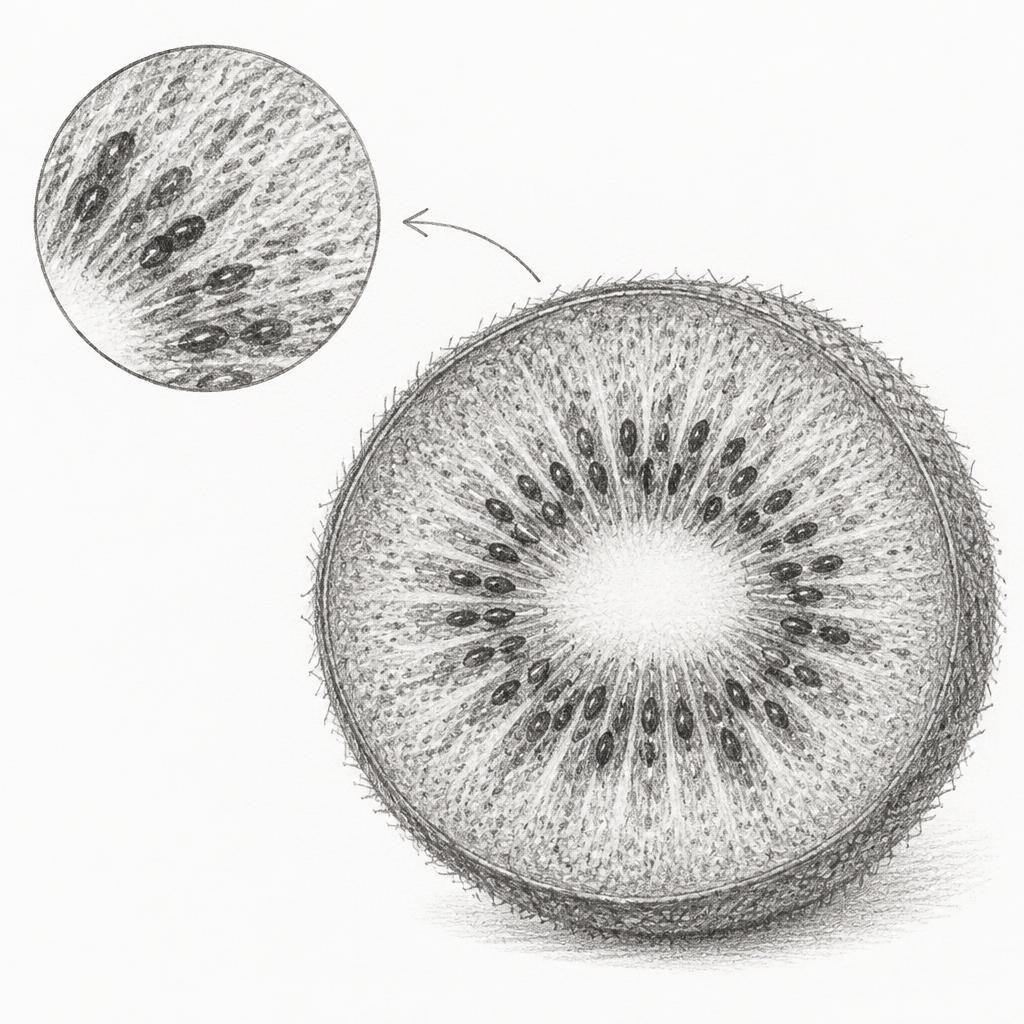
What you'll learn
A kiwi cross-section combines fuzzy brown skin, pale flesh, a lighter central core, and a ring of tiny dark seeds. Rendering these distinct surfaces with controlled stippling trains you to vary mark size and density while keeping the fruit's rounded form clear.
What you'll need
Step-by-step: how to draw kiwi cross-section
Spend 3 minutes lightly drawing the oval outline and the smaller central core, keeping the cut face slightly elliptical.
4 more steps, the pro tips and the checklist
Today's exercise is free to everyone, in full. The archive is part of Pro, along with AI feedback on your drawings.
Try 7 days free →Already a member? Sign in
Frequently asked questions
How do I keep the seed ring from looking like a solid dark band?
Leave small gaps between the seed shapes and vary their angle and size slightly. Keep the pale flesh visible around each seed so they remain distinct.
Should I draw the tiny hairs on the kiwi skin one by one?
No, use a few short strokes that break the silhouette, then reinforce the roughness with clustered marks along the rim. Selective hairs suggest fuzz without making the edge look spiky all around.
How can I make the cut flesh look moist rather than grainy?
Use fine, sparse stippling and leave small areas untouched for highlights. Keep the darkest marks concentrated in the seeds and the shadow near the skin.
More drawing lessons
Earlier lessons come with Pro.

Get a new drawing exercise every morning, free that day. We email you when it is up.
Subscribe to Draw Daily →