What you'll learn
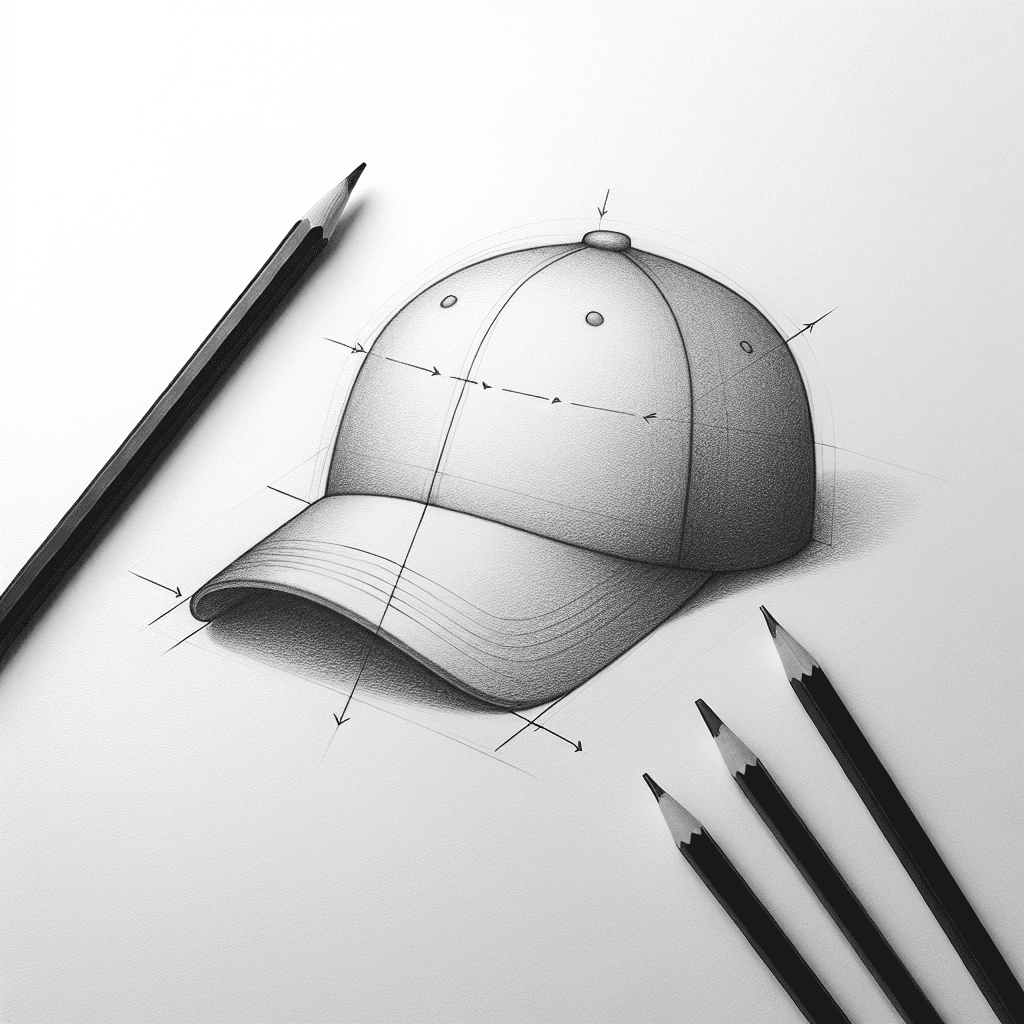
Drawing a baseball cap encourages you to pay attention to curves and proportions, which are essential for capturing realistic forms. The cap's structure, with its bill and curved panels, provides a simple yet effective subject to improve your observational skills.
What you'll need
Step-by-step: how to draw baseball cap
Place the baseball cap in front of you in a well-lit area to observe all its details.
Spend 2 minutes looking at the overall shape and unique characteristics, such as the curve of the bill and the seams.
Begin sketching the outline, starting with the largest shapes — the dome and bill of the cap. Use light, loose lines.
Add visible details, like stitching or logo, that make the cap unique, focusing on their placement and proportion.
Refine your drawing by darkening important lines and adding subtle shading to show depth and texture.
Before you start: what to look at
Examine the curve of the bill in relation to the dome. Notice how the seams divide the panels and where they lead, especially how they converge at the top button. Observe how light creates highlights and shadows, especially on the curved surfaces and edges of the bill.
Pro tips for drawing baseball cap
Common mistakes drawing baseball cap
Self-evaluation checklist
Compare your drawing to the actual baseball cap, checking if the proportions, angles, and key features align well with what you observed. Look for areas where the contours may be off and note improvements for next time.
Frequently asked questions
How do I draw the logo on the cap accurately?
Focus on the placement and size of the logo first. Use light guidelines to ensure it is centered and at the correct angle. Pay attention to the logo's shapes and proportions before darkening the lines.
How can I represent the fabric texture effectively?
Use light, crosshatch shading to suggest the fabric's weave. Observe any visible highlights or shadows on the cap's surface and incorporate them into your drawing to enhance the texture.
What's the best way to handle the perspective of the cap?
Consider the cap's position relative to your viewpoint. The bill and dome will look different if viewed from above, straight on, or the side. Start with a simple outline, checking angles and curves frequently against the actual cap.
More drawing lessons
Get a new drawing lesson delivered to your inbox every morning, free.
Subscribe to Draw Daily →