What you'll learn
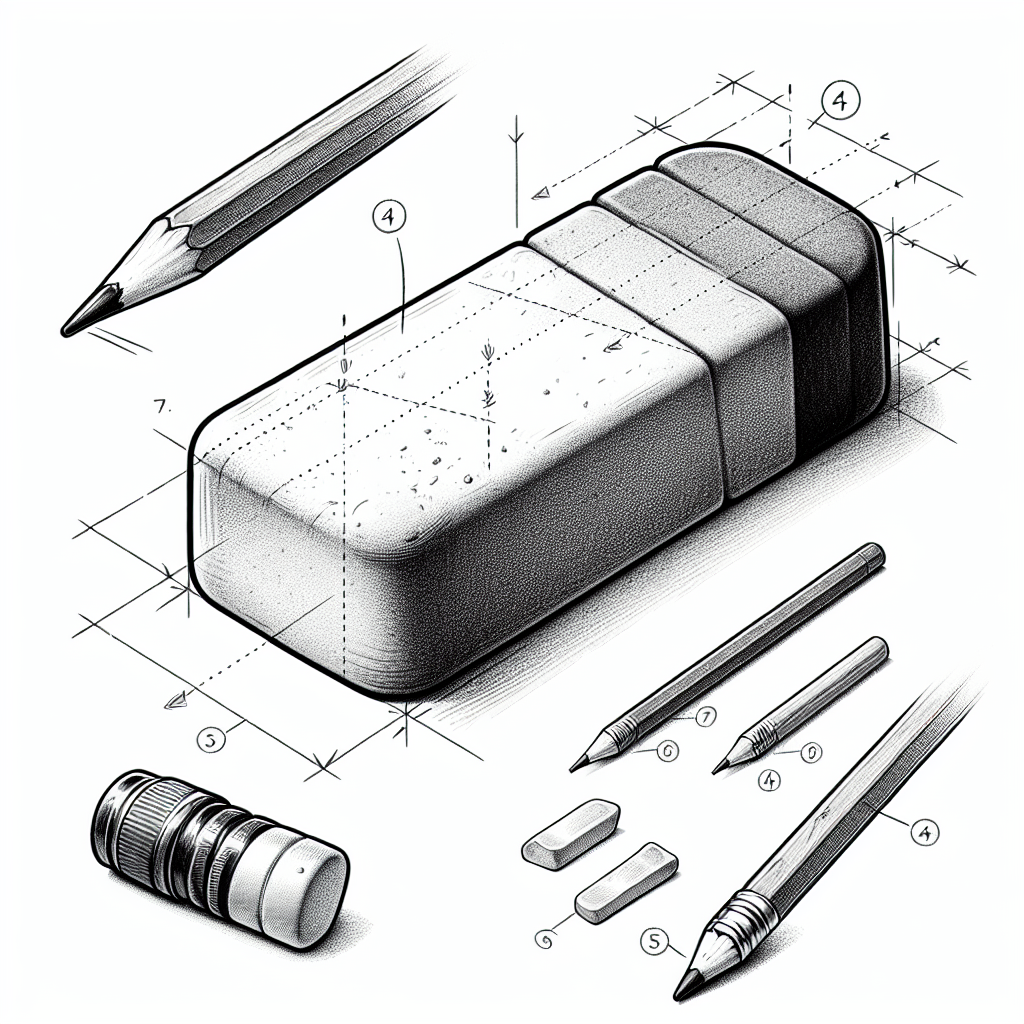
Drawing a rubber eraser helps beginners focus on capturing basic shapes and contours with minimal detail, allowing for the practice of proportion and spatial relationships.
What you'll need
Step-by-step: how to draw rubber eraser
Begin by closely observing the eraser, noting its shape and the way light hits its surface.
Lightly sketch the outer contour of the eraser without focusing on internal details.
Observe any unique features such as edges or corners and refine the contour lines to capture these.
Focus on shading to imply volume; use soft lines to indicate areas of light and shadow.
Review the sketch and make adjustments where the proportional relationships differ from your observation.
Pro tips for drawing rubber eraser
Self-evaluation checklist
Compare your drawing to the eraser, checking if the contours and proportions match. Ensure the shading reflects the light source accurately.
Frequently asked questions
How long does this drawing exercise take?
The full rubber eraser exercise is designed to fit in about 15 minutes of focused practice — one of the reasons it works as a daily habit.
Do I need any prior drawing experience?
No. This lesson is aimed at beginner artists and assumes only a pencil, paper, and willingness to observe.
What skill does this lesson target?
The focus is observational drawing. Repeating similar exercises over time is how this skill becomes second nature.
More drawing lessons


Get a new drawing lesson delivered to your inbox every morning — free.
Subscribe to Draw Daily →