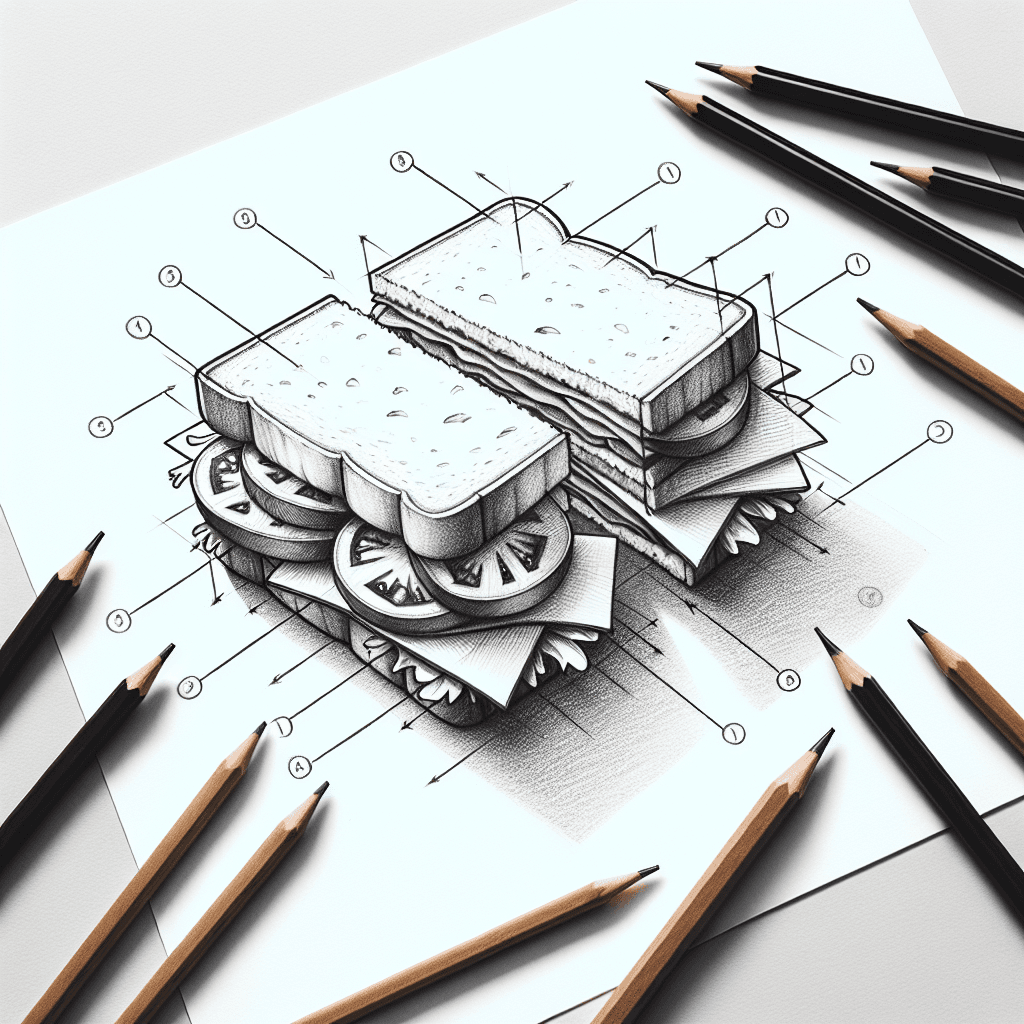
What you'll learn
Drawing a sandwich helps beginners understand how to break down objects into simple geometric shapes, like rectangles and circles, for the bread and fillings. This exercise emphasizes building from simple to complex forms.
What you'll need
Step-by-step: how to draw sandwich
Start by drawing a long, horizontal rectangle for the base slice of bread.
Add another rectangle directly on top of the first, slightly shorter and thinner, to represent a slice of cheese.
Draw several smaller, semi-circular shapes above the cheese to suggest layers of meat or vegetables.
Finish by drawing a final rectangle on top, slightly offset from the bottom slice to show perspective, representing the top slice of bread.
Before you start: what to look at
Before drawing, observe the edges and thickness of each sandwich layer. Notice how the light creates subtle shadows where the layers overlap. Pay attention to the proportions between the bread and fillings to capture its structure accurately.
Pro tips for drawing sandwich
Common mistakes drawing sandwich
Self-evaluation checklist
Ensure the basic shapes align correctly, with the top slice mirroring the bottom. Check if the added details enhance the overall accuracy and recognizability of the sandwich.
Frequently asked questions
How do I draw the texture of the bread?
Use light, uneven lines to suggest the crumbly texture. Observe how light interacts with the surface, emphasizing this with subtle shading.
What's a good way to show the perspective of the sandwich?
Slightly offset the top slice of bread and use converging lines near the edges to hint at depth. Keep the front edges parallel to each other for a more realistic effect.
How do I indicate different fillings in a simple way?
Use varied shapes and sizes for each filling. For example, draw semi-circles for tomatoes or wavy lines for lettuce. Adjust shading to differentiate them by depth and texture.
More drawing lessons
Get a new drawing lesson delivered to your inbox every morning, free.
Subscribe to Draw Daily →