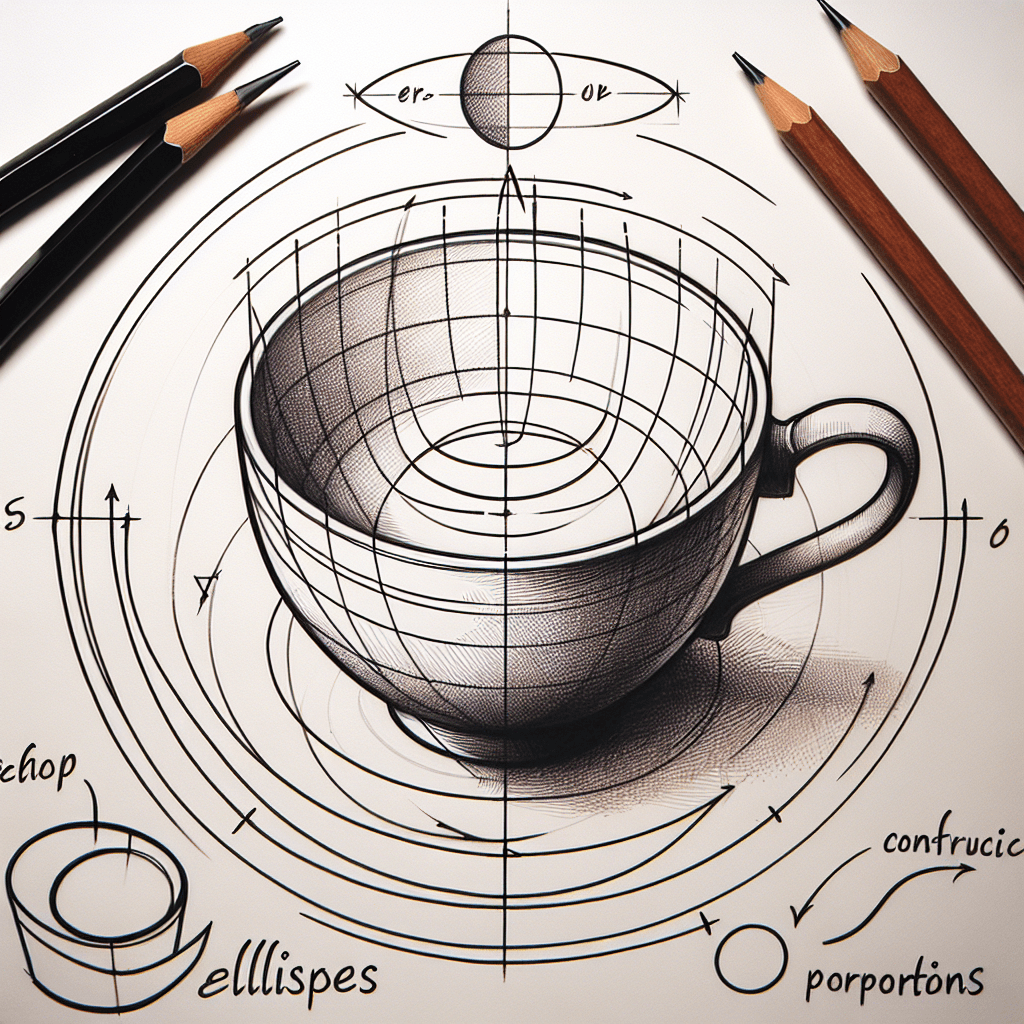
What you'll learn
Drawing a teacup helps you practice drawing ellipses and understanding proportions. The simple cylindrical shape allows you to focus on capturing accurate curves and achieving symmetry in your drawing.
What you'll need
Step-by-step: how to draw teacup
Start by sketching a horizontal ellipse for the top rim of the teacup.
Draw two vertical lines extending down from the edges of the ellipse to define the sides.
Sketch a curved line connecting the vertical lines for the bottom of the cup.
Add a handle by drawing a C shape on one side of the cup.
Refine the lines, add details such as thickness to the rim and handle, and shade for depth.
Before you start: what to look at
Observe the way light reflects off the glossy surface of the teacup, noting where highlights and shadows naturally occur. Pay attention to the subtle curvature of the handle and how it connects to the body of the cup. Before drawing, examine the proportions between the height and width of the cup to ensure accuracy.
Pro tips for drawing teacup
Common mistakes drawing teacup
Self-evaluation checklist
Check if the ellipses are even and symmetrical, and if the handle is proportionate to the cup size. Ensure that the shading creates a sense of volume and depth.
Frequently asked questions
How can I make sure the ellipse looks correct?
Start by lightly sketching the ellipse, keeping your wrist relaxed to maintain fluidity. Compare the width and height of the ellipse continually, adjusting as necessary to ensure symmetry.
What should I consider when drawing the handle?
Consider the handle's attachment points to the cup. It should appear natural and proportional. Look at the negative space inside the handle for guidance on its shape and curvature.
How do I add shading to make the teacup look three-dimensional?
Identify the light source first. Apply shading to the opposite side for depth, gradually building layers. Use softer shading for subtle curves and sharper contrasts where light and shadow meet for a realistic effect.
More drawing lessons
Get a new drawing lesson delivered to your inbox every morning, free.
Subscribe to Draw Daily →