What you'll learn
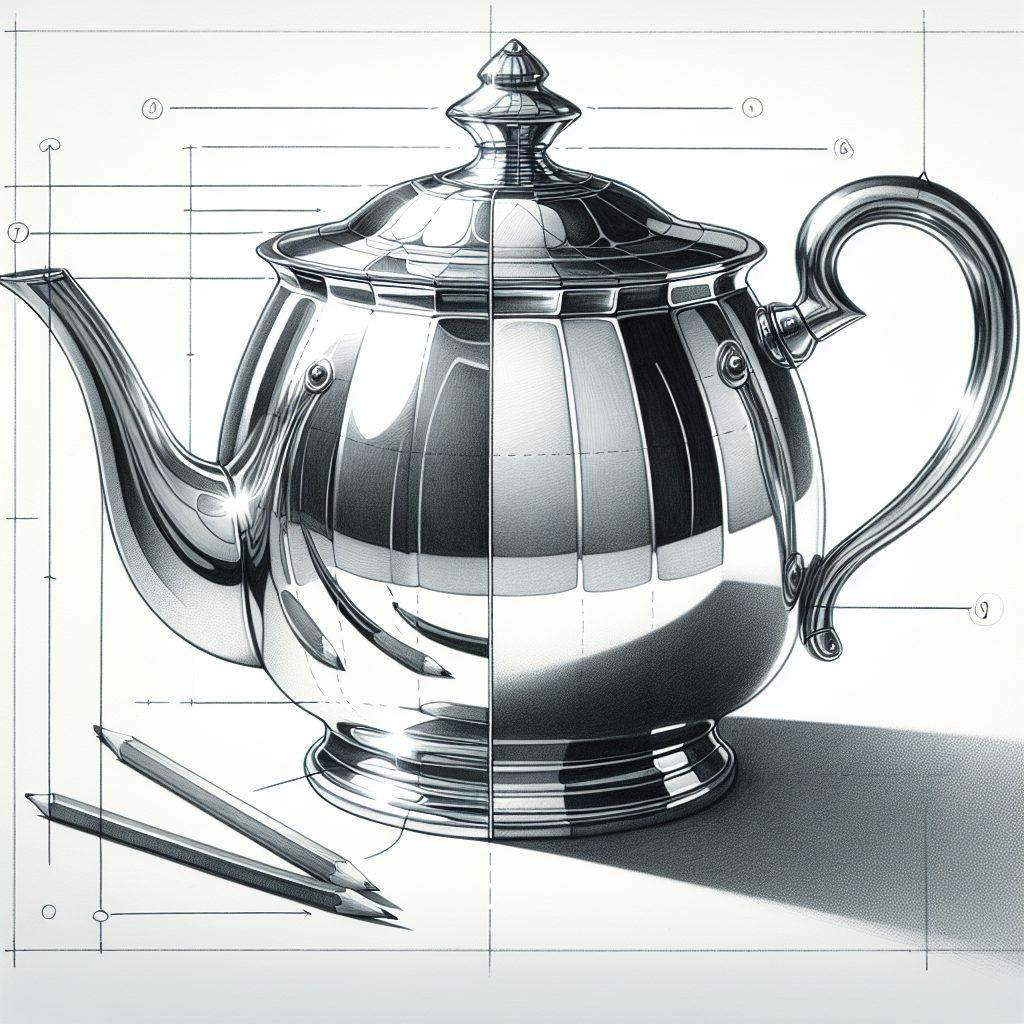
A silver teapot presents a complex interplay of light and reflections, offering an advanced challenge in accurately rendering both light direction and the subtleties of cast shadows. Mastering this will enhance an artist's ability to depict materials and surfaces realistically.
What you'll need
Step-by-step: how to draw silver teapot
Begin by sketching the basic outline of the teapot, focusing on its proportions and overall shape.
Identify the light source and lightly map out the areas of highlight and shadow on the teapot.
Using a soft pencil, start shading the darkest areas, paying attention to the core shadows and the reflective surfaces.
Blend the graphite gently, using a blending stump or finger, to achieve smooth transitions between light and shadow.
Add final touches by refining the highlights with an eraser to enhance the reflective quality of the silver surface.
Pro tips for drawing silver teapot
Self-evaluation checklist
Evaluate whether the teapot's reflective surfaces are convincingly rendered, with smooth transitions between light and dark areas, and if the highlights are crisp and effectively placed to suggest a metallic surface.
Frequently asked questions
How long does this drawing exercise take?
The full silver teapot exercise is designed to fit in about 15 minutes of focused practice — one of the reasons it works as a daily habit.
Do I need any prior drawing experience?
No. This lesson is aimed at advanced artists and assumes only a pencil, paper, and willingness to observe.
What skill does this lesson target?
The focus is shading & value. Repeating similar exercises over time is how this skill becomes second nature.
More drawing lessons

Get a new drawing lesson delivered to your inbox every morning — free.
Subscribe to Draw Daily →