What you'll learn
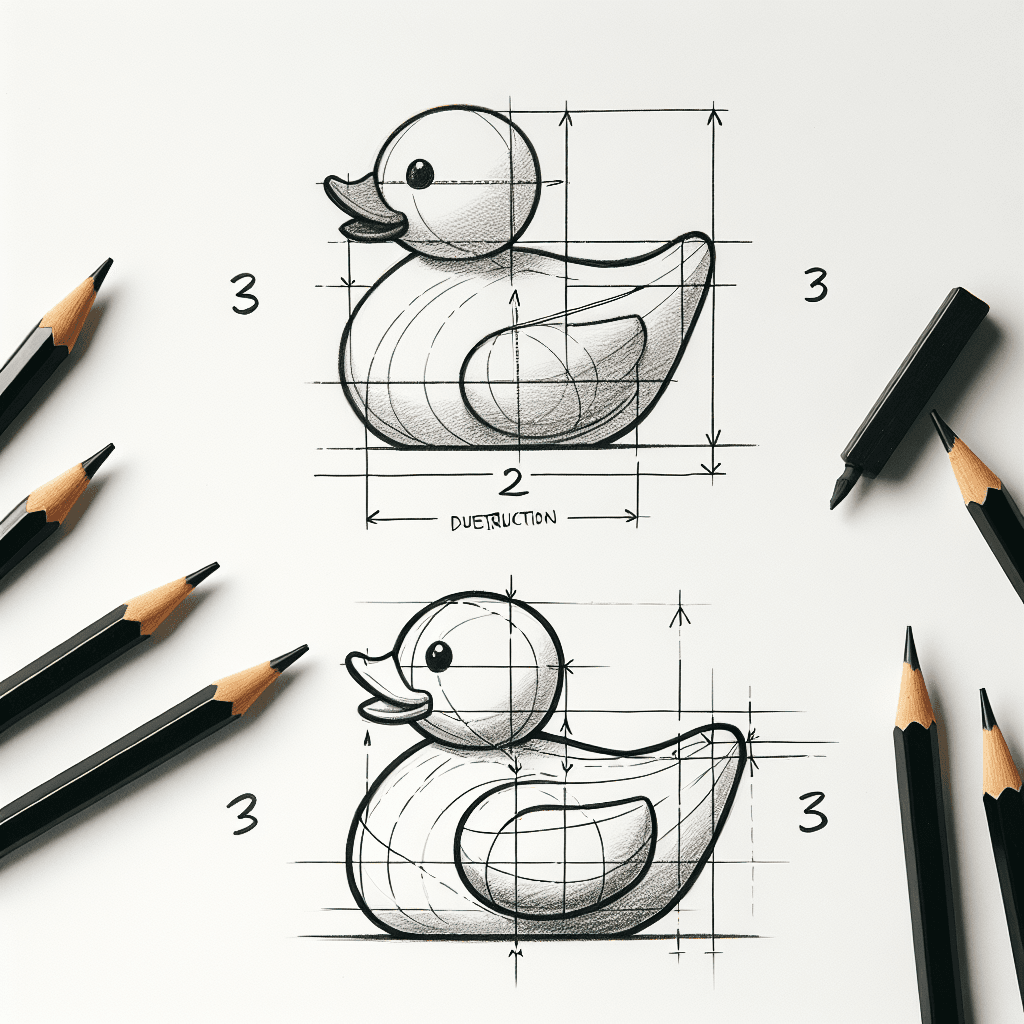
A rubber duck is a simple yet effective way to practice capturing volume and proportion due to its rounded, bulbous forms and clear, distinct parts. This exercise will help you understand how to depict 3D objects on a 2D plane.
What you'll need
Step-by-step: how to draw rubber duck
Start by drawing a rough outline of the duck's general shape, focusing on capturing the roundness.
Define the main body and head with soft curves, ensuring accurate proportions between the two.
Add details such as the beak and eyes, paying attention to their placement on the face.
Sketch the duck's base and tail area, maintaining consistent volume in your lines.
Refine the entire drawing by adding shading to suggest light and dimensionality, emphasizing the volume of the duck.
Before you start: what to look at
Examine the curve where the duck's head transitions into its body, noticing the subtle slope. Observe how light falls on the top of the duck, creating highlights that define its rounded form. Pay attention to the beak's size relative to the head, as this proportion is key to maintaining a balanced look.
Pro tips for drawing rubber duck
Common mistakes drawing rubber duck
Self-evaluation checklist
Evaluate your sketch by checking if the rubber duck appears three-dimensional and if the proportions between the head and body are accurate.
Frequently asked questions
How do I draw the beak so it looks like it belongs to the duck?
Ensure the beak is proportionate to the head. It should extend slightly forward and taper gently. Pay attention to its alignment with the eyes for a natural appearance.
What should I focus on to make the duck look three-dimensional?
Concentrate on the light source and add shading along the body to emphasize volume. Highlight the areas where light directly hits and add shadows to areas that recede.
How do I capture the shiny surface of the rubber duck?
Use highlights sparingly to indicate shine. Bright spots should be placed where the light source directly hits the surface, contrasting with the shaded areas to create the illusion of a glossy finish.
More drawing lessons
Get a new drawing lesson delivered to your inbox every morning, free.
Subscribe to Draw Daily →