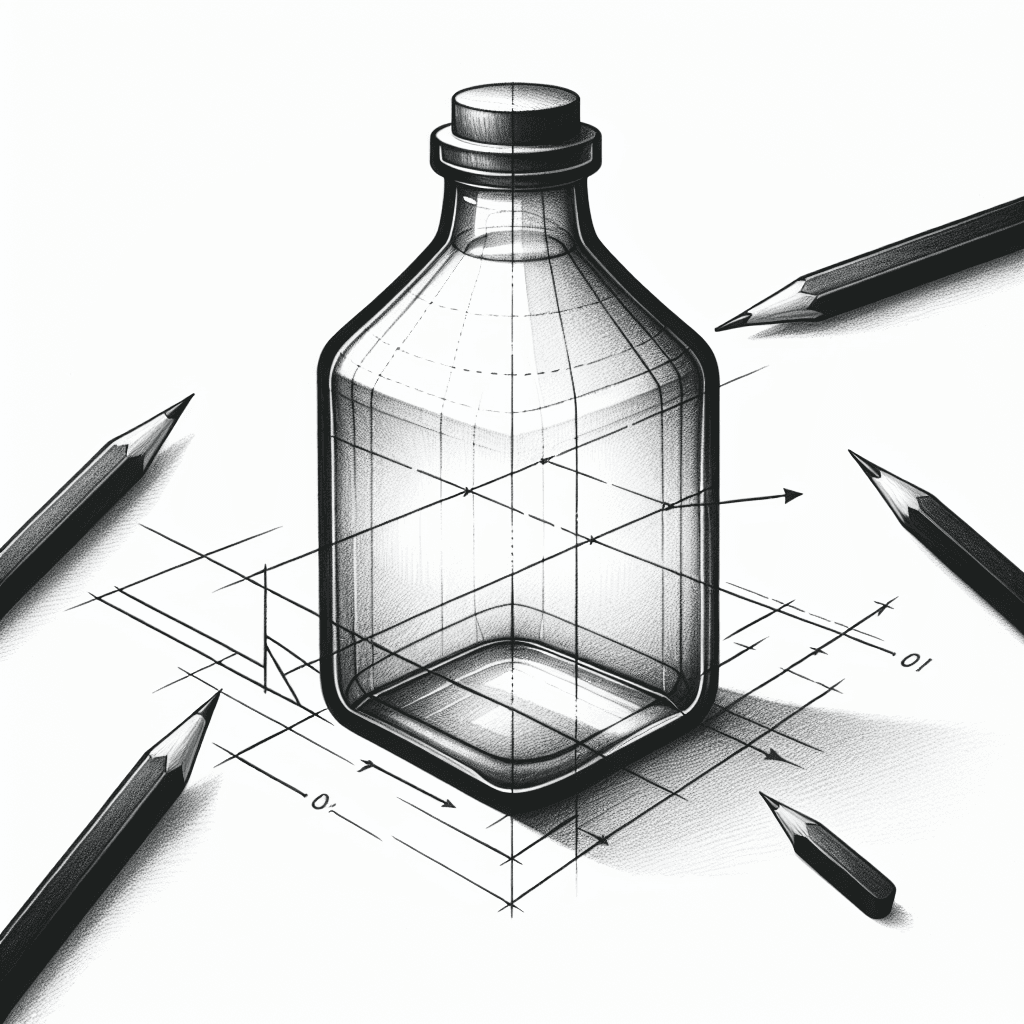
What you'll learn
Drawing a glass bottle helps you understand how to depict transparency and capture reflections on curved surfaces. Observing how light interacts with glass will enhance your ability to render realistic textures.
What you'll need
Step-by-step: how to draw glass bottle
Start with a light sketch of the bottle's basic shape, focusing on symmetry.
Outline the bottle once you're satisfied with the proportions.
Identify the light source and sketch the major reflections and shadows.
Use a softer pencil or blending tool to create smooth shading inside the bottle.
Add highlights and refine reflections to emphasize the glass's transparency.
Before you start: what to look at
Carefully observe the way light bends and distorts at the bottle's edges. Notice how the curve of the neck affects where reflections and highlights appear. Pay attention to areas where the glass seems darker due to overlapping reflections or shading.
Pro tips for drawing glass bottle
Common mistakes drawing glass bottle
Self-evaluation checklist
Check if the bottle appears symmetrical, the reflections are consistent with the light source, and the transparency is clearly captured.
Frequently asked questions
How do I make the glass look transparent?
Use lighter shading and leave some areas almost untouched to suggest transparency. Highlight the edges and areas where the light source hits directly to enhance the effect.
Why is capturing reflections on a glass bottle challenging?
Reflections on glass are complex due to the curves and transparency. They distort and overlap with the bottle's form, requiring careful observation to capture accurately.
How should I draw the bottom of the bottle?
The bottom often curves inward and catches shadows from above. Use slight shading to depict this curve and remember that it may reflect nearby colors and shapes faintly.
More drawing lessons
Get a new drawing lesson delivered to your inbox every morning, free.
Subscribe to Draw Daily →