What you'll learn
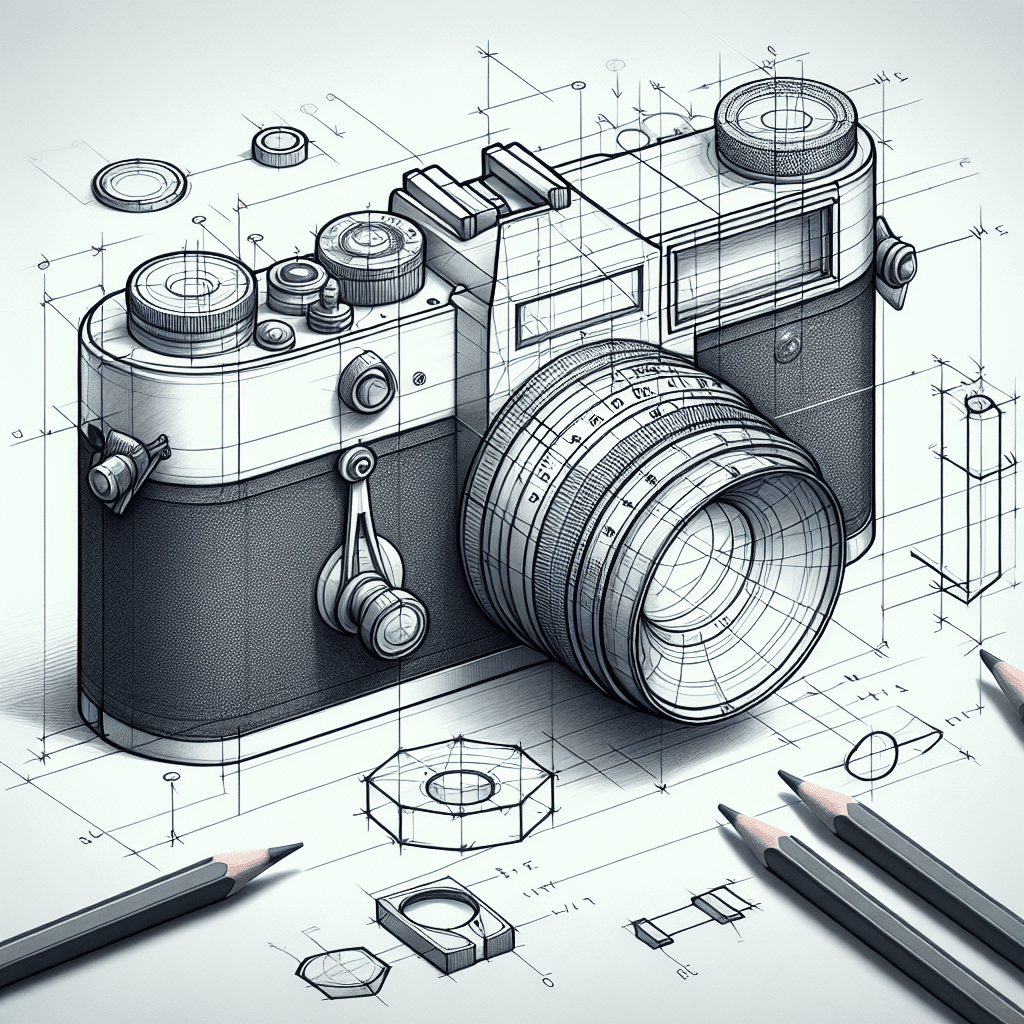
Drawing a camera helps beginners understand construction by breaking down its complex structure into simple shapes. This exercise reinforces the idea of starting with basic forms and then building up to more detailed features.
What you'll need
Step-by-step: how to draw camera
Begin by drawing a large rectangle to represent the main body of the camera.
Add a smaller rectangle on one side to outline the camera's lens housing.
Inside the lens housing, draw a circle for the lens, making sure it's centered.
Sketch small rectangles at the top for buttons and the viewfinder.
Add details like the shutter button and any branding by refining the shapes you’ve drawn.
Before you start: what to look at
Look at how the lens protrudes from the body and how light reflects off its surface, creating distinct highlights. Notice the proportion between the lens and the main body, especially how the lens is positioned slightly off-center. Observe the curves at the edges of the camera body, which soften the otherwise boxy shape.
Pro tips for drawing camera
Common mistakes drawing camera
Self-evaluation checklist
Evaluate your sketch by checking if the individual simple shapes accurately represent the larger form of the camera and if the proportions between elements are consistent.
Frequently asked questions
How do I ensure the lens looks realistic and not flat?
Focus on adding depth by drawing concentric circles within the lens to represent its layers. Pay attention to highlights and shadows, as these will convey the glass and metallic surfaces.
What is the best way to draw the buttons and dials?
Begin with small, simple shapes like rectangles and circles. Ensure they are proportionate to the size of the camera. Add detail and depth by considering how light affects their surfaces and edges.
How should I handle the camera's viewfinder accurately?
Position the viewfinder slightly off-center and above the main body. Use rectangles to outline it. Observe how it connects to the body and consider its scale in relation to other features.
More drawing lessons
Get a new drawing lesson delivered to your inbox every morning, free.
Subscribe to Draw Daily →